Amazon SES is one of the top cloud-based email sending services. weMail has integration with Amazon SES. You can use it as your email sending gateway.
How to Configure
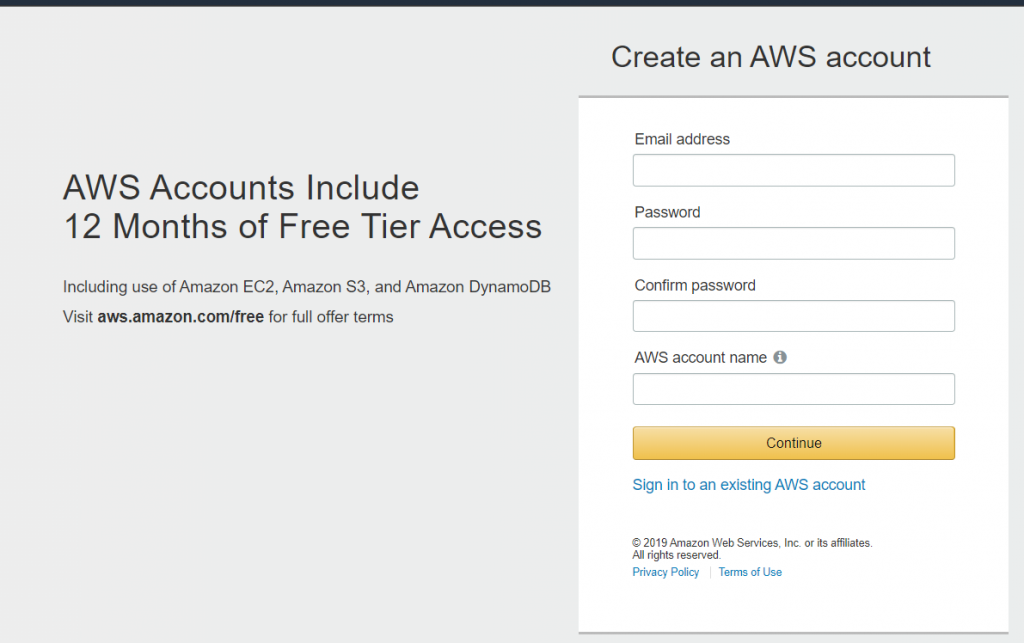
- First, create an Amazon SES account.
- Go to your Amazon SES personal dashboard. Mouse over your to account name and go to security credentials.
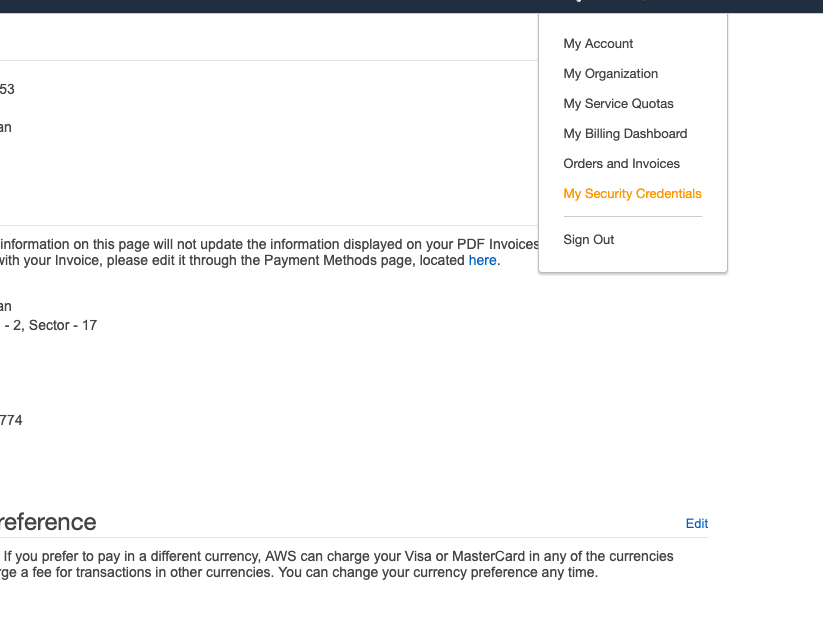
Choose IAM from the service section.
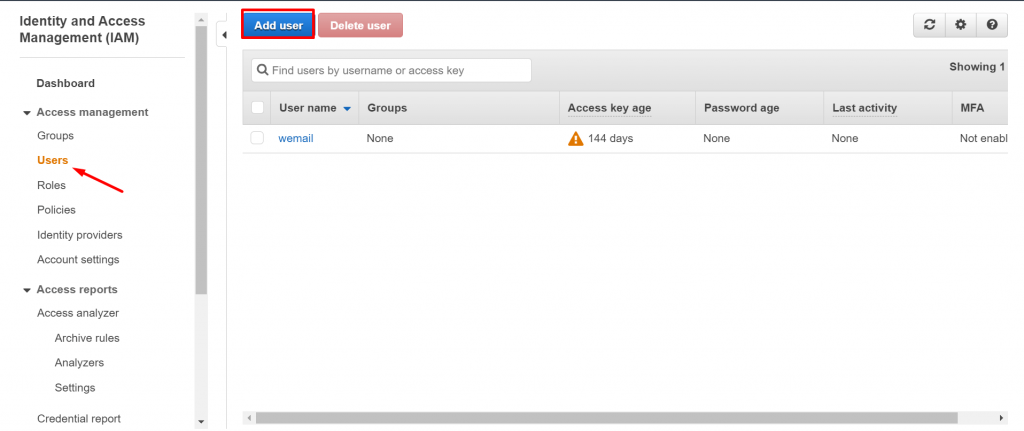
- Click on “Users” – “Add User“
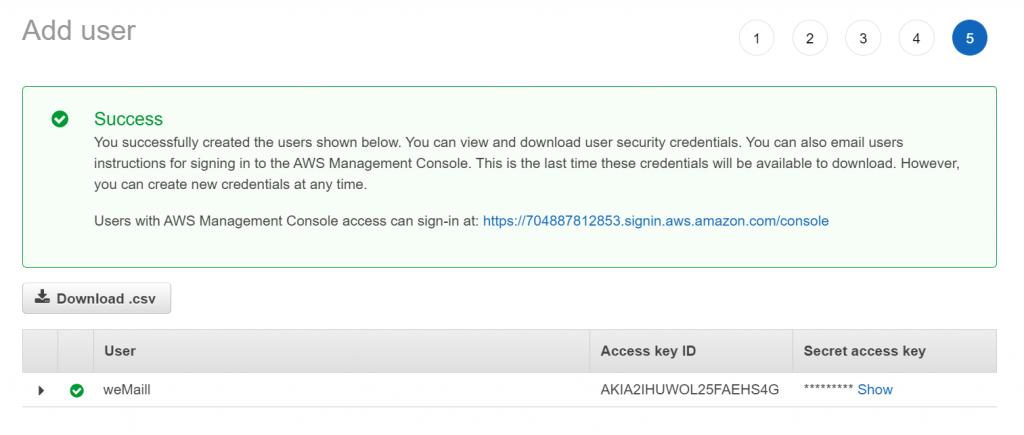
- Click on Access keys (access key ID and secret access key). Then, click Create New Access Key.
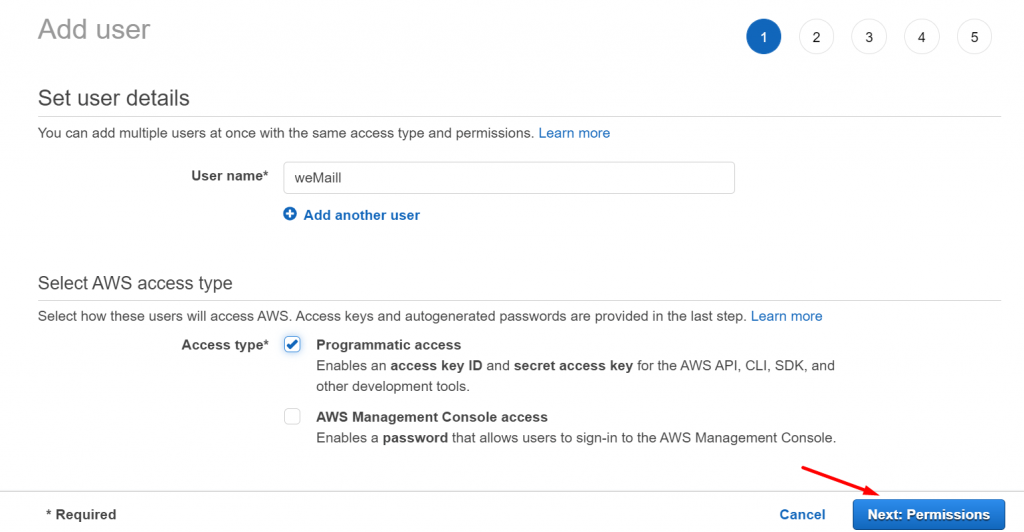
- Type a username and tick on “Programmatic Access” from Access Type and click “Next: Permissions” button at the bottom right corner
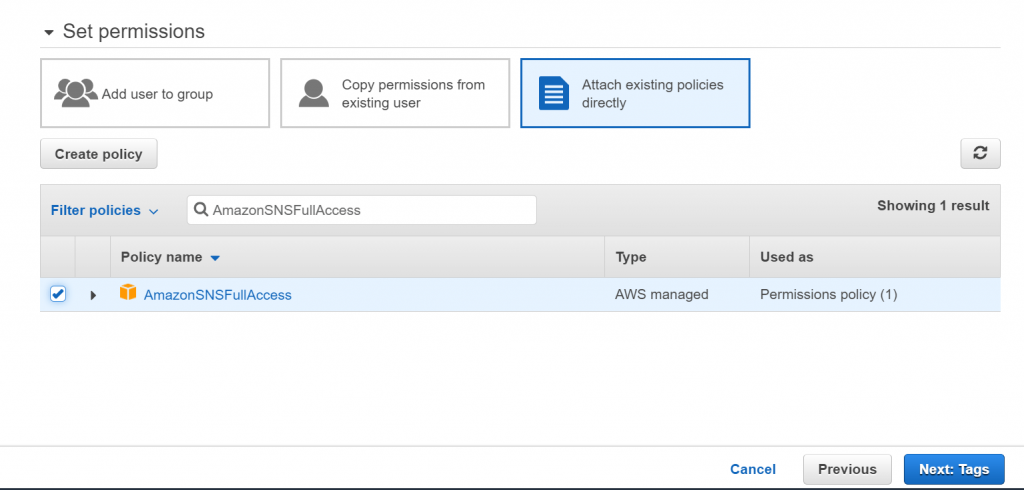
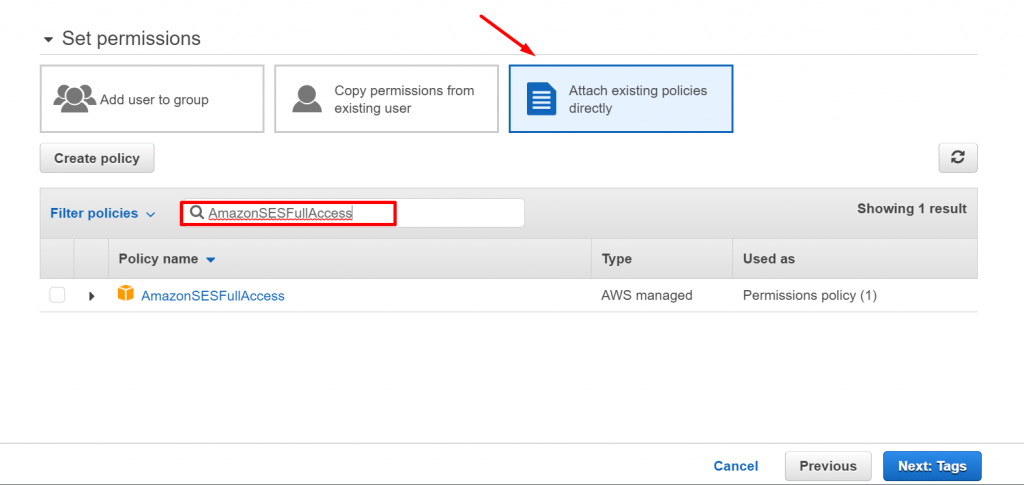
- Click “Attach existing policies directly” and then search and tick on “AmazonSESFullAccess” and “AmazonSNSFullAccess“
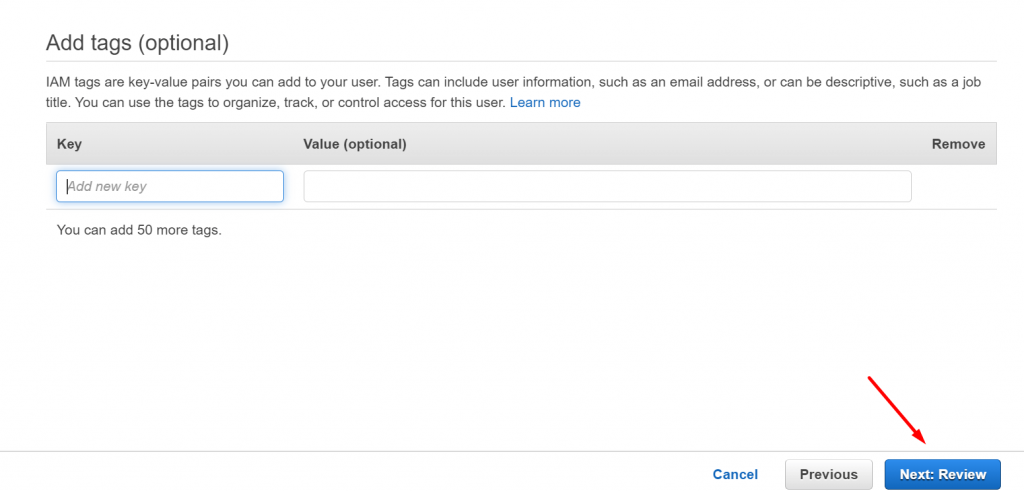
- Click “Next: Tags” button at the bottom right corner
- Then click “Next: Review” button at the bottom right corner
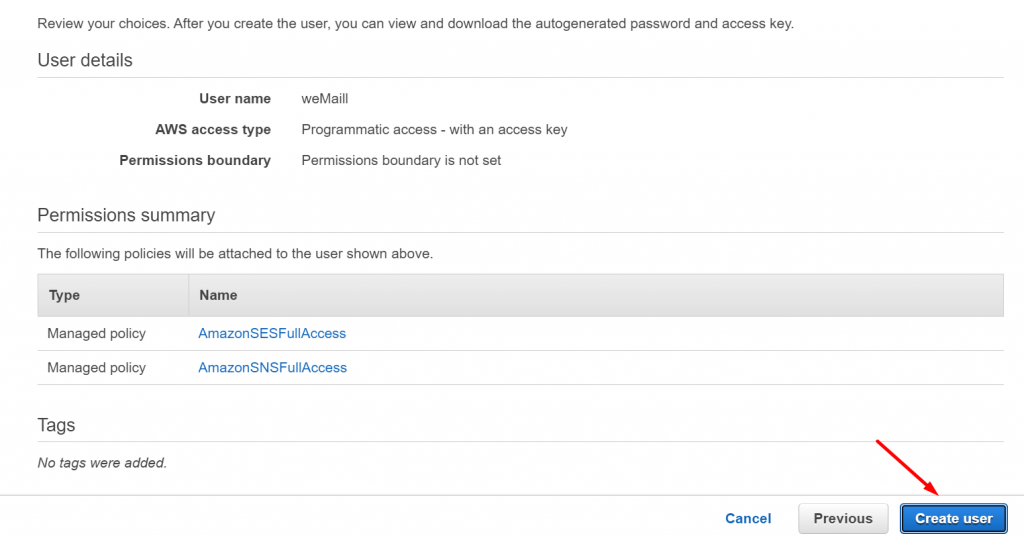
- Click “Create: User” button and you’re done.
- Finally, Go to weMail→Settings→Email. Enable Amazon SES. Paste the Access Key and hit Save Changes. You are good to go.
For easier follow through, watch this video
Domain Verification
In order to send emails through the Amazon SES, you need to verify your domain.
To verify domain,
- Sign in to the AWS Management Console and open the Amazon SES console. In the navigation pane, under Identity Management, choose Domains
- Now, you need to click on the Verify a New Domain button
- A dialog box will appear, enter your domain name
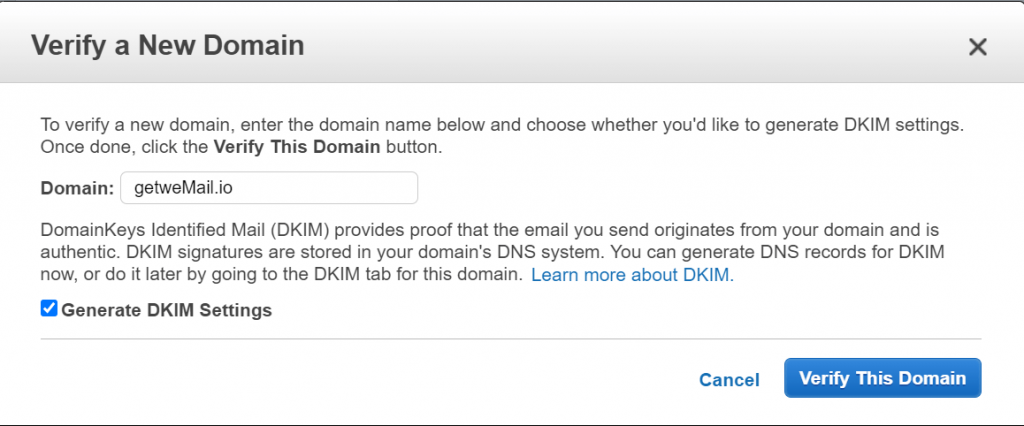
- If you want to set up DKIM signing for this domain, choose Generate DKIM Settings
- After adding the domain name click Verify This Domain
- In the Verify a New Domain dialog box, you will see a Domain Verification Record Set containing a Name, a Type, and a Value
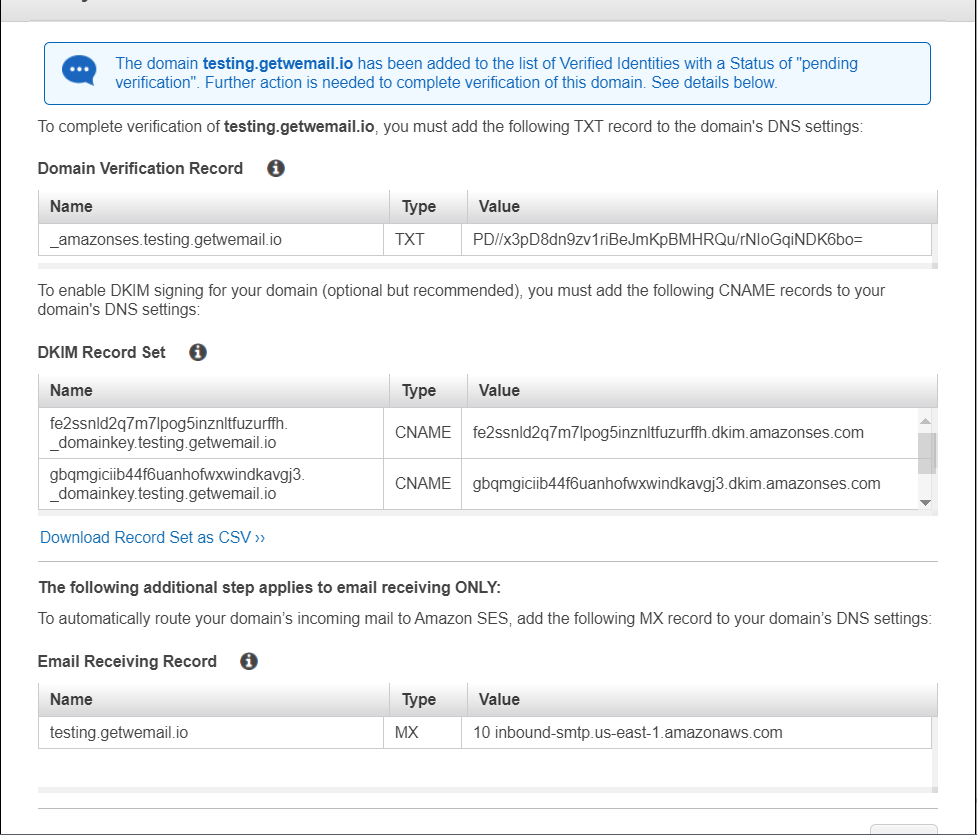
- To complete domain verification, add a TXT record with the displayed Name and Value to your domain’s DNS server
- When verification is complete, the domain’s status in the Amazon SES console changes from “pending verification” to “verified,” and you receive a notification email from Amazon SES.
You can now use Amazon SES to send email from any address in the verified domain. To send a test email, check the box next to the verified domain, and then choose Send a Test Email.
If you want to know more in details about domain authentication with Amazon SES, then you can see this documentation.
Also, to know more about DKIM settings, click here.
That’s it!
