Using the auto append opt-in option, you can show a form at the end of every blog post, for your users to subscribe. Today, you will learn how to add a form below blog posts using weMail’s Auto Append opt-in option.
Let’s do the entire process step by step.
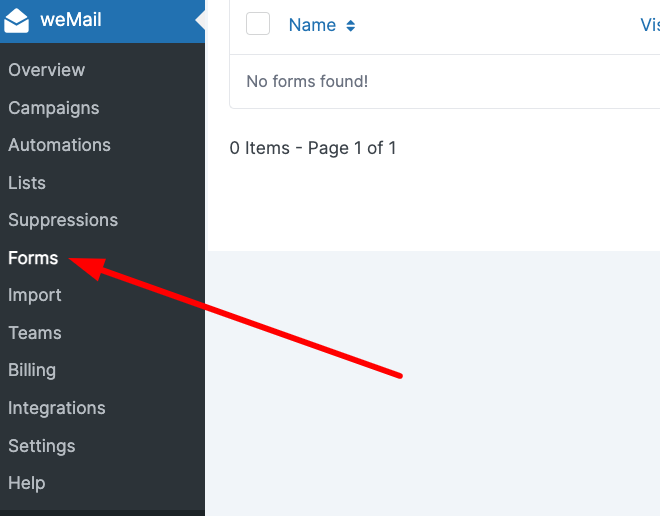
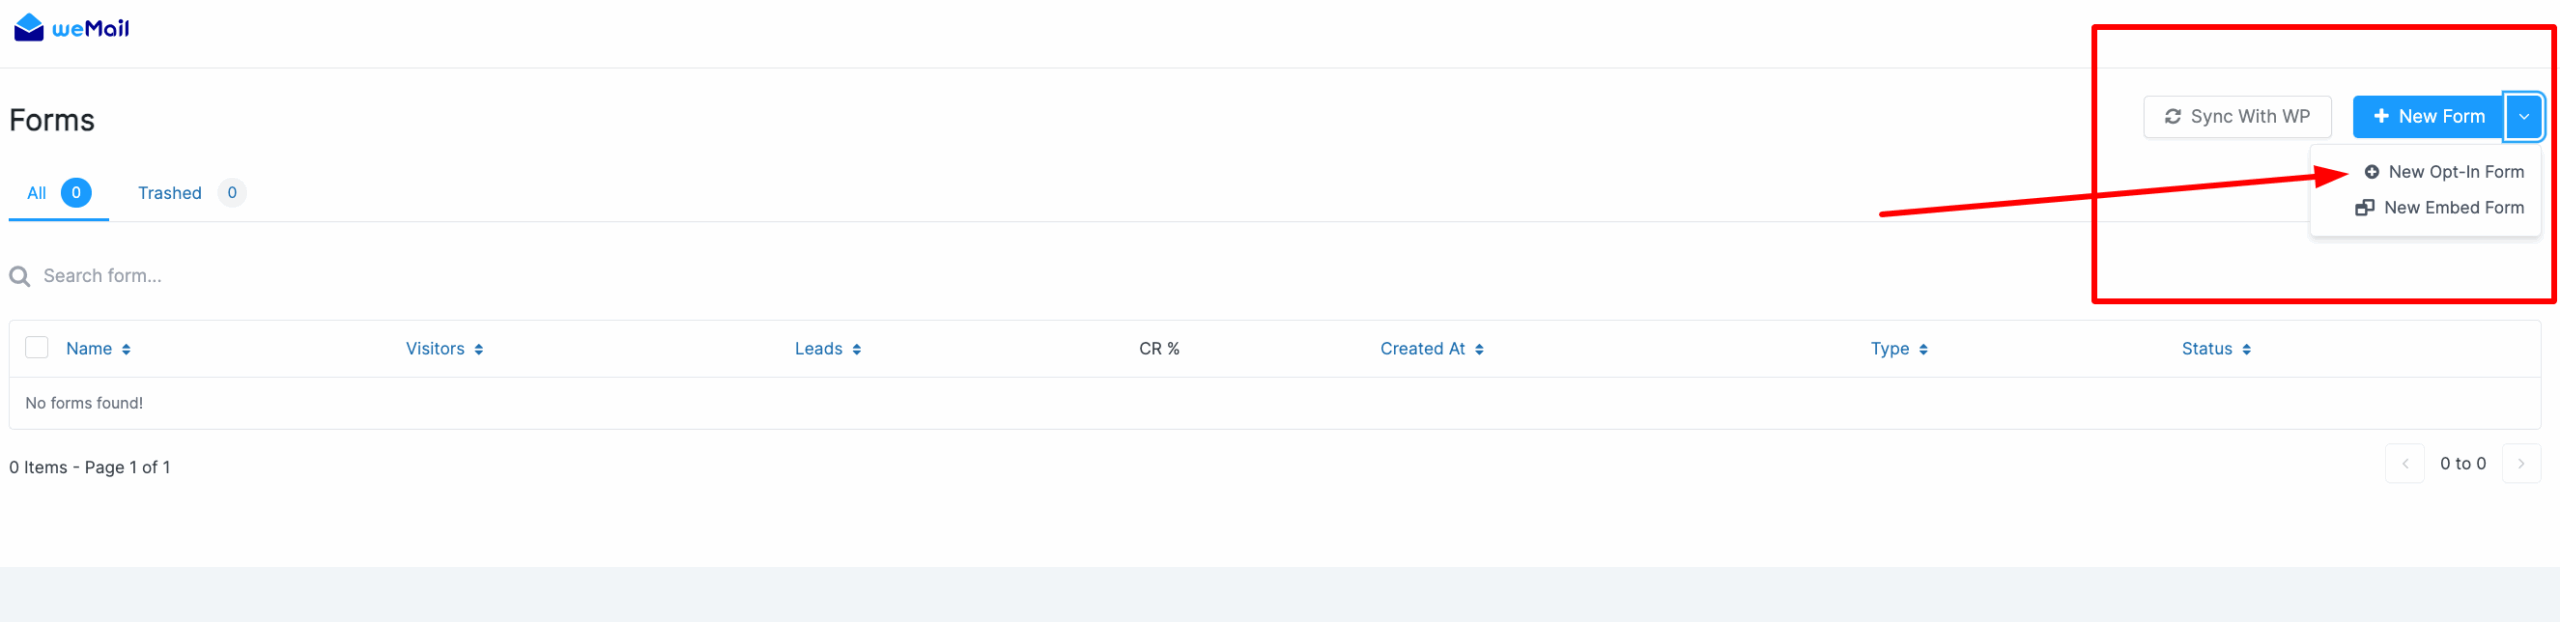
First, you have to log in to your WordPress dashboard. And click the weMail from the left sidebar. Then go to the weMail → Forms → New Optin Form.
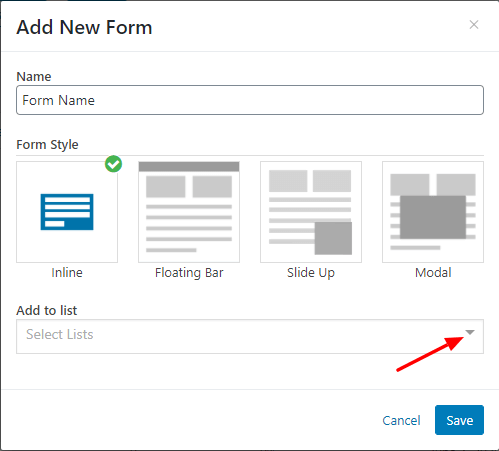
Here, you have to add your Form’s Name, select the Form Style, and finally choose the right list from the Add to list dropdown menu. And click the Save button.
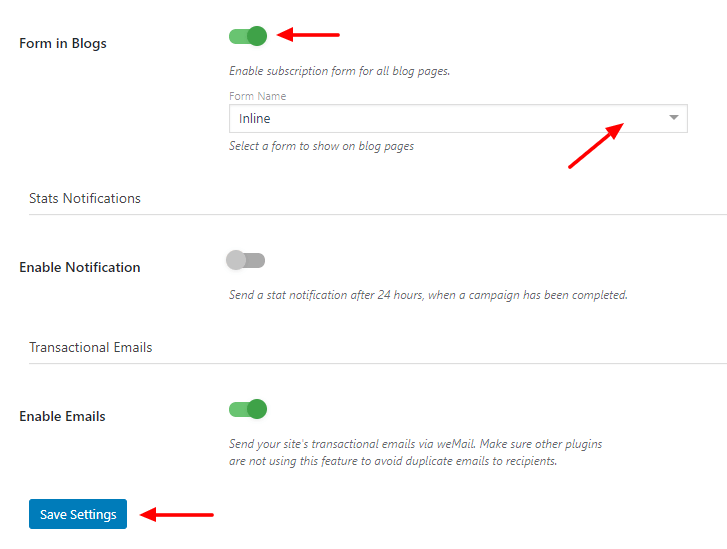
After that, you need to go to the weMail→Settings option and find the Form in Blogs. Now enable the Form in Blogs option, select the correct Form Name from the dropdown list. And finally, click Save Settings.
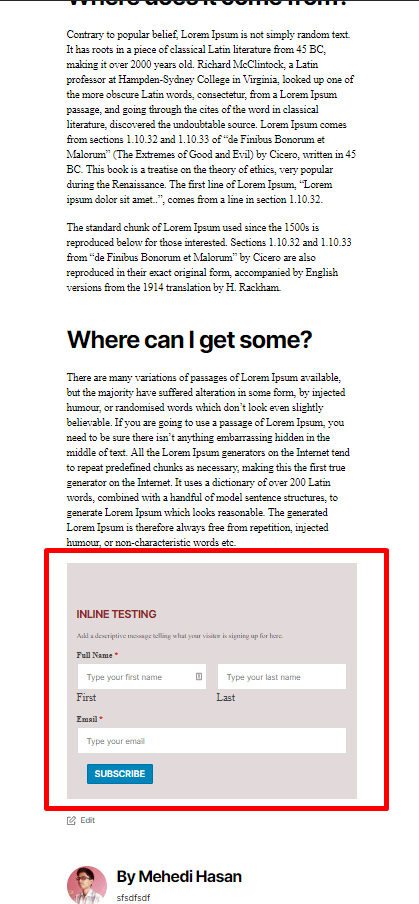
After saving the settings, you can view the form at the end of your every blog post.
That’s it.
