weMail has recently integrated the Brevo Email Gateway. So, now you can easily sync your Brevo account to weMail, use the powerful Brevo API, and send emails to your subscribers. Here’s what to do –
How to Configure
If you don’t have an account in Brevo, sign up and create an account by following simple steps.
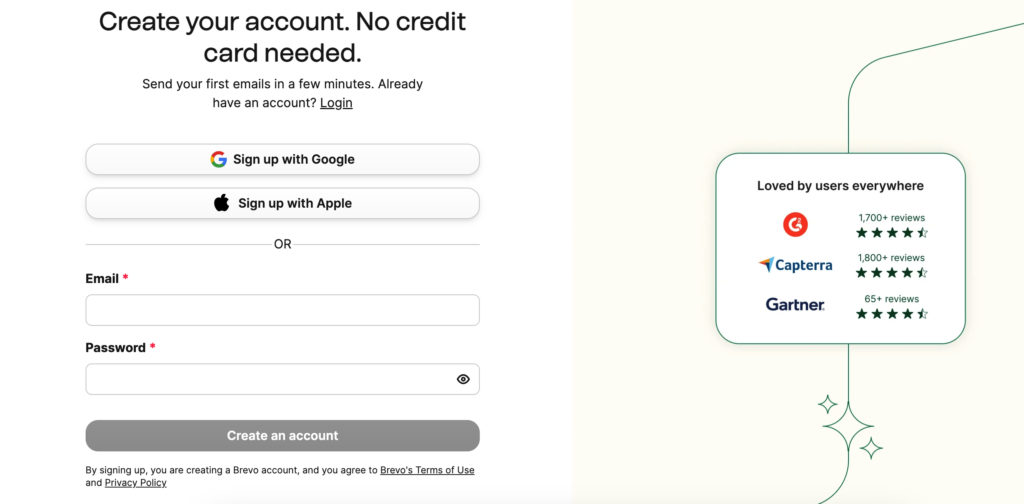
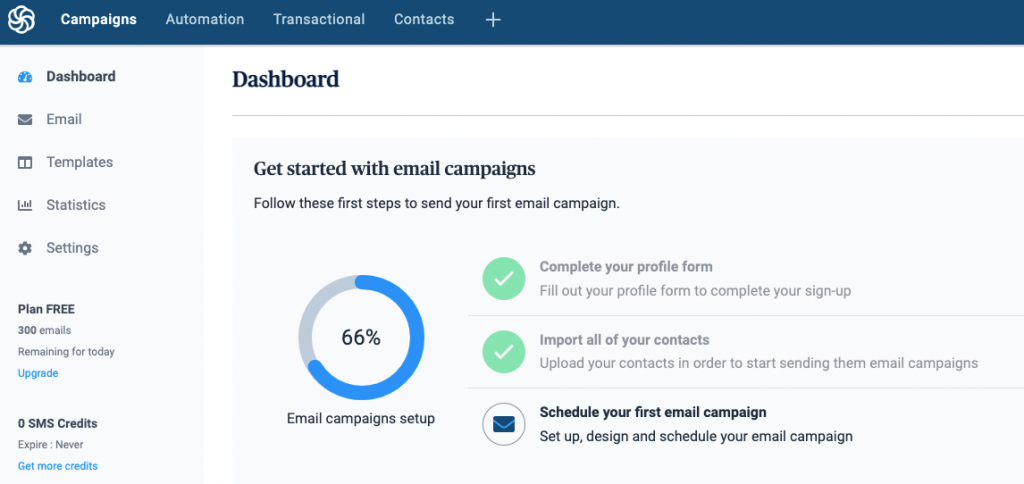
However, if you already have a Brevo account, log in, and go to your dashboard.
Note: To use weMail with your Brevo sending gateway, you need to generate a sending API key. If you already have an earlier API key and want to integrate that one with weMail, you are good to go. Therefore, we are going to show you how to generate a brand new sending API in Brevo.
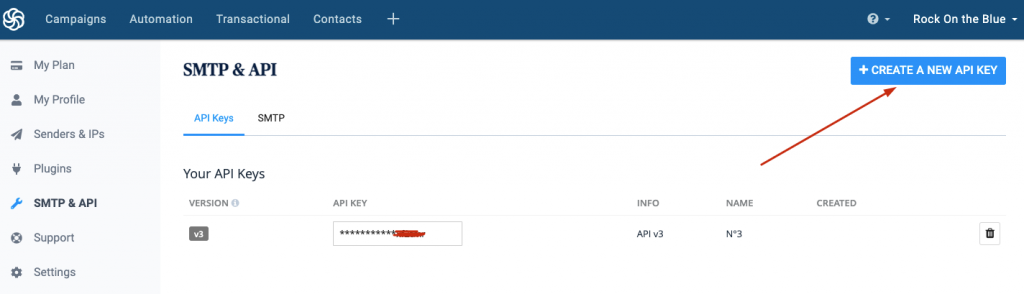
From here, you need to create an API key.
To do that, go to your account settings option on the top-right side of the dashboard. Click on SMTP & API.

On the following page, click on the Create a new KPI button.
Well, here’s how you generate a new API Key.
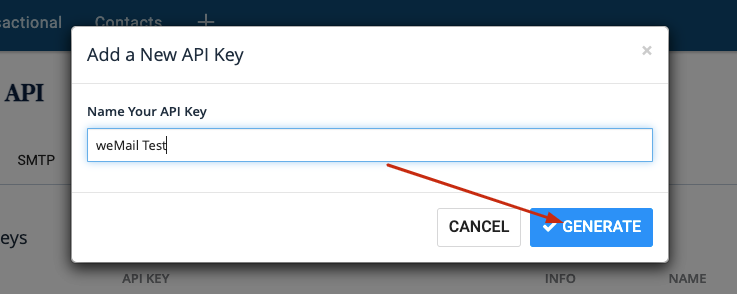
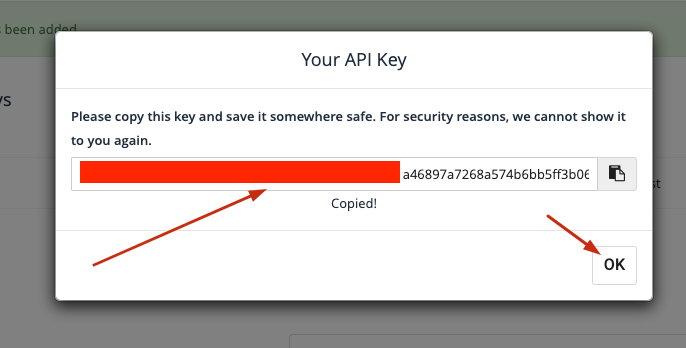
It will be saved and copied automatically. Click OK.
Setting UP weMail with Brevo Sending API
Now that you have a new sending API, go to your weMail dashboard.
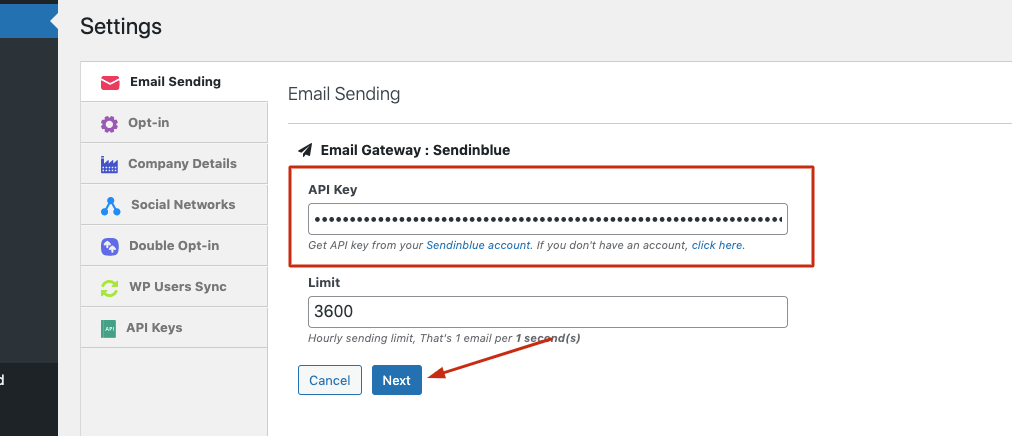
Go to setting. Then select Sendinblue.

On the next page, put the Brevo API key you have generated. And Click next.
Now add your preferred name and email as a sender. And add the email where you want to get all the replies from your subscribers.
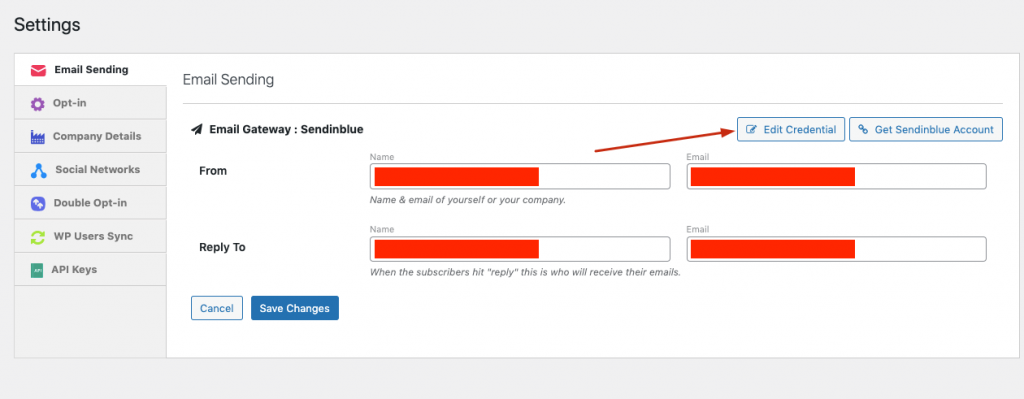
Now, hit Save and you are done with configuring the Brevo sending gateway with weMail.
Domain Verification
You need to set up Domain verification in order to save your precious time, and to create multiple senders on the same domain.
You must submit the DNS records provided by Brevo to your DNS or hosting provider.
To authenticate your domain, you need to follow the steps below –
- Login to your Sendinblue account again, if you already were logged out
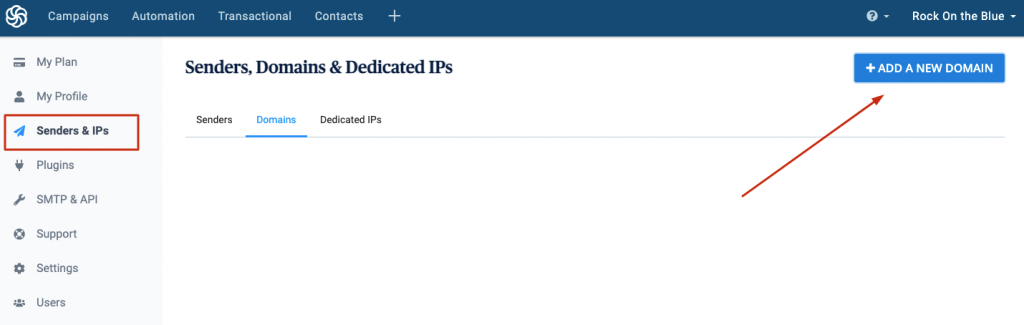
- Go to Your Sendinblue dashboard, and click on Senders & IPs
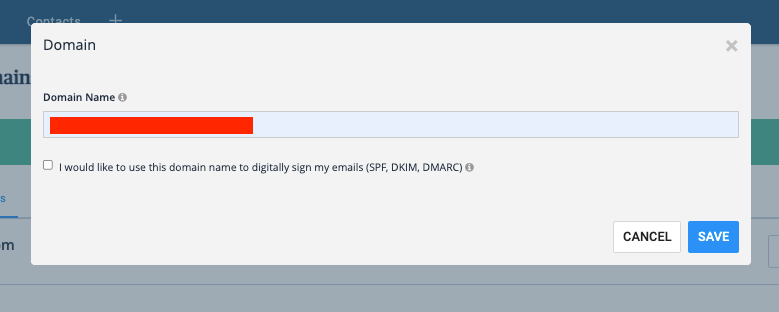
- Then go to domain, and click on Add A New Domain in the top left
Now, put on the domain name you want verification in the box (For example, we had put digitalfortress.testmail.com as a domain name for authentication), check mark in the box if you would like to use the domain to digitally sign your emails. And hit Save.
After that, you will see the following DNS information to authorize the domain.
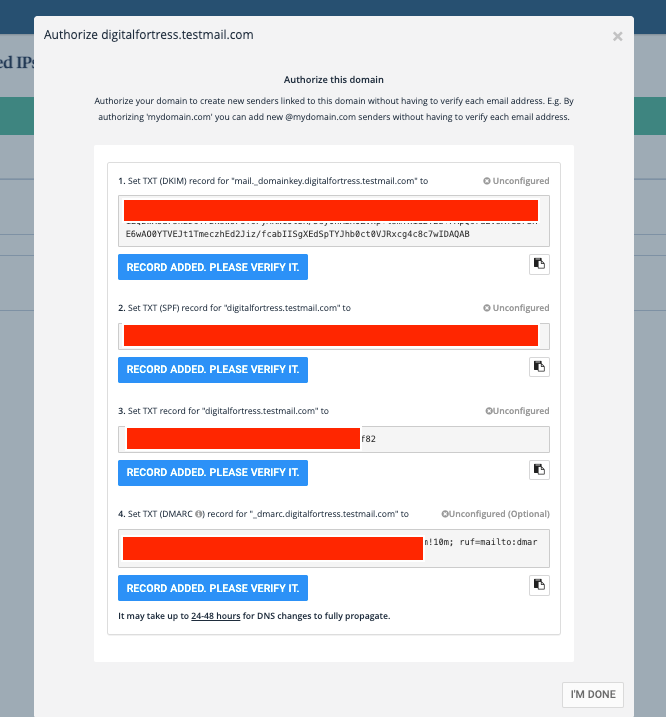
Now you need to save or upload the above DNS entries to your DNS host to complete the domain verification process. Once you’ve done with that, return to the Sender authentication page to verify. It may take unto 24-48 hours for DNS changes to fully propagate.
To know more about Brevo domain verification, check out this documentation.
That’s all. If you have further questions, please contact us.
