With weMail, you can easily assign Tags & Segments for your subscribers and manage them quite easily.
Here are the steps on how you can do that easily.
Segments
Segment is an important part of the email campaign. Segment is used as a personalization tactic to deliver more relevant email marketing to subscribers based on their geographic location, interests, purchase history, and much more. You have to create a segment for a list.
So, based on that segment those subscribers will be stored under that list.
To create a segment for a list, click View Subscribers of that particular list.
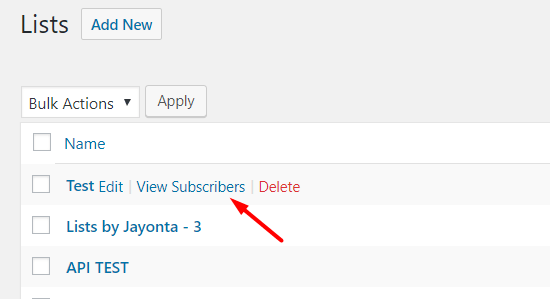
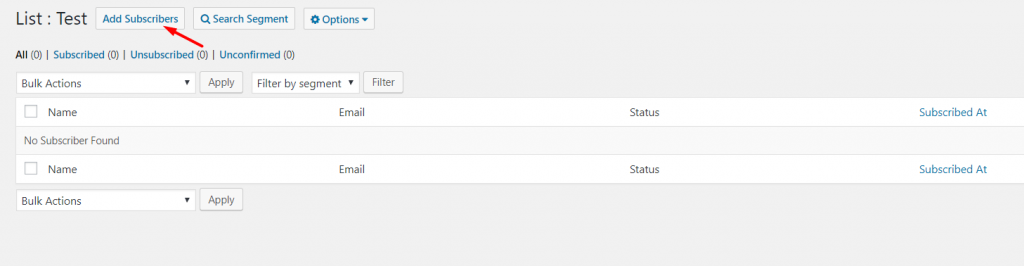
There you will find options Add Subscribers, Search Segment, Options. If you want you can add subscribers to your list manually. Click on Add Subscribers.
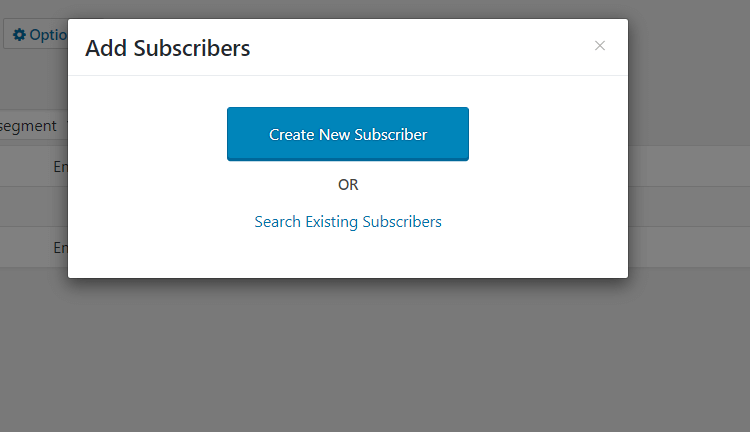
You will get a pop-up window. There you will get options to create subscribers or add from existing subscribers. If you want to create subscribers, click on that button.
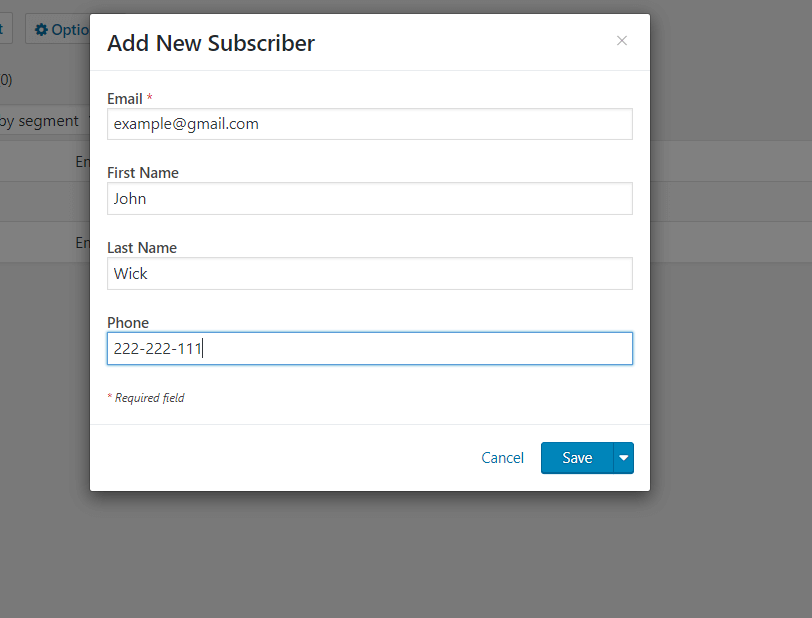
You will get options to add an email address, first name, last name, and phone number. Then hit Save and your subscriber will be added to that list.
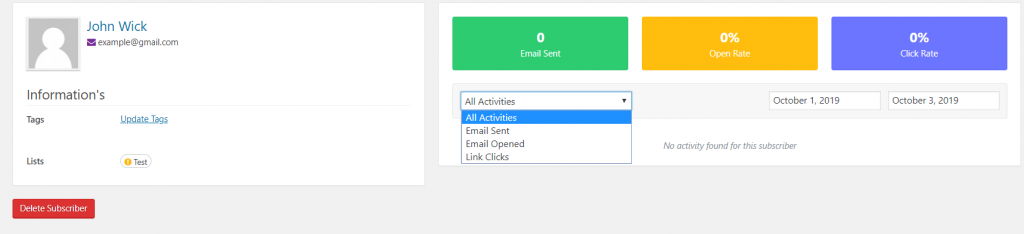
If you click on the subscriber, you can see his/her profile.
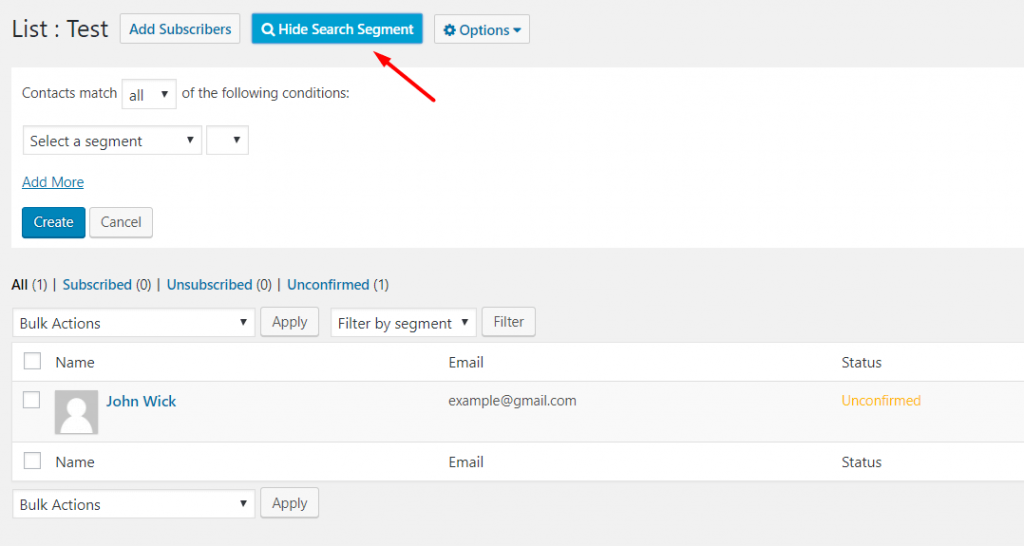
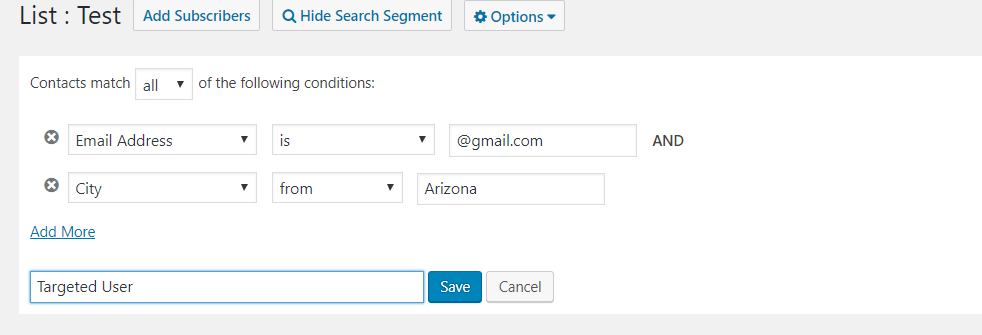
Now to create a segment, click on Search Segment, the button will change to Hide Search Segment.
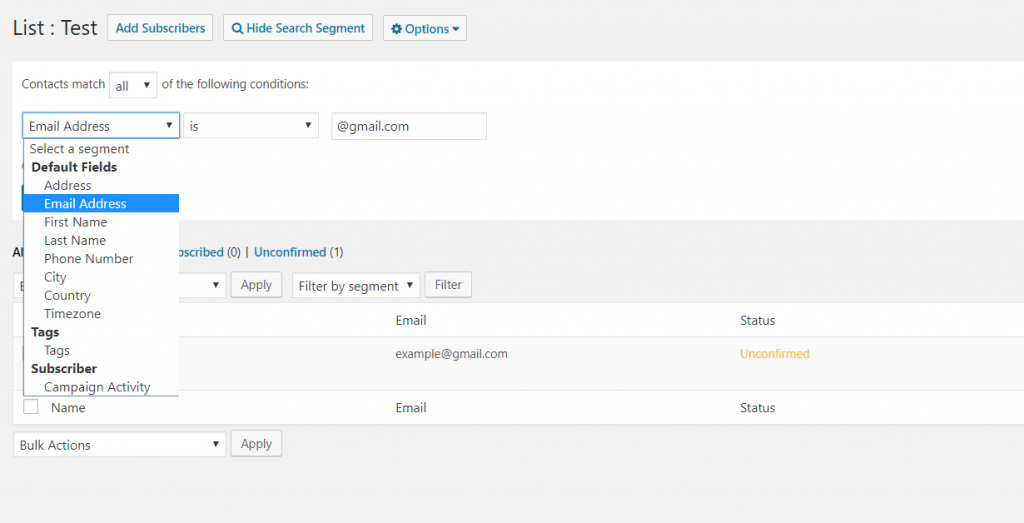
Now select a segment. If you choose email address and put @gmail.com at last, that means if a subscriber email address ends with @gmail.com like, ‘[email protected]‘, that subscriber will be added to that list.
There are more options for a segment available.
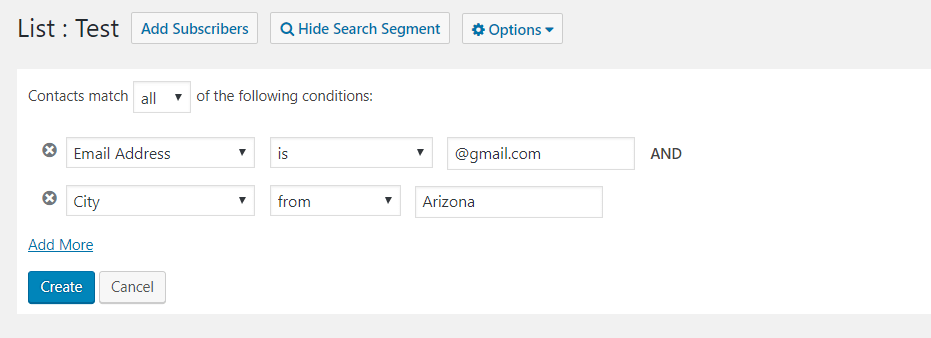
If you click on Add More, you can add another condition. So if both the conditions are met, then that subscriber will be added to that list.
If you choose any from the drop-down box of Contacts match, you will get OR for your condition. That means if any of the conditions are met, then that subscriber will be added to that list.

If you choose all from the drop-down box of Contacts match, you will get AND for your condition. That means if both of the conditions are met, then that subscriber will be added to that list.

Click on Create, you will get an option to set the segment name. Type the name and hit save.
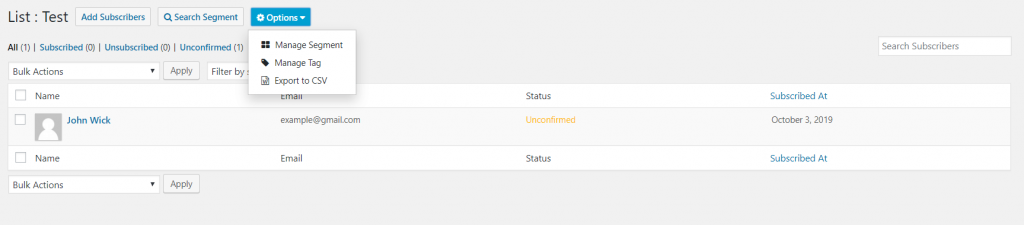
If you click on Options, you can Manage Segments, Manage Tags and Export To CSV.
Tags
Tagging email contacts will help you manage contacts segmentated
Creating Tags
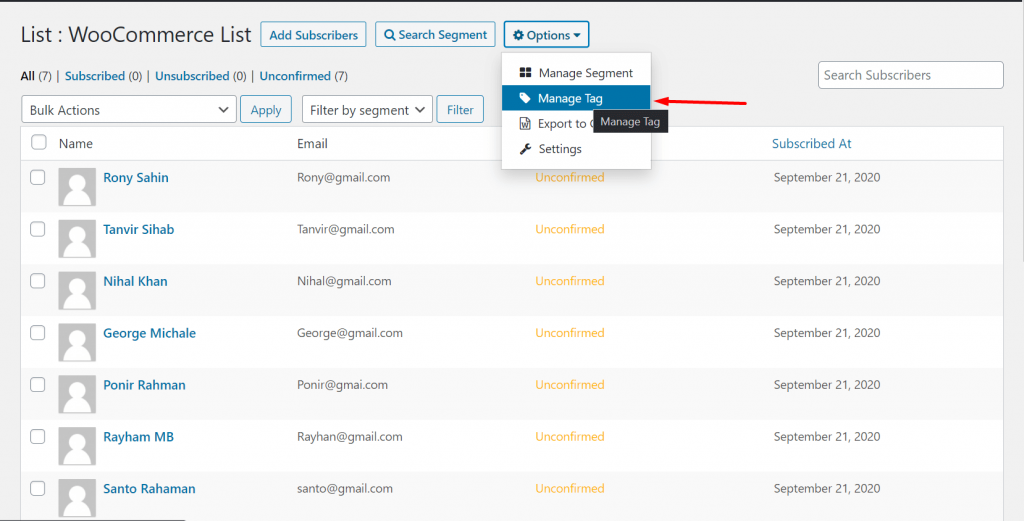
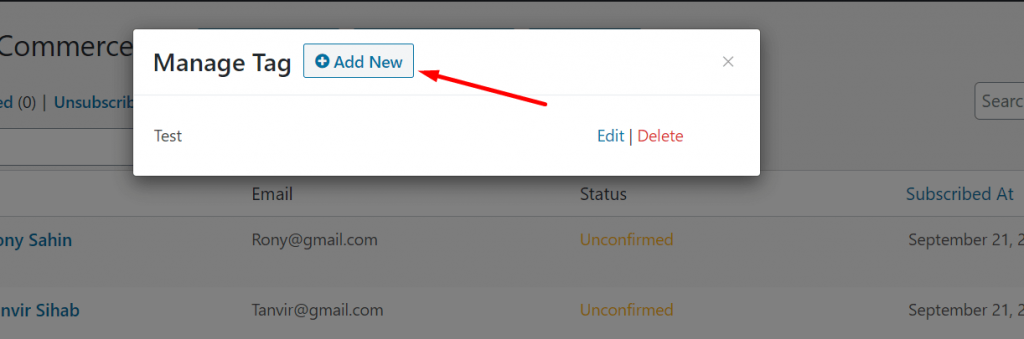
You can create different Tags for every lists. To do that, first select a list. Now, click on Options and choose the Manage Tag option
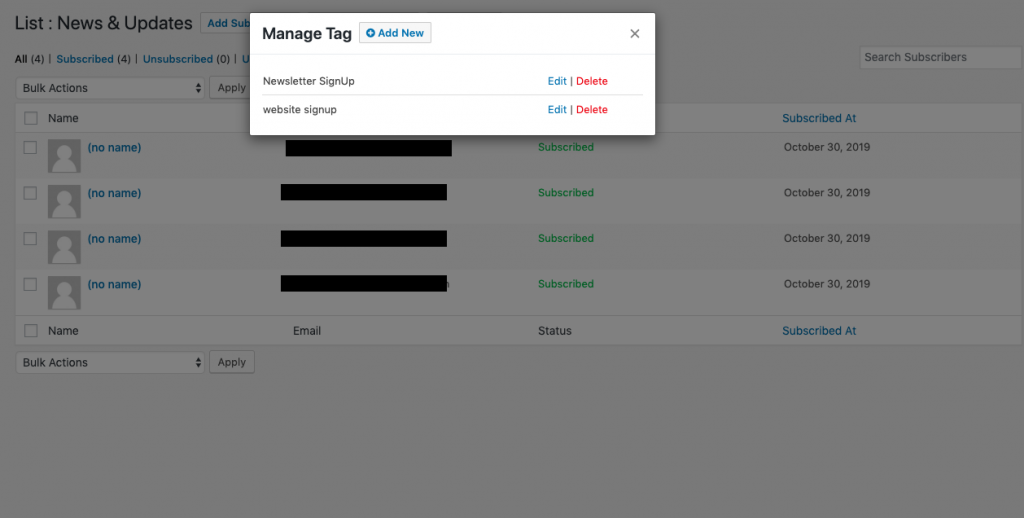
In the pop-up, click on Add New.
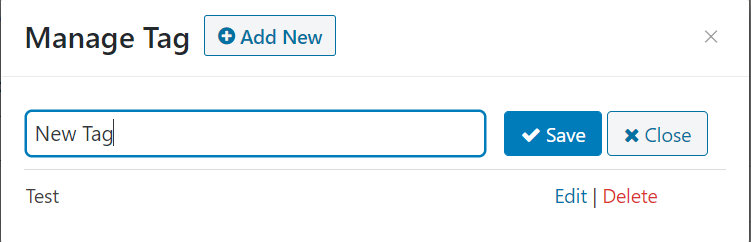
Write the name of your Tag. You can create multiple Tags. Hit the Save button to finish.
Assign Tags
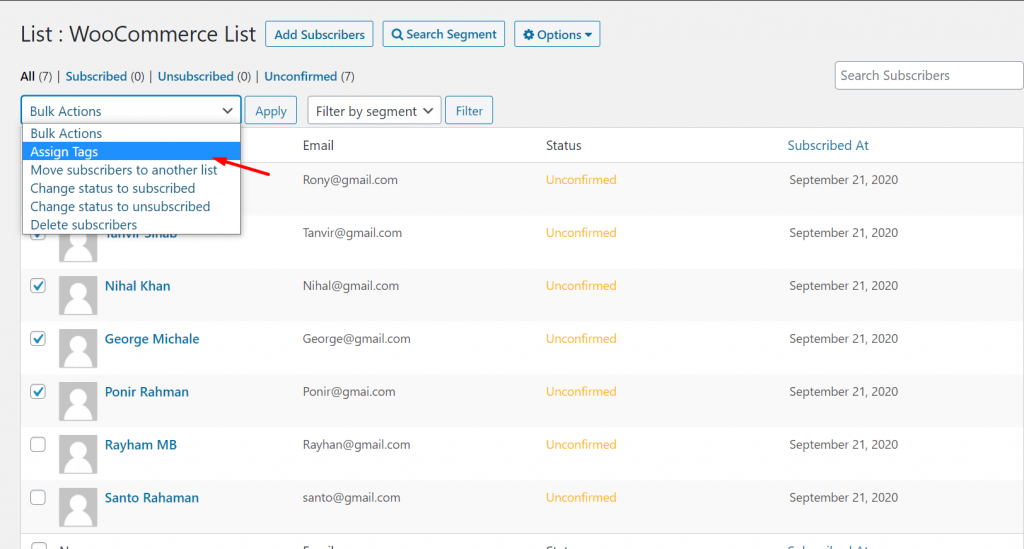
To assign Tags to your subscribers, first select the subscribers you want to assign the Tags to. Now, from the drop-down menu, select Assign Tags option.
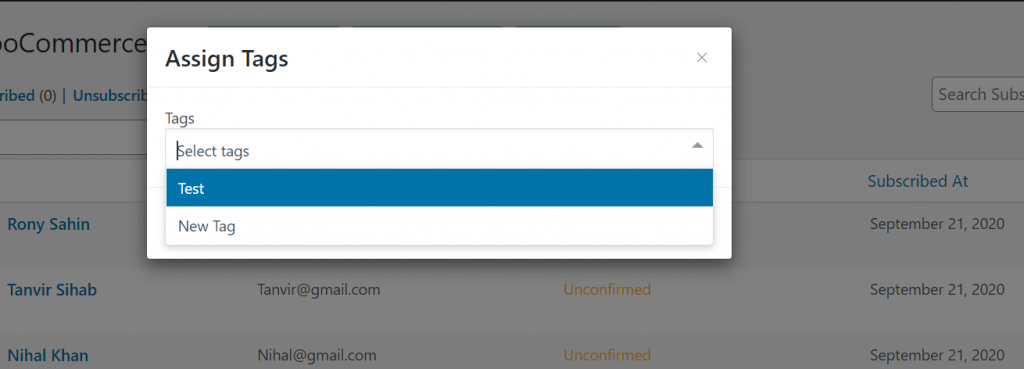
Now, select the subscribers you want to assign.
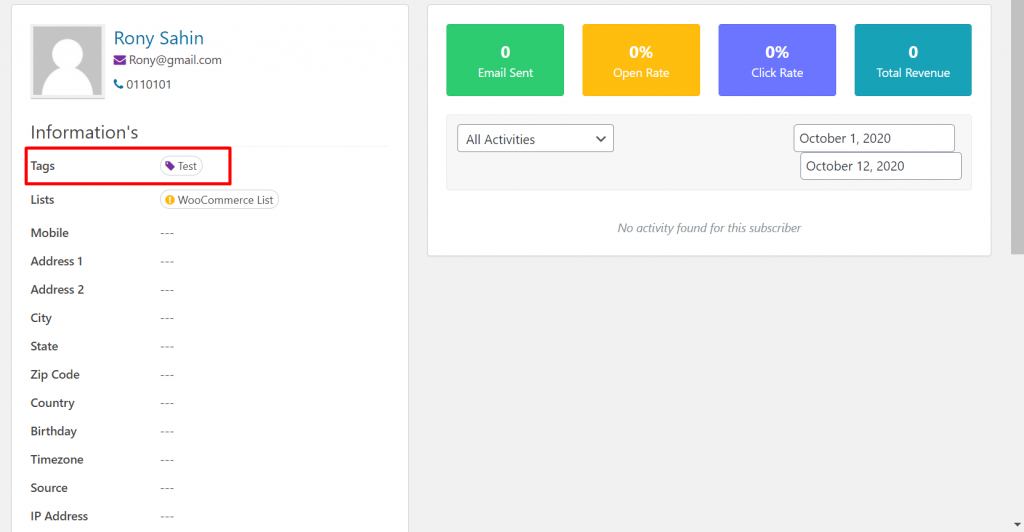
When you visit the profile of a subscriber, you will see the Tag is assigned.
Note: If you assign Tags during form submission, than the tags will be automatically added during submission.
That’s it!
