Upgrading to weMail Pro unlocks advanced email marketing tools directly inside your WordPress site – automation, campaign insights, and more.
Follow these updated steps to install, connect, and activate your Pro account using the latest weMail interface.
Step 1: Start the Upgrade
Go to the weMail Pricing Page.

Choose the plan that fits your needs and click Get Started.
You’ll be redirected to the onboarding screen. Click Let’s Get Started to continue
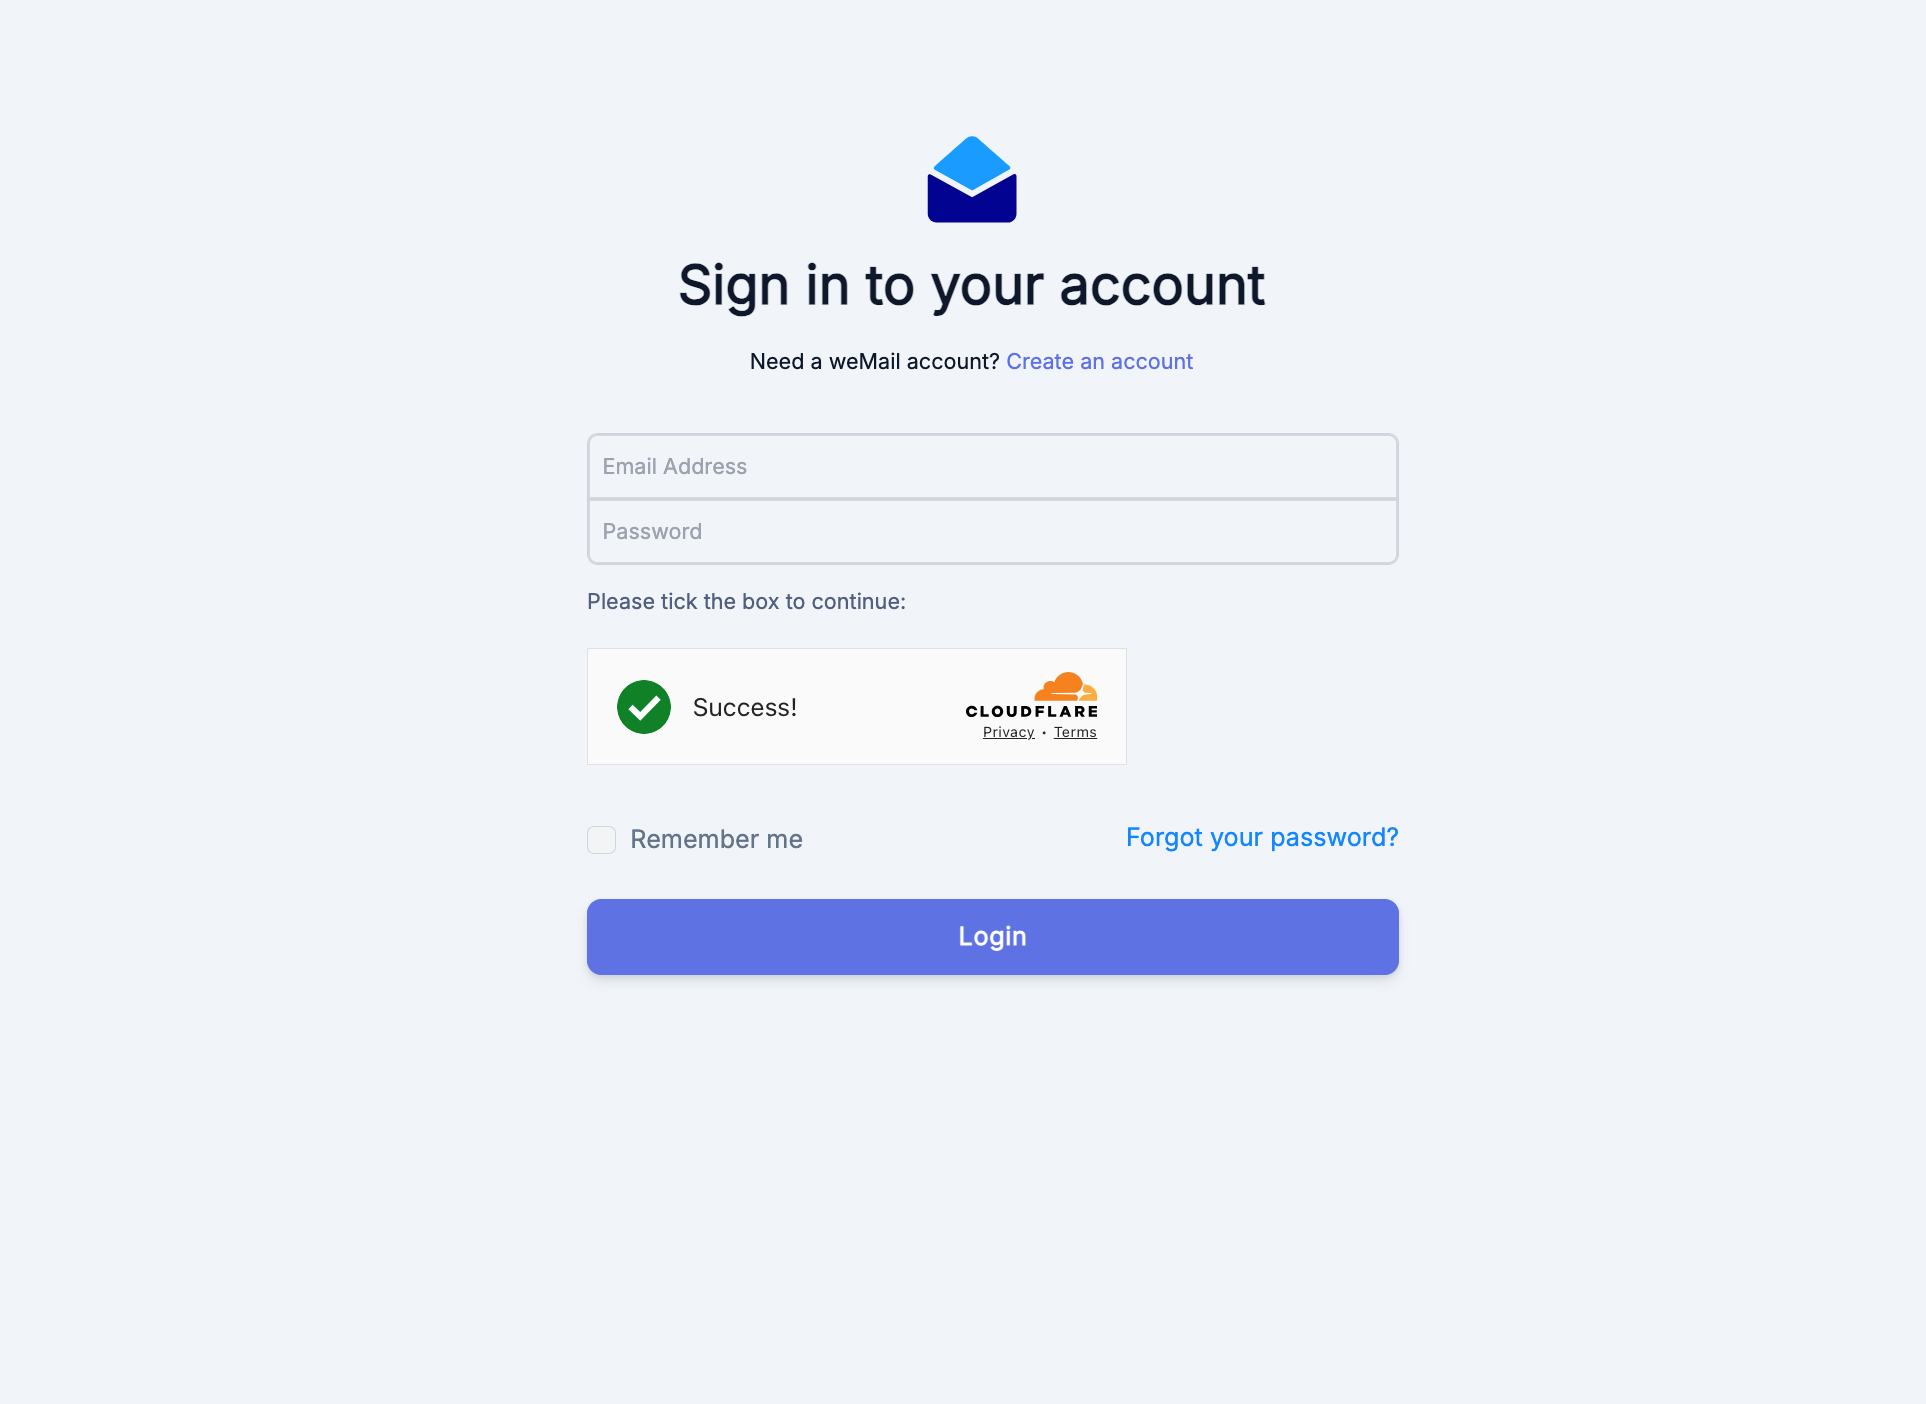
Step 2: Log In or Create an Account
If you already have a weMail account, click Login and enter your credentials.
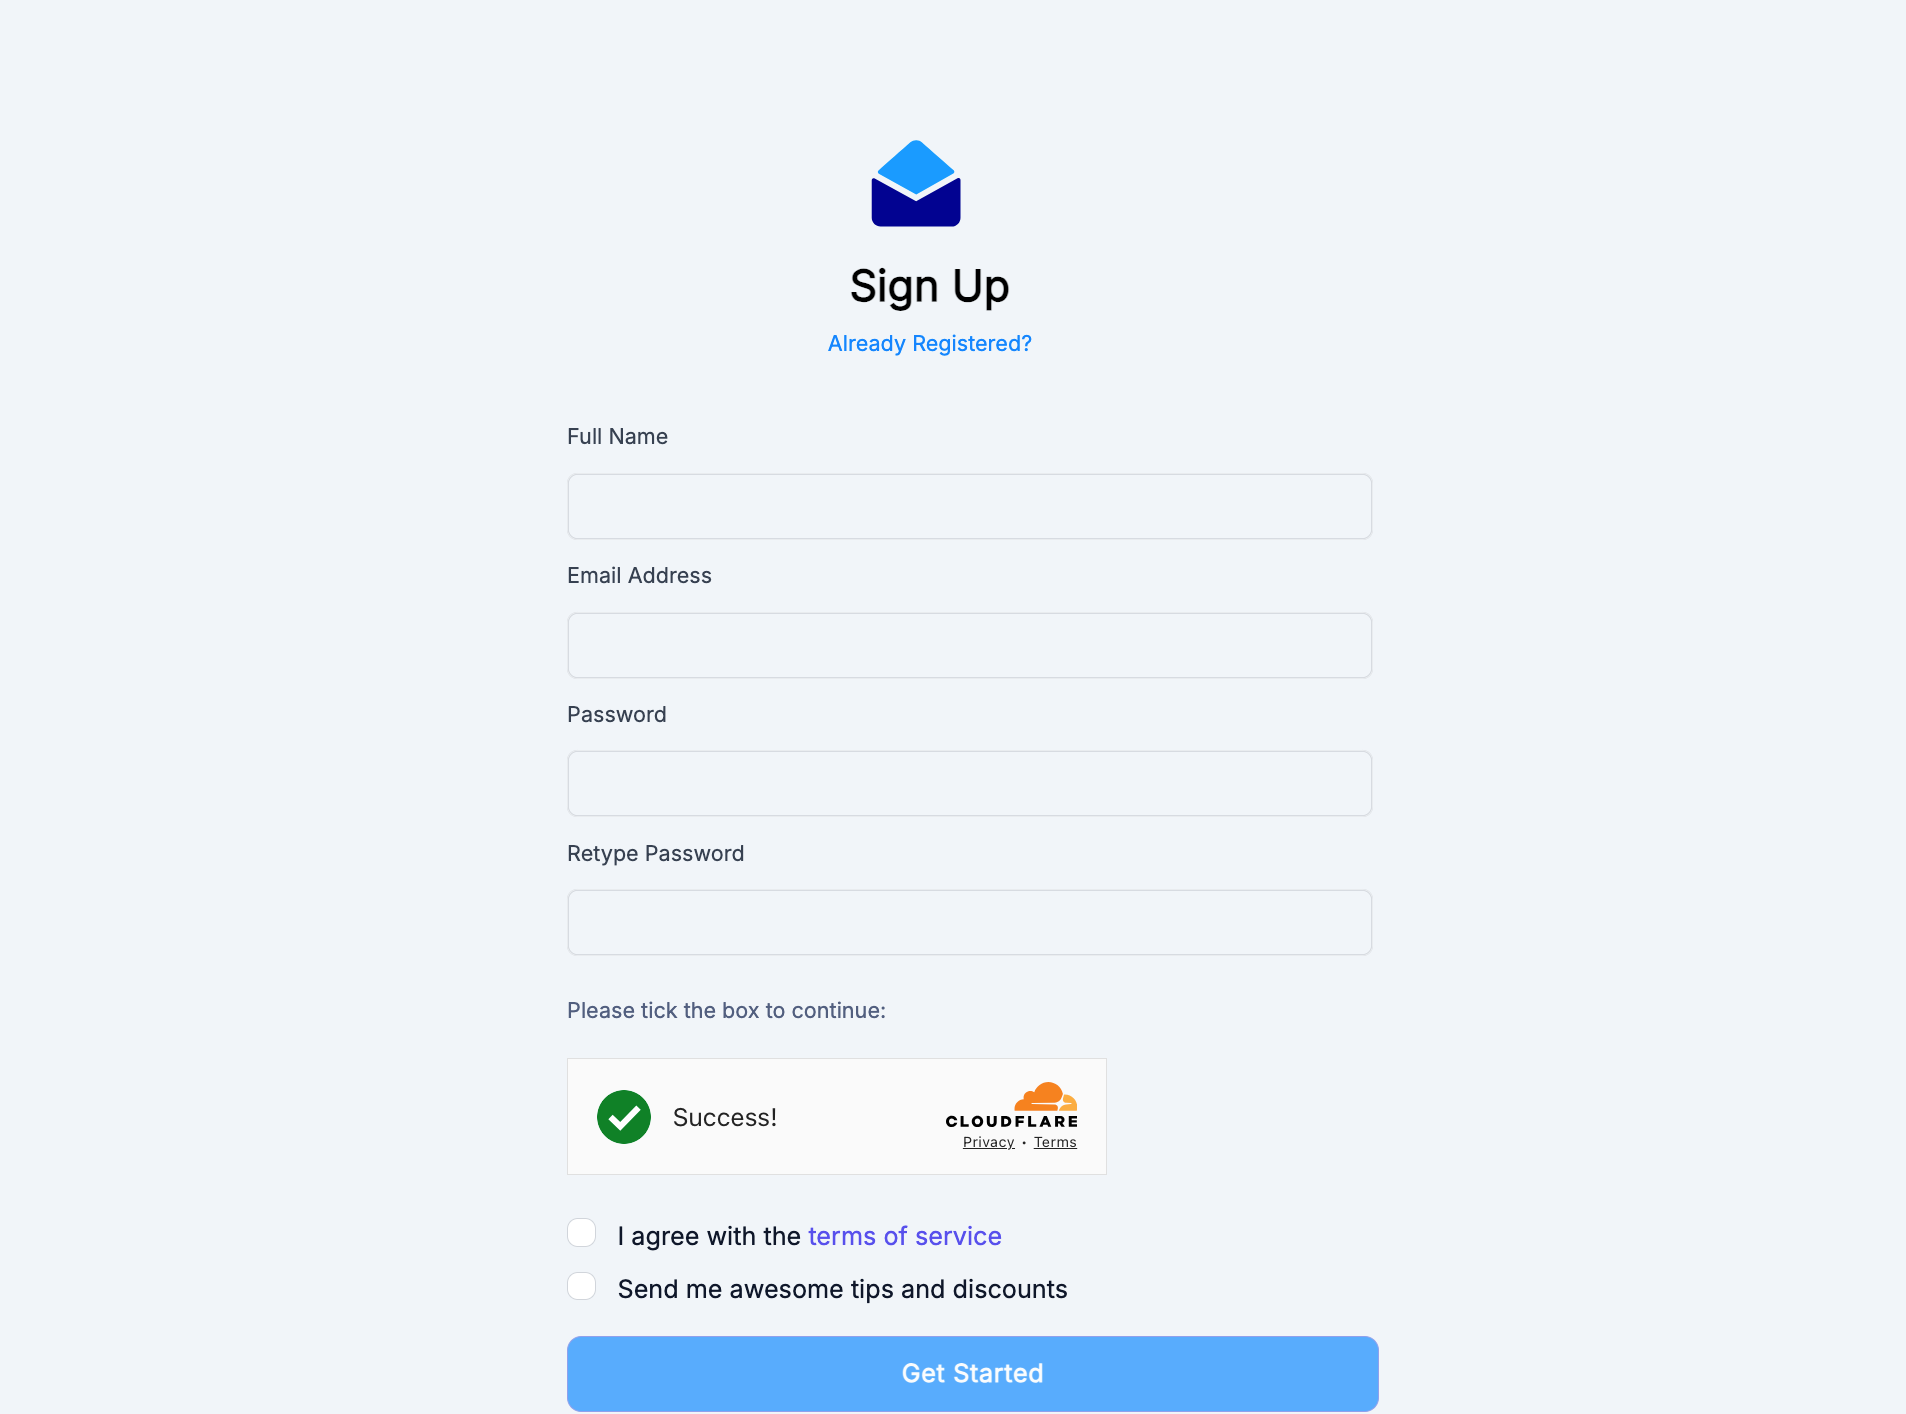
If you are new to weMail, click Sign Up, fill in your name, email, and password, then log in.
Step 3: Add or Select Your Website
In the onboarding dashboard, you’ll see any sites you’ve previously connected.
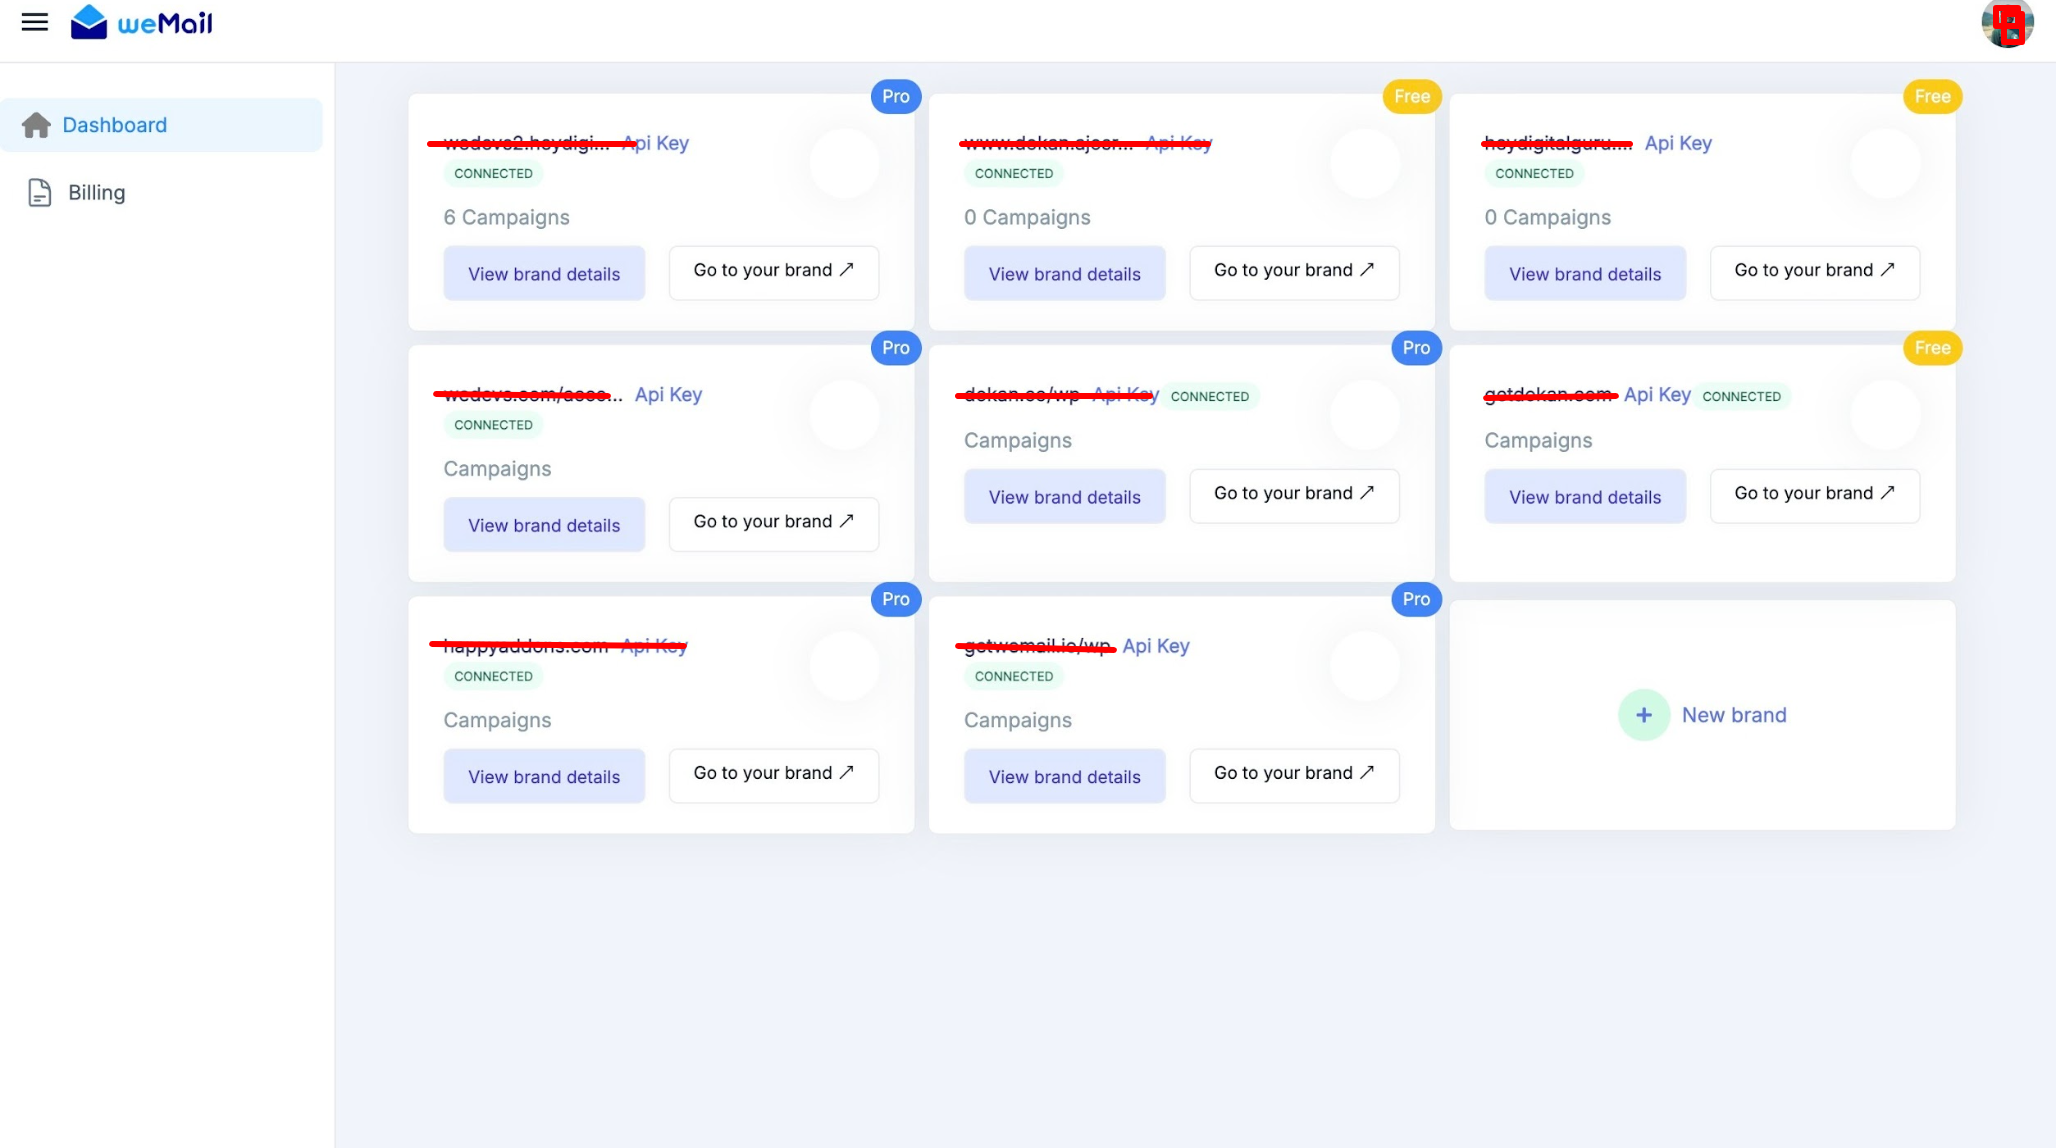
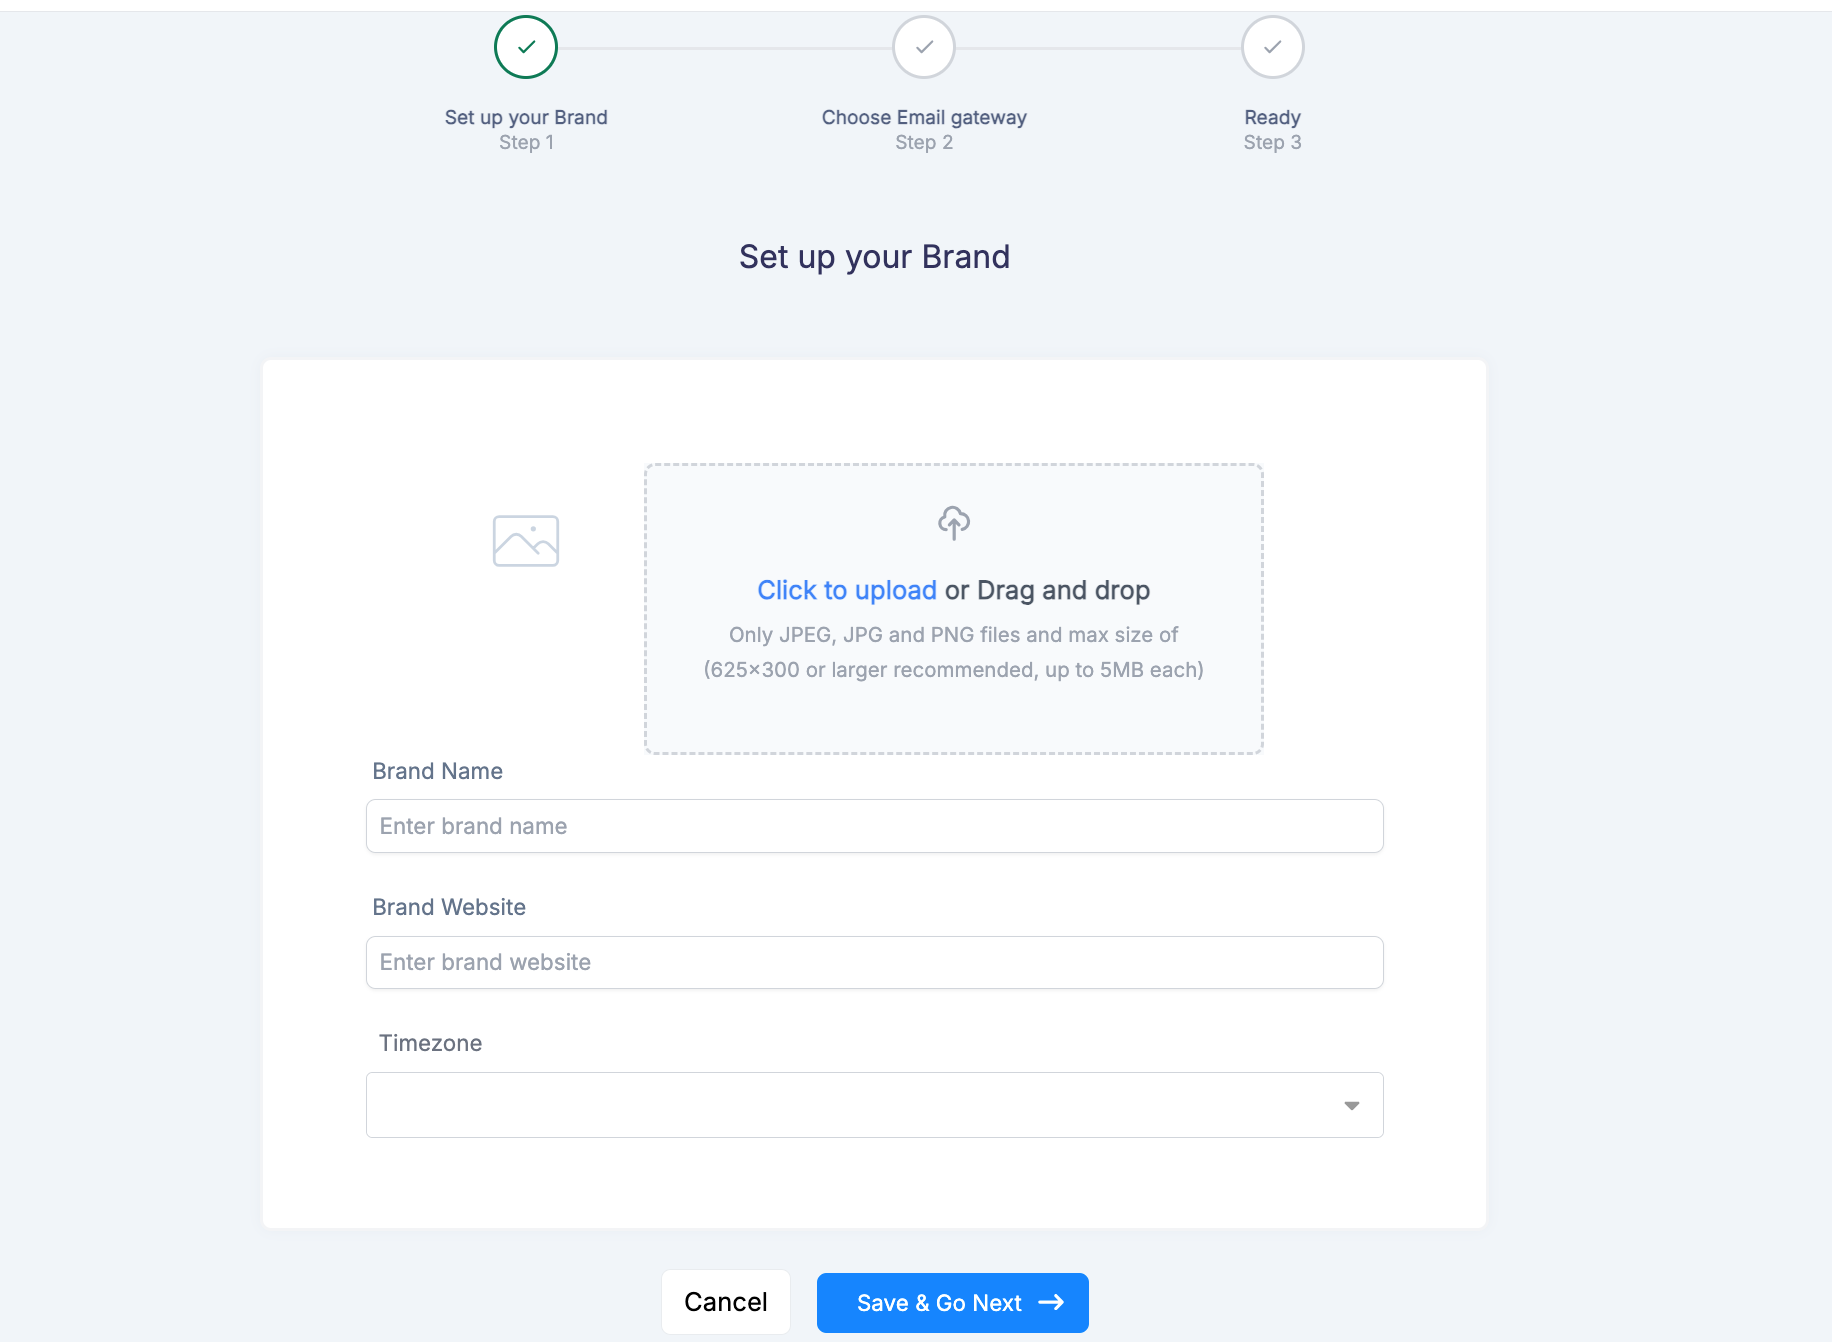
If your site isn’t listed, click Add a New Site.
Enter your website URL and click Next or Continue to proceed.
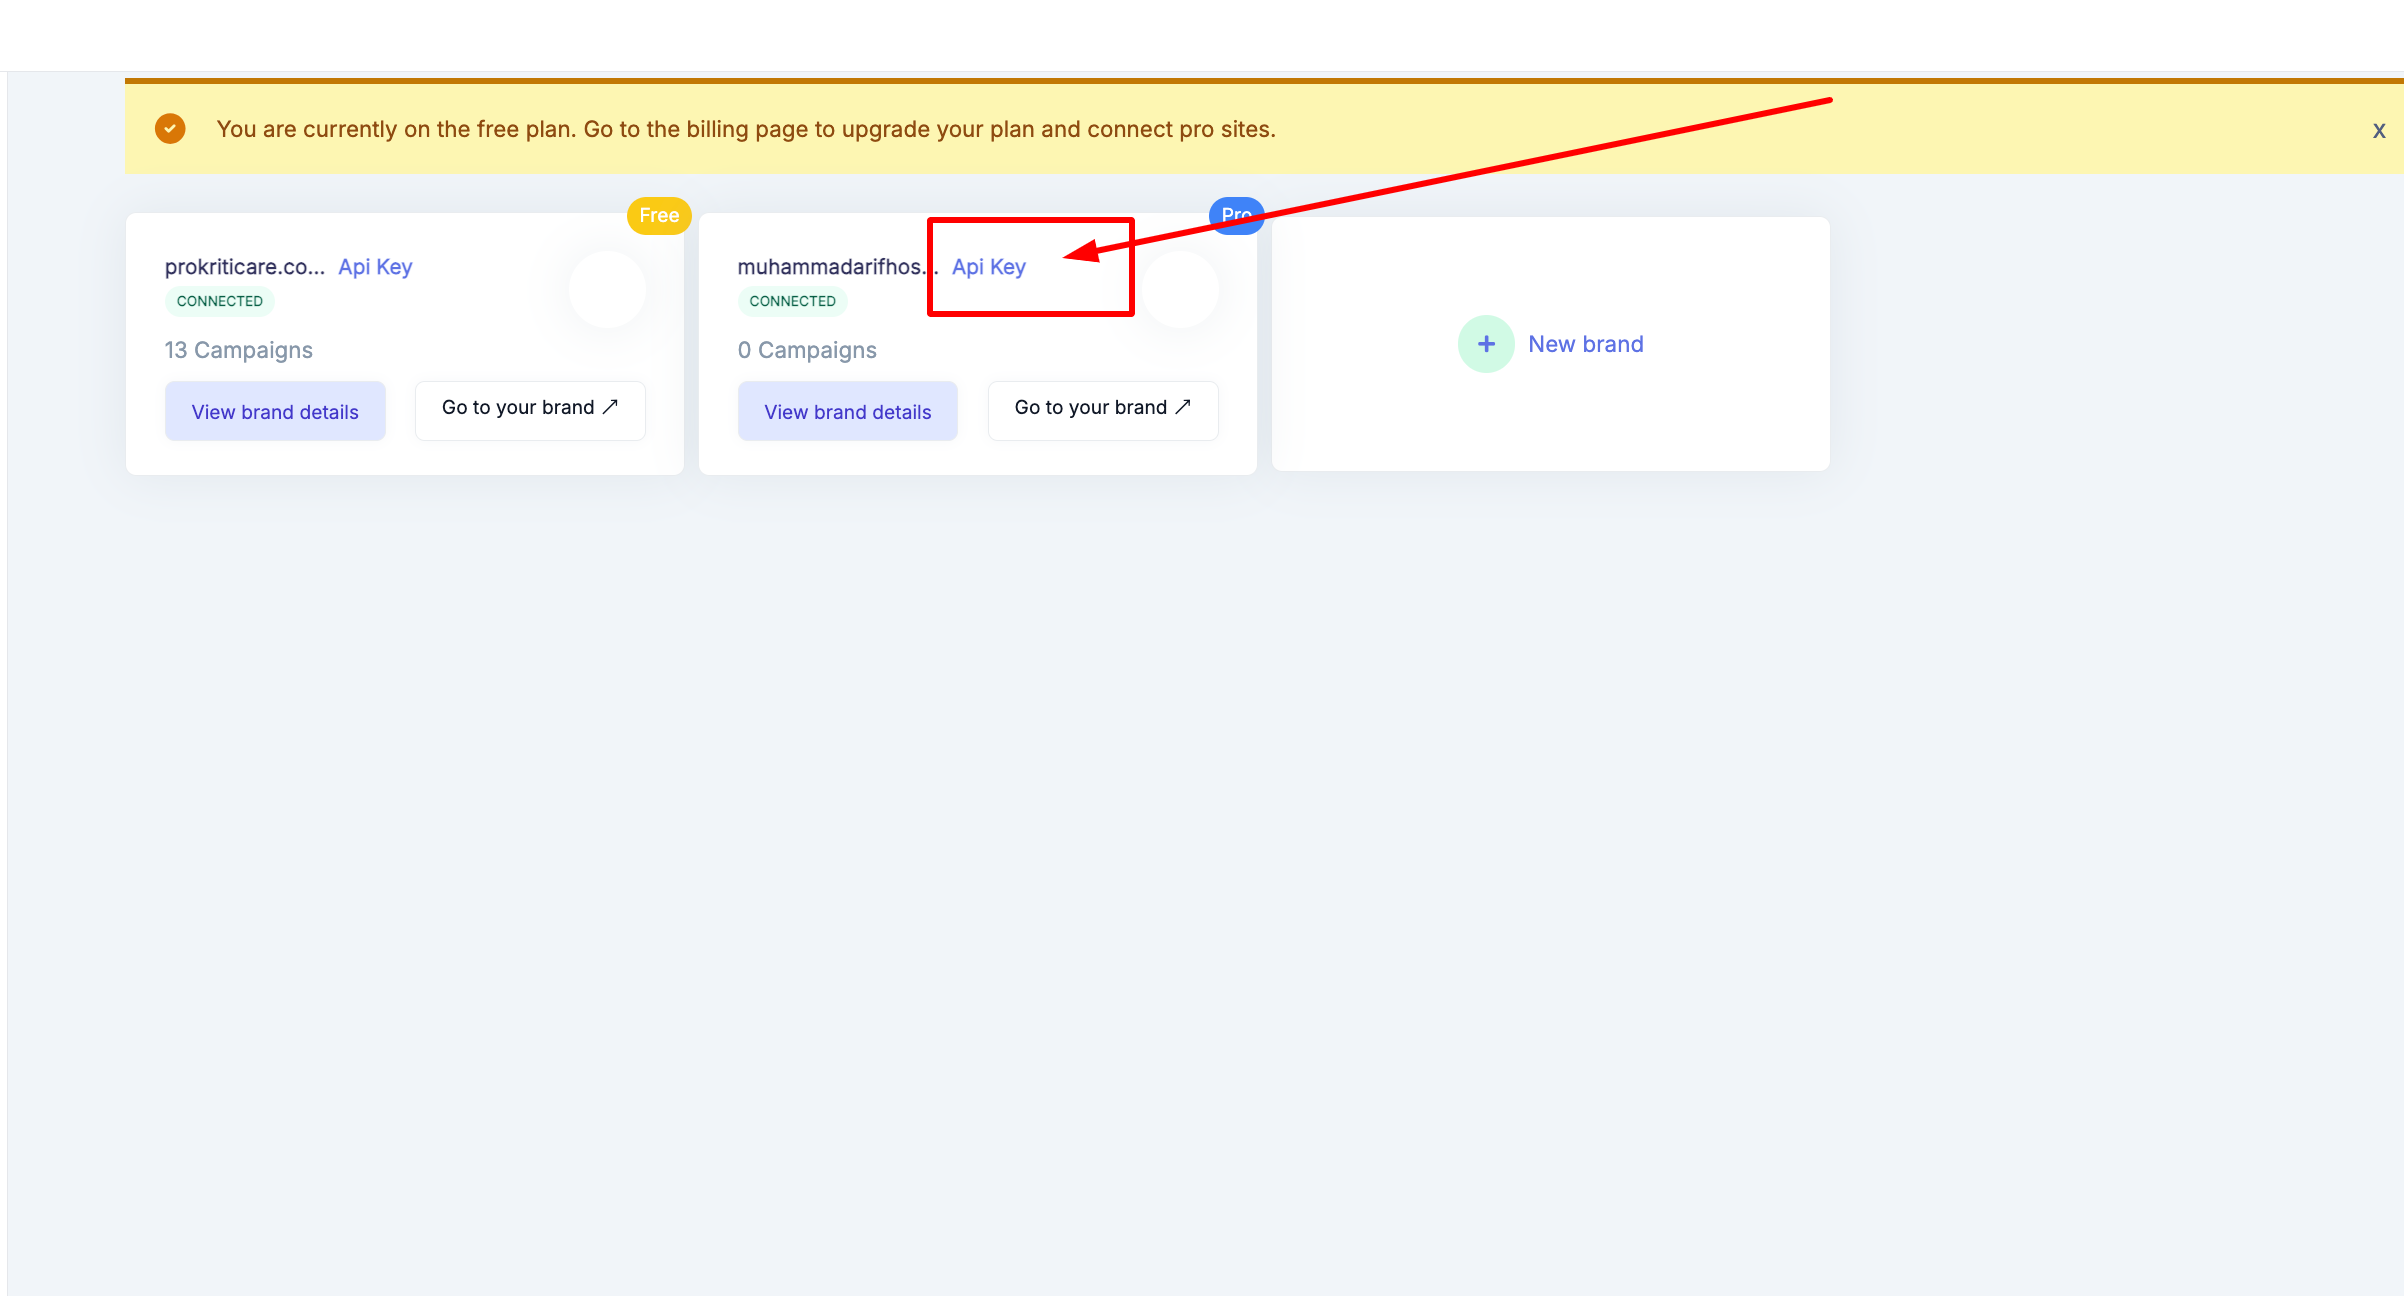
Step 4: Install the Plugin & Get the API Key
Once you add your site, you’ll see an API Key generated for it.
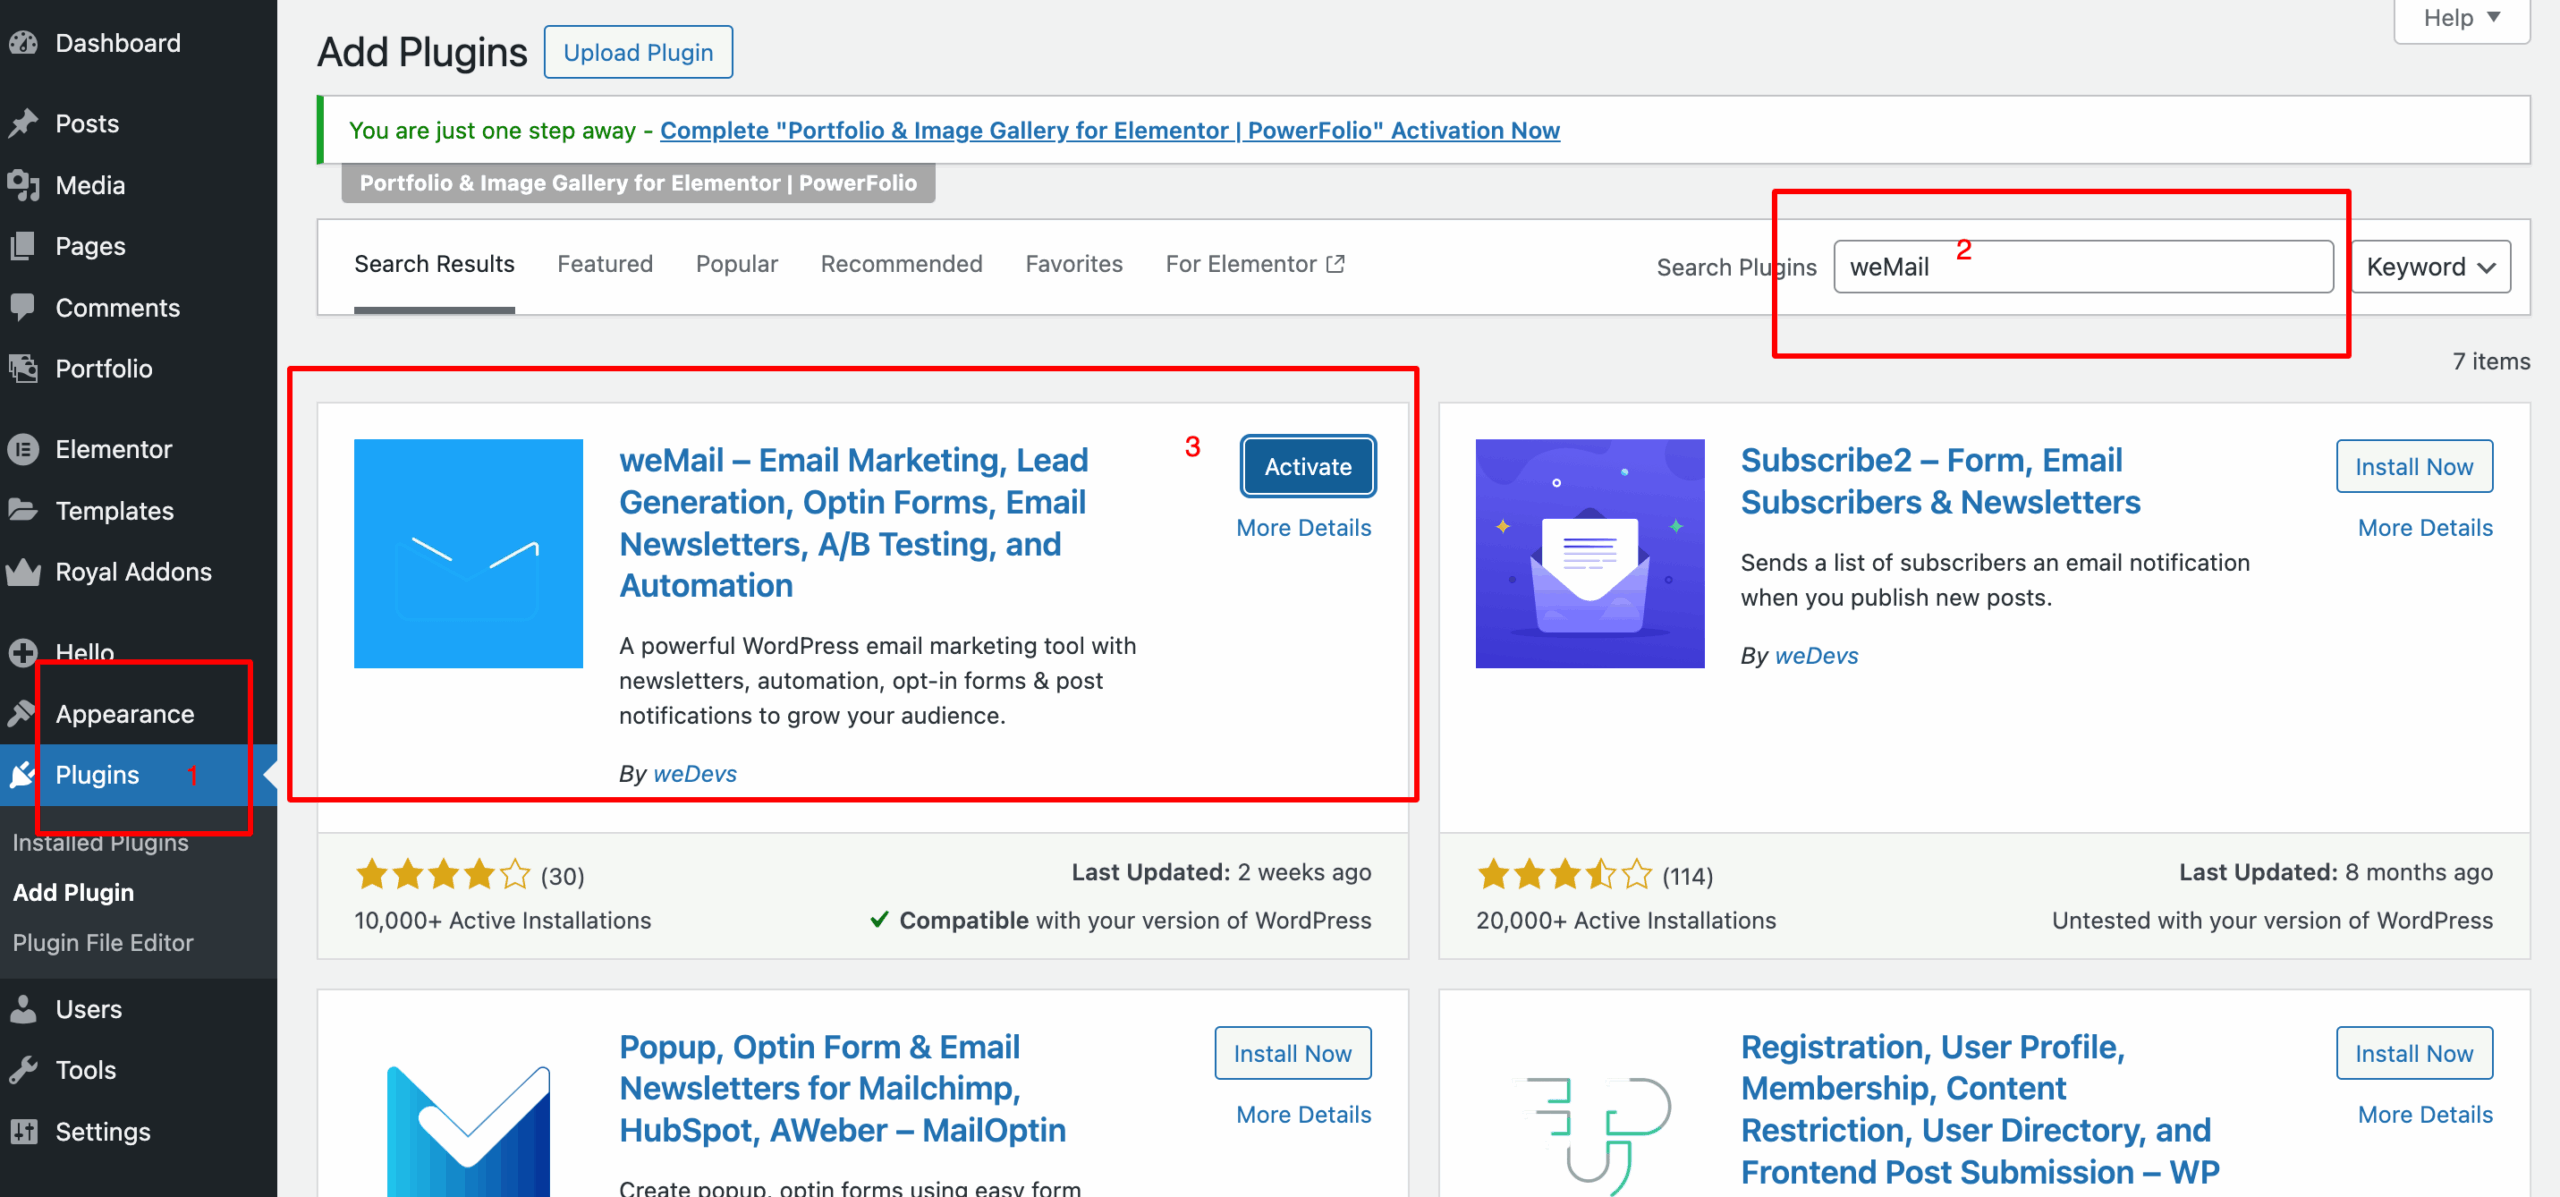
If the weMail plugin isn’t installed on your WordPress yet:
- In your WP Admin, go to Plugins → Add New.
- Search for weMail, then click Install Now and Activate.
After activation, go to weMail → Settings inside WordPress and paste the API key.
Step 5: Access the Onboarding Dashboard
Return to the weMail onboarding page and refresh if needed.
Select the site you just connected – it will open your Onboarding Dashboard.
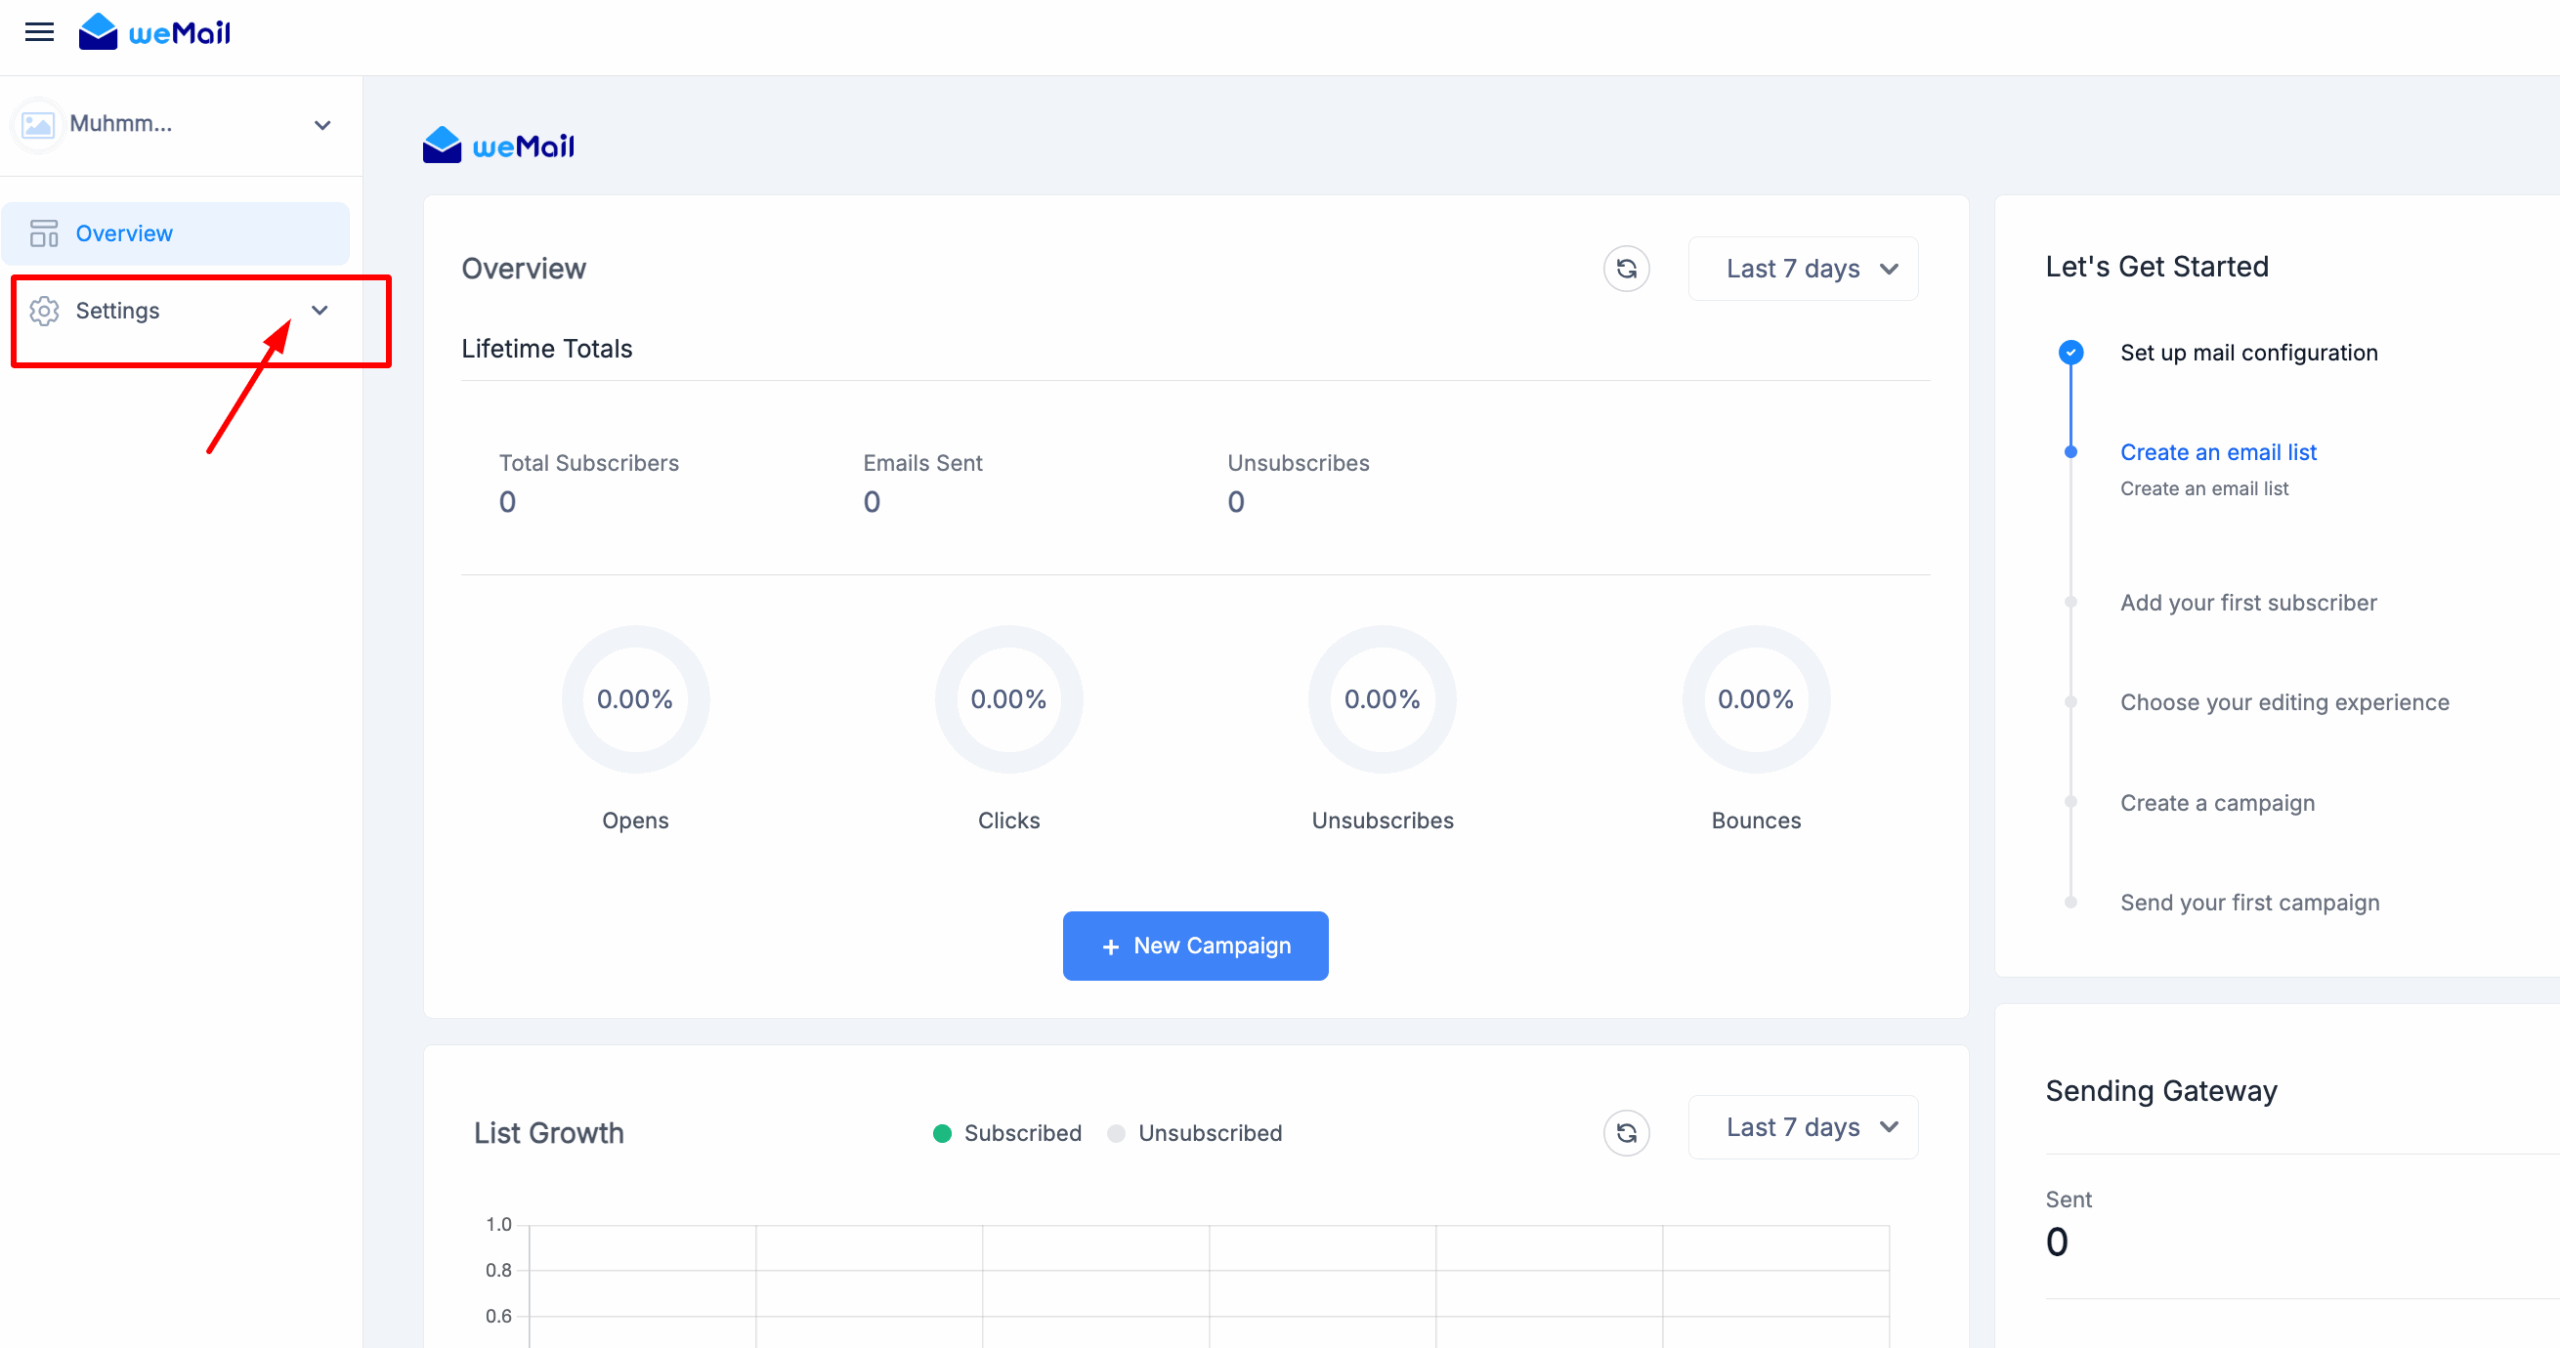
From here, you can manage integrations, settings, and plan details.
Step 6: Activate Your Pro Plan
Inside the Onboarding Dashboard, click on the Billing tab.
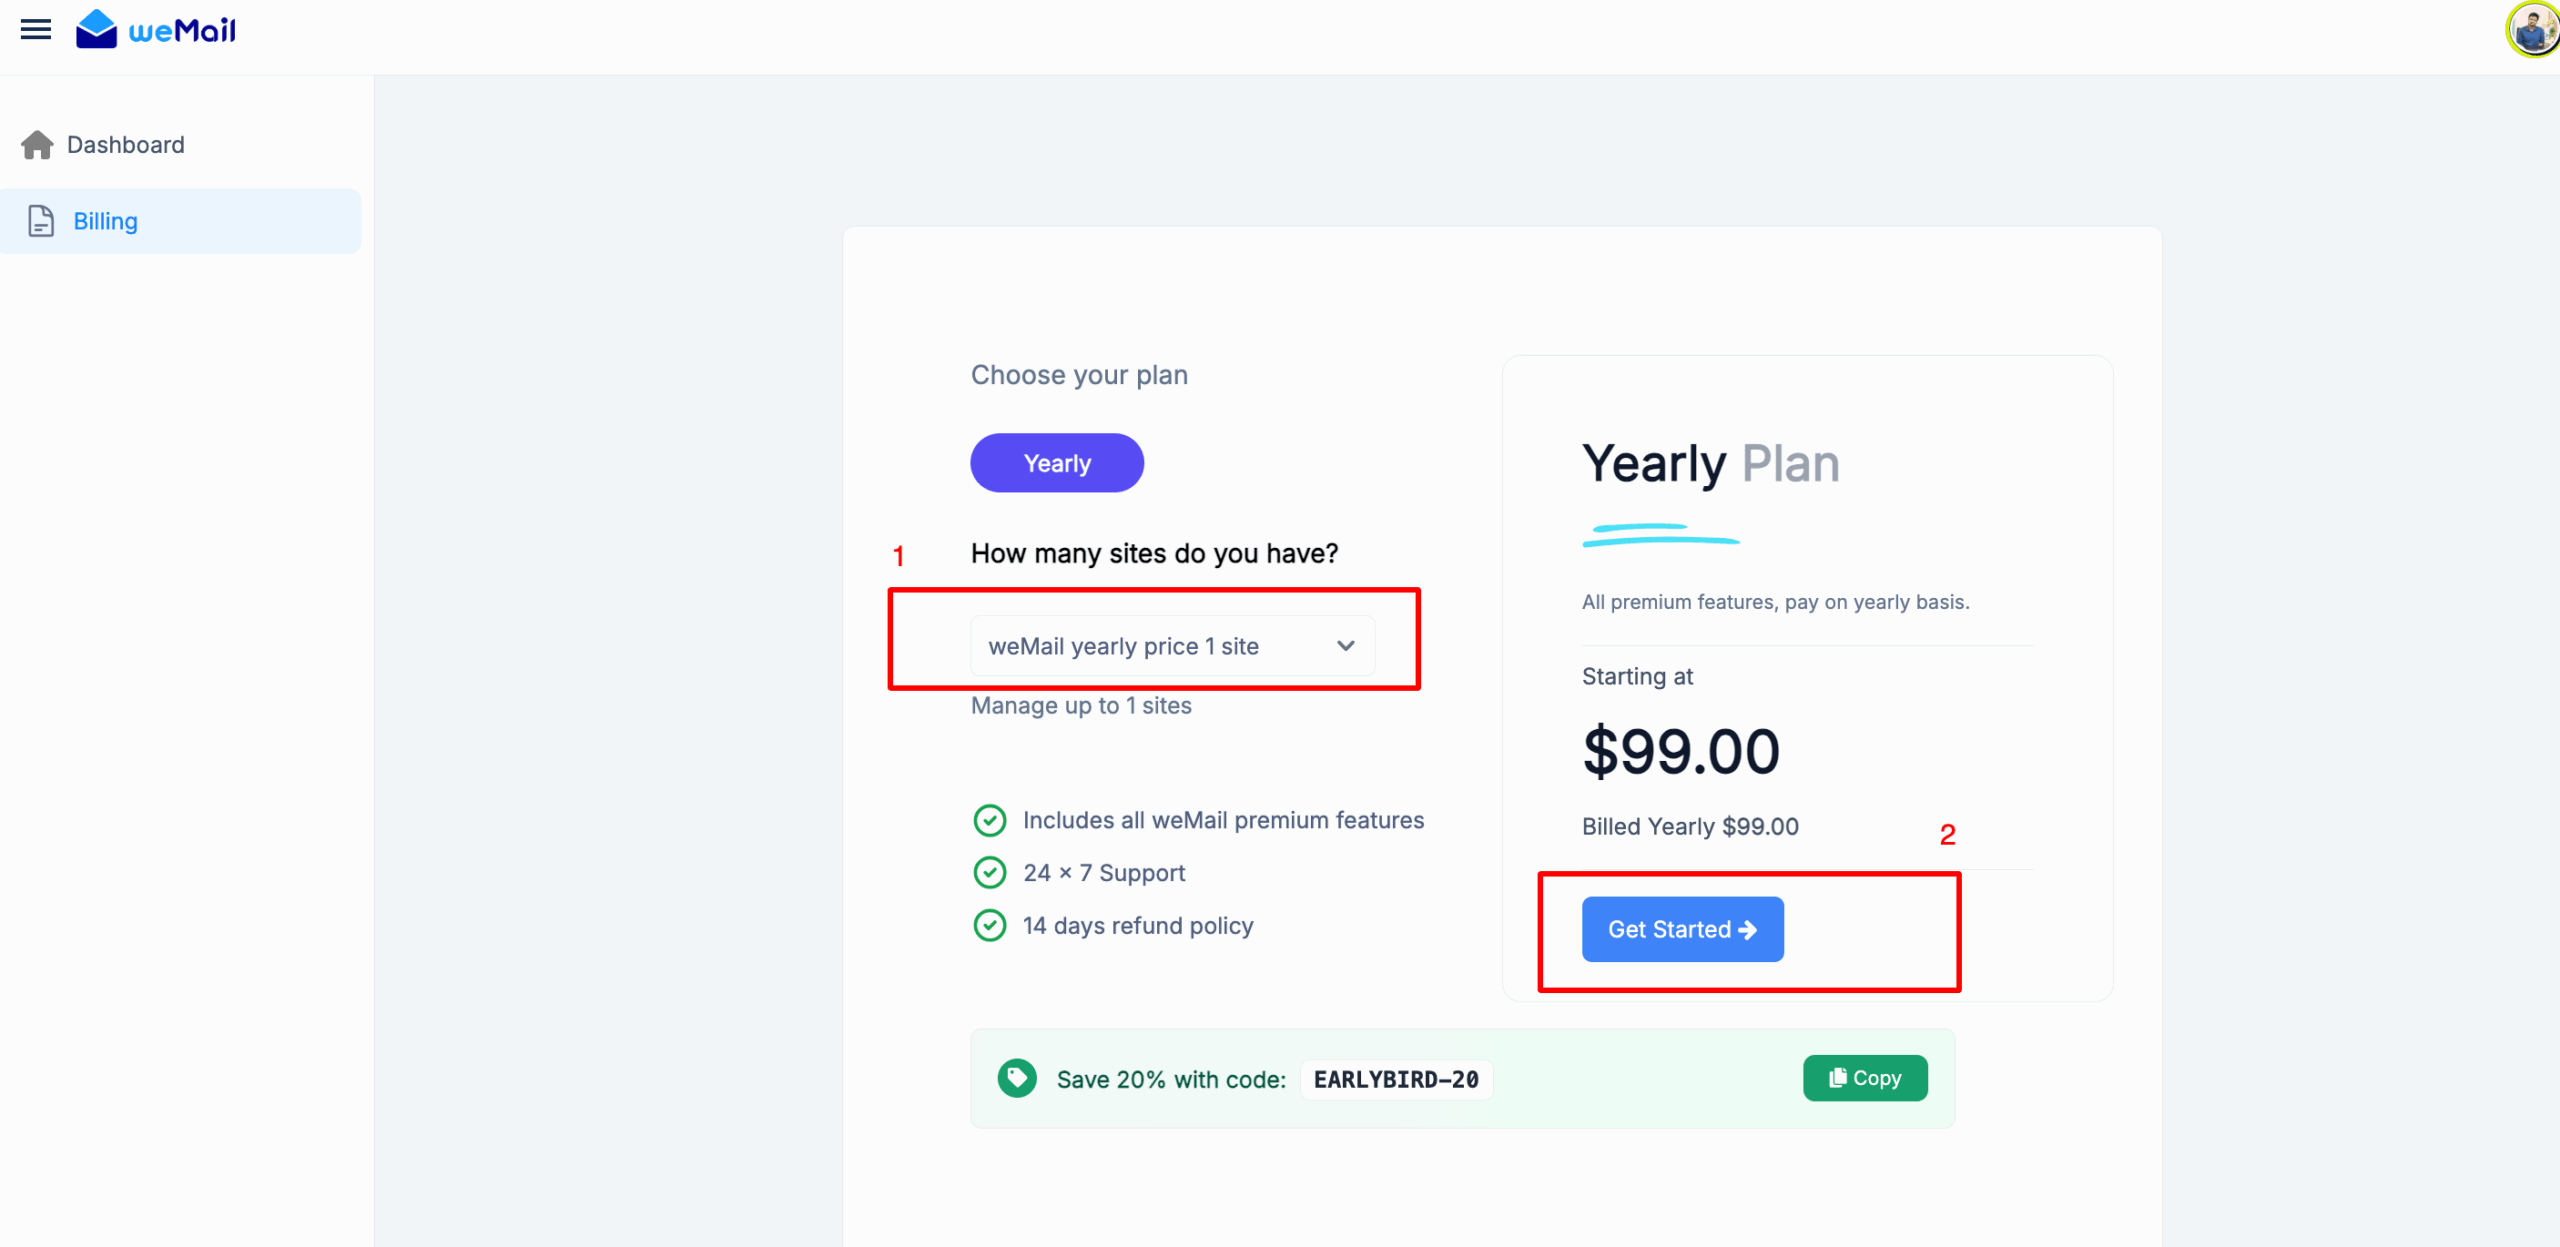
Enter your payment details and confirm your subscription.
You can also open WP Admin → weMail → Billing to access the same billing page from WordPress.
Once payment is successful, your plan is automatically upgraded to Pro.
After Installation – Quick Checks
- Go to WP Admin → weMail and confirm the Connection Status shows Connected.
- Verify your site appears in the Onboarding Dashboard.
- Check that the Billing tab displays your active Pro plan.
- Optionally, run a quick test (e.g., sending a test email) to confirm everything works.
You’re all set!
Your site is now connected with weMail Pro.
Enjoy the flexibility of unlimited contacts, seamless gateway integrations, and full-power email marketing right inside WordPress.
