You have already downloaded and activated weMail. It’s time to create your weMail account.
So, let get started!
- Login to the admin panel of WordPress.
- Navigate to Plugins → Add New → weMail. Click Install. Once installed, click on Activate to get started.
- Now after successfully activating weMail, navigate to the new weMail icon on your WordPress dashboard.
- You will have two choices. Either register as an Existing user or a new user.
We will start with registering as a new user.
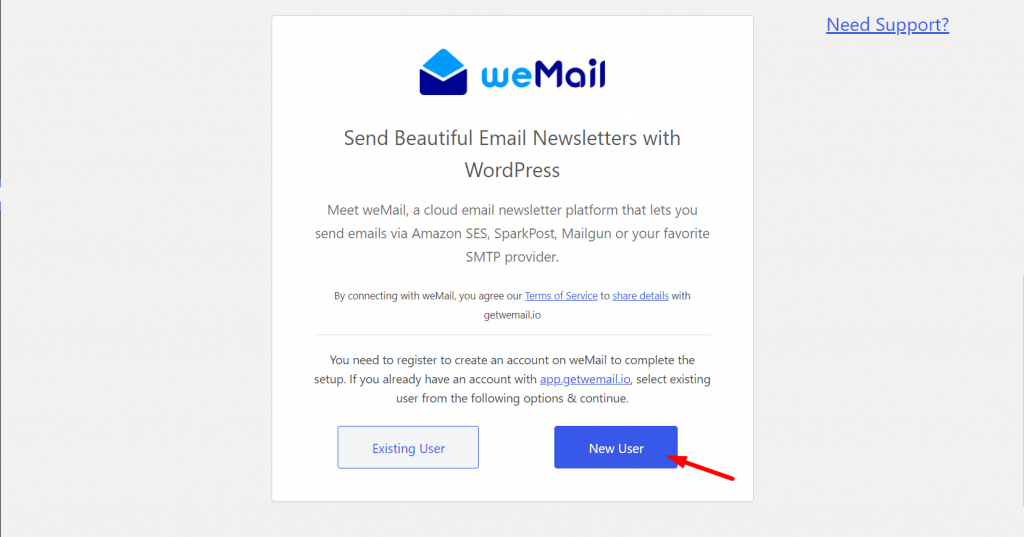
- Now, enter your email address and password that you will use to register on https://app.getwemail.io/
- After that. you will be sent an OTP to your registered email address. Copy and paste it.
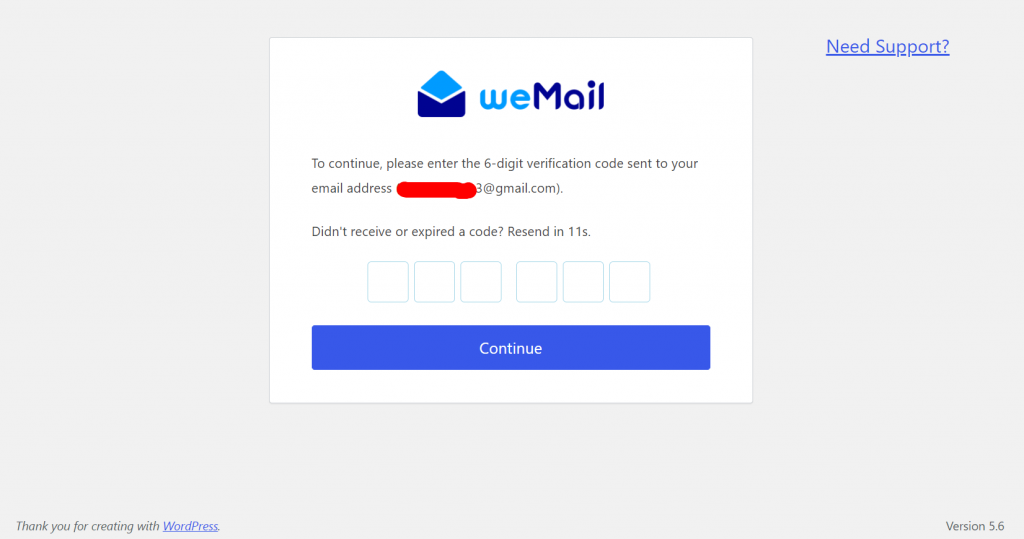
You are done!
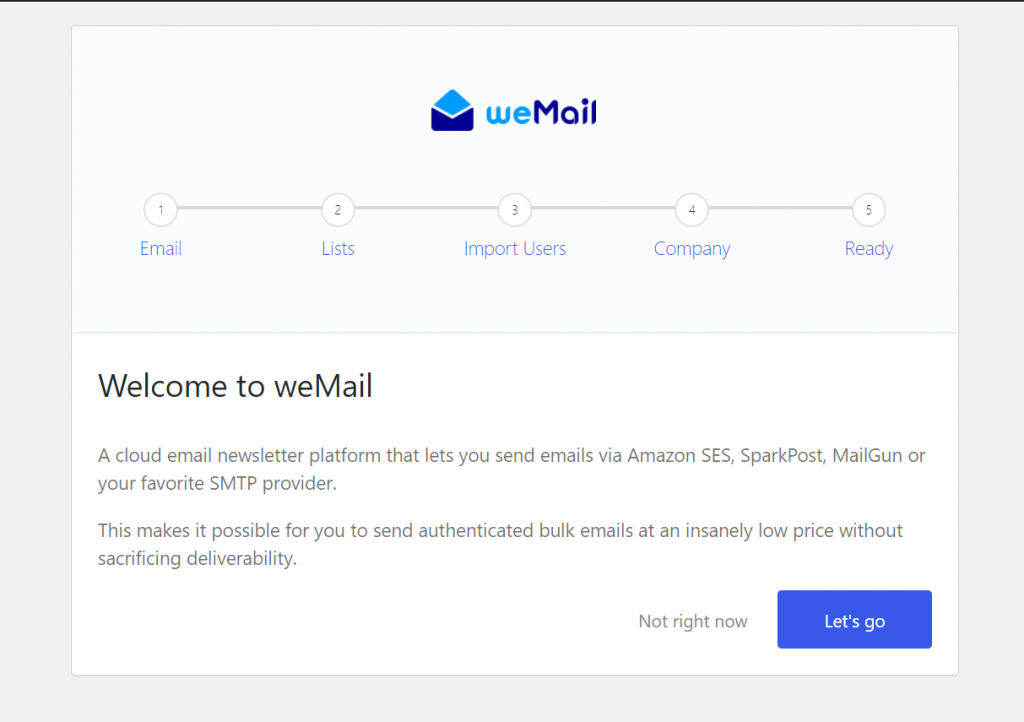
For Existing User,
Just select Existing User,
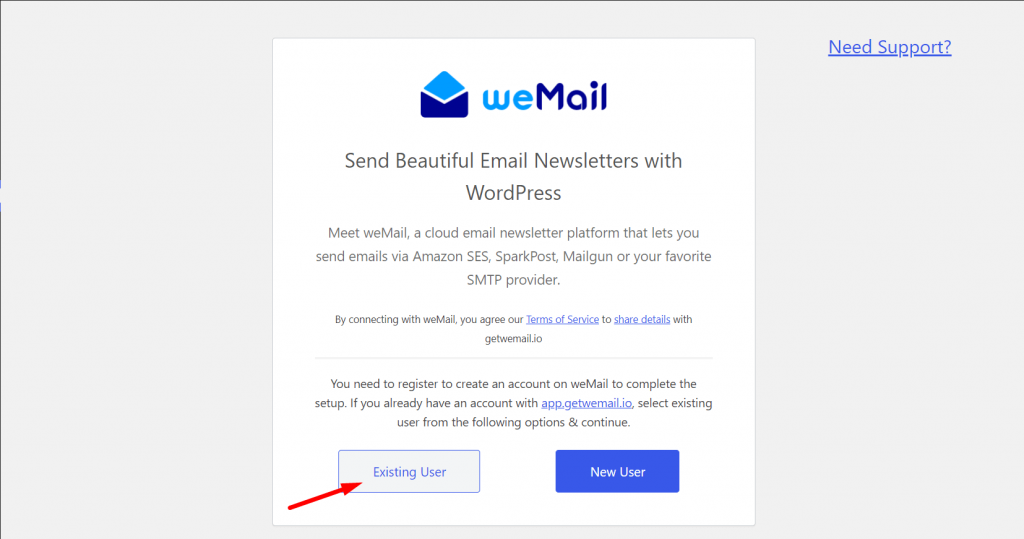
That means you are already have an account here . Enter the emails address and password you used for registering on that site.
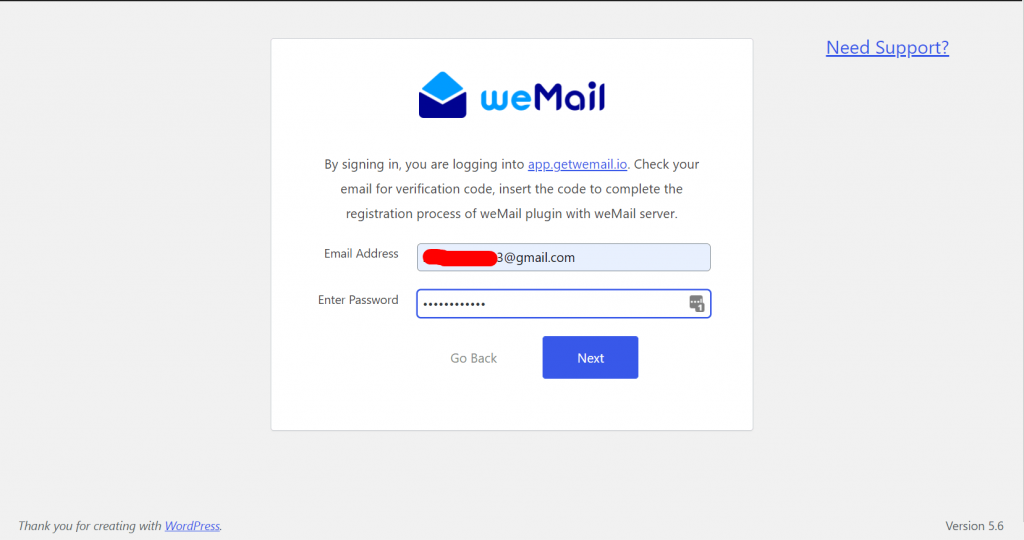
An OTP will be sent to your email address. Enter it and your site will be connected.

And if you want, you can add new site from your weMail account as well. Just choose Add a new site

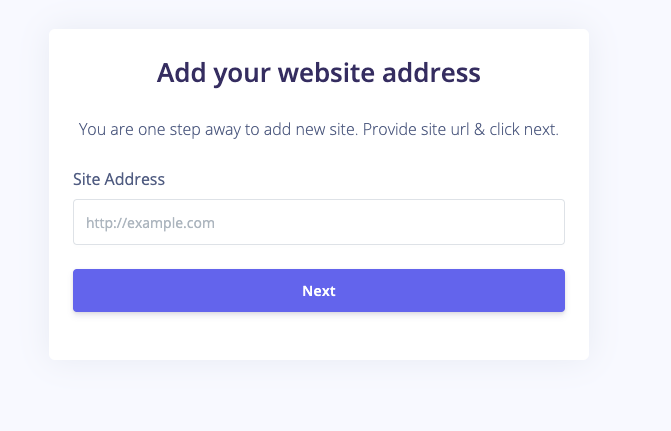
- Click “Add a new site” button & add your website url then click “Next”
- Copy the API Key and paste in the weMail plugin field shown earlier & click “Connect weMail” button
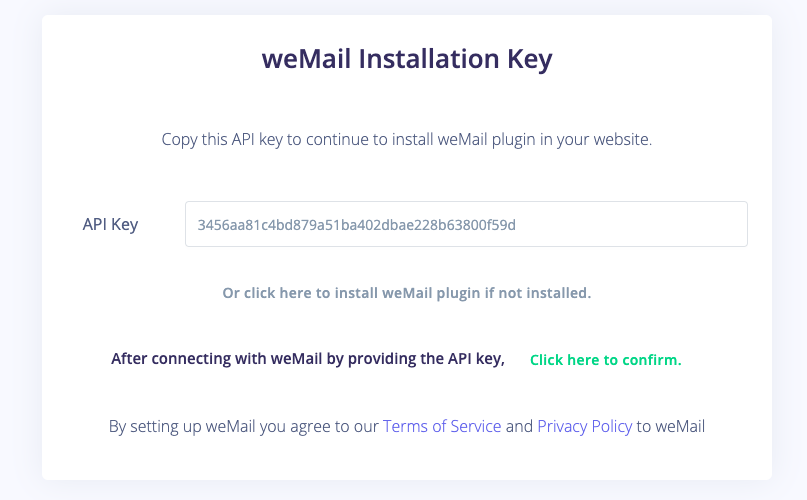
- Click on “Click here to confirm” to confirm & complete the API setup process.
- weMail wizard will guide you to set up API, Lists, Import Users, Company info settings, you skip these steps if you want.
- After connecting to weMail you will be greeted with weMail’s user intuitive dashboard. Just connect to your email sending API, create campaigns, and start delivering emails.
Overview
After installing, you will get an overview page like the one below.
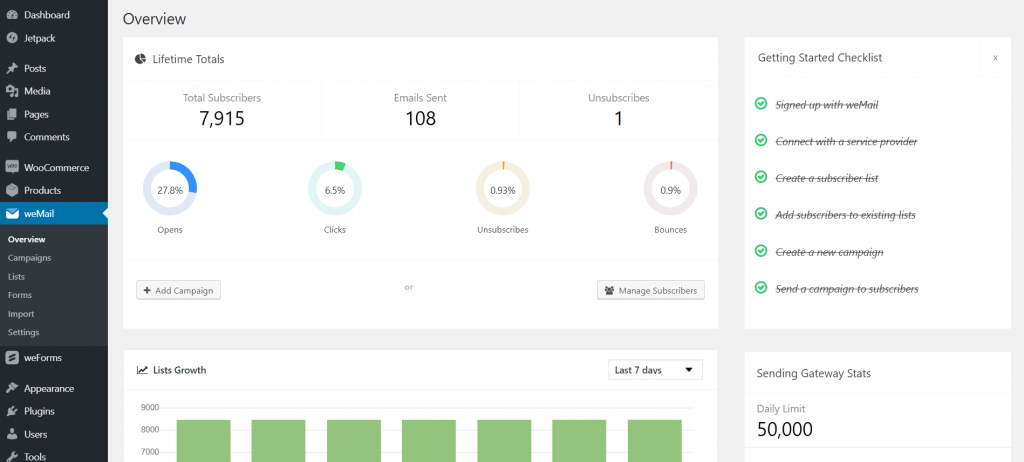
Installation is done. Welcome to weMail!

