MailGun is a well known Powerful Transactional Email API that enables you to send, receive, and track emails, built with developers in mind. weMail has integration with Mailgun.
How to Configure
Click on Enable MailGun. Copy the API key from your MailGun Account and paste it to use Mailgun as your gateway.
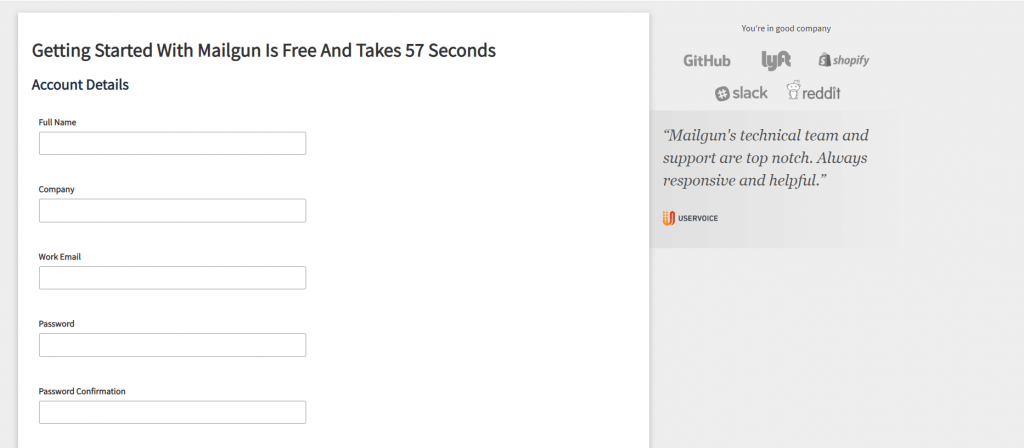
To get the API key from your Mailgun account, you have to create an account in Mailgun.
Here is the MailGun Account opening dashboard.
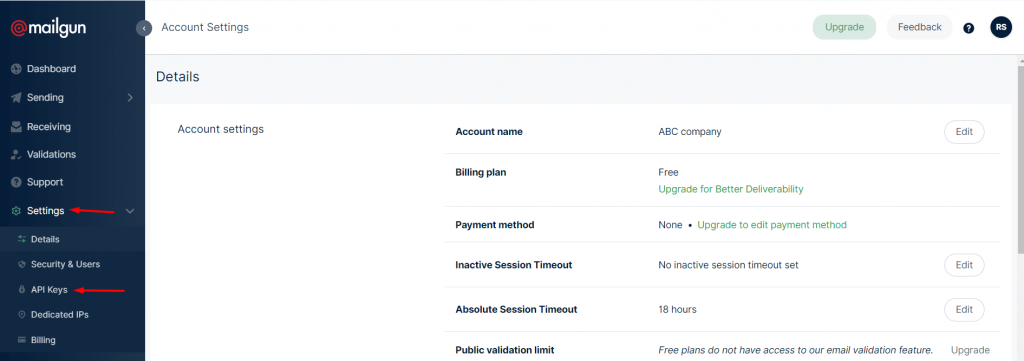
After opening the account, go to Settings→API Keys.
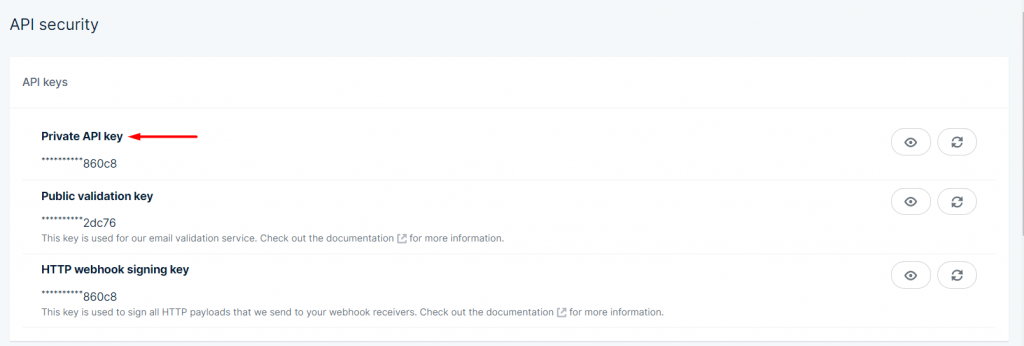
Next, copy the Private API key.
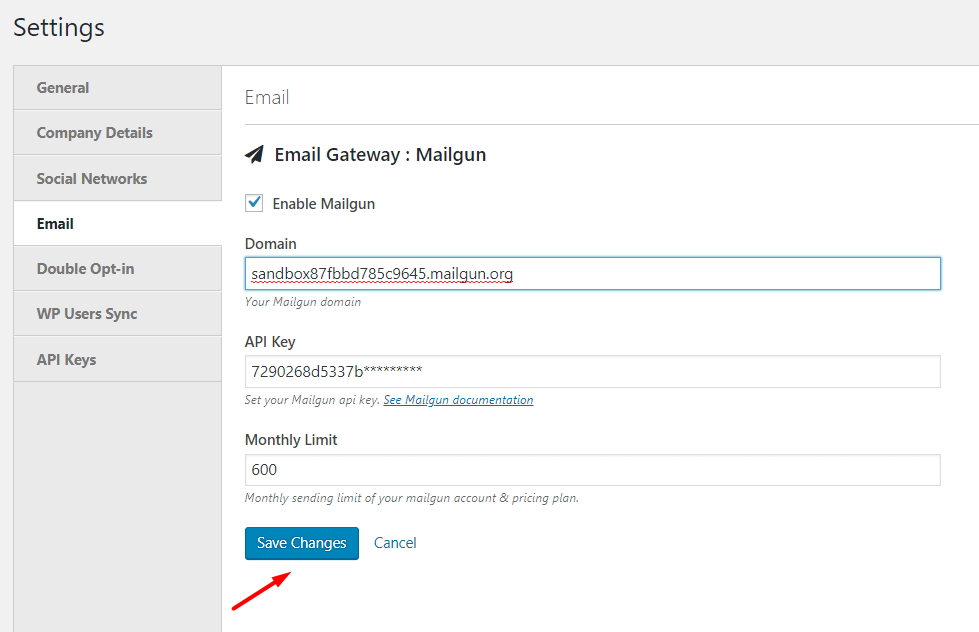
Go to weMail→Settings→Email. Click on Mailgun.
Enable Mailgun, type in your Domain name, paste the API key, set the Monthly Limit then hit on Save Changes. You are good to go.
Verifying Domain
Login to your Mailgun account, click Domains on the left hand side, and then click the green Add New Domain button.
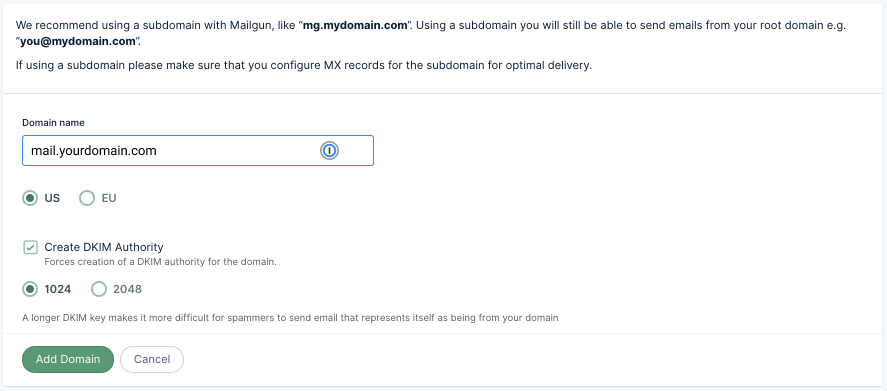
Enter your domain name into the box. Here we recommend you for using a subdomain to get a better email deliverability rate. Here, we have used mail.yourdomain.com as an example. But your use your domain name.
After you click Add Domain, you’ll be redirected to the page where you can get DNS records to your domain.
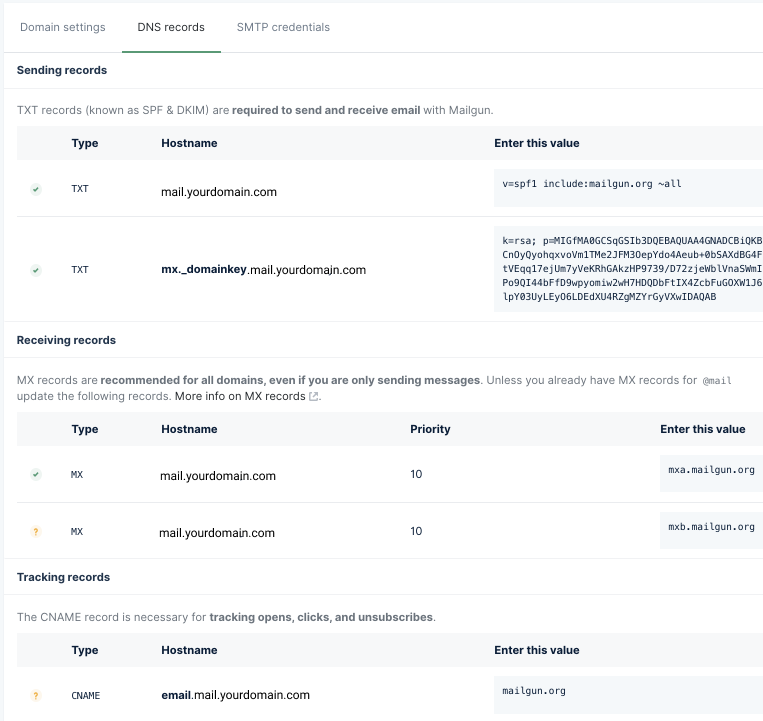
Now login to your hosting provider & navigate to the DNS section.
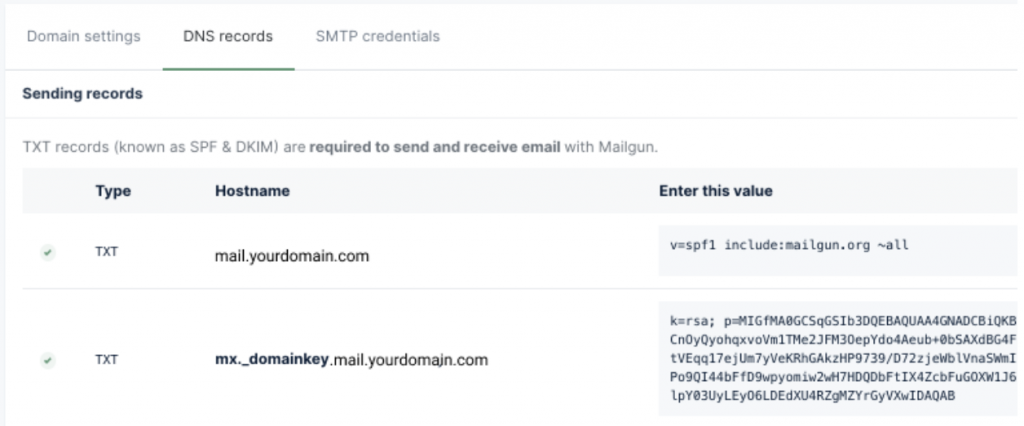
Now paste the Hostname & Value here and click on the Add Record.

Note: It will take up to 24 hours for DNS changes to propagate across the internet. Usually, it takes time to add the DNS record. But in case if it doesn’t happen immediately, don’t get panic.

Now back to the weMail>Sending Emails. And click on the refresh button to connect with the Mailgun. And it will show the green tick mark sign.
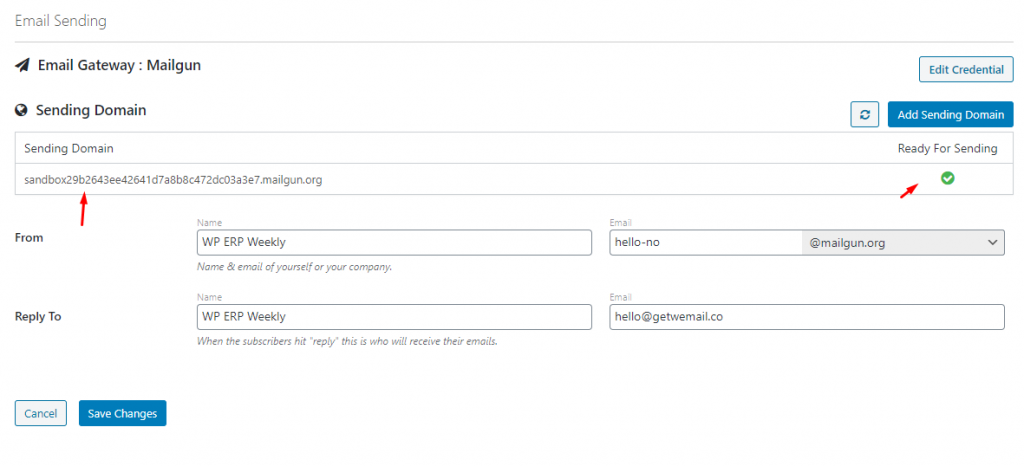
That’s it!


