SendGrid is a cloud-based platform and reliable regarding email deliverability. weMail has integration with SendGrid. So with the API key, you can use SendGrid as your gateway.
Copy the API key from your SendGrid account and paste it to use.
How to Configure
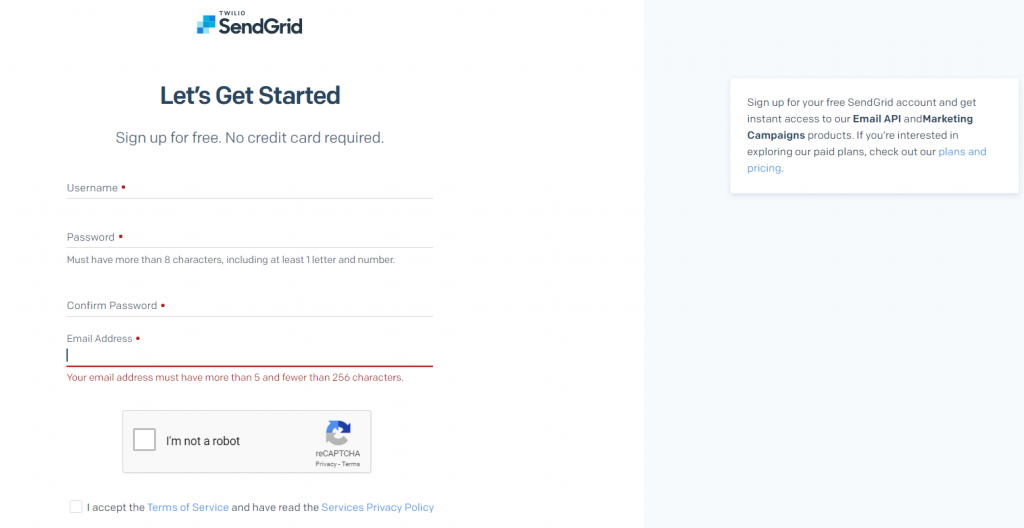
- First, create an account on SendGrid.
- Next, go to Settings→API Keys.
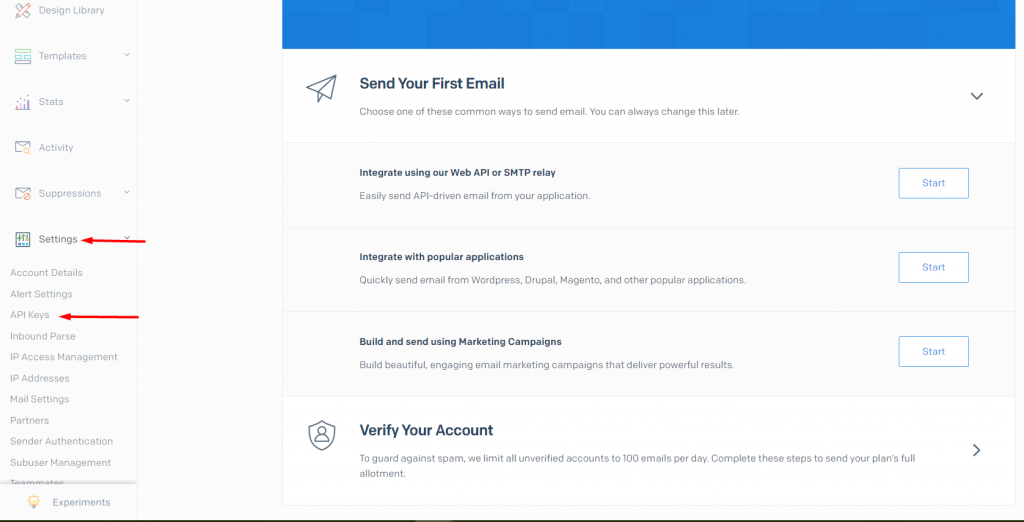
You will be directed to a page, where you can create your API key.
- Just click on Create API Key and your API key will be created. Copy the API key.

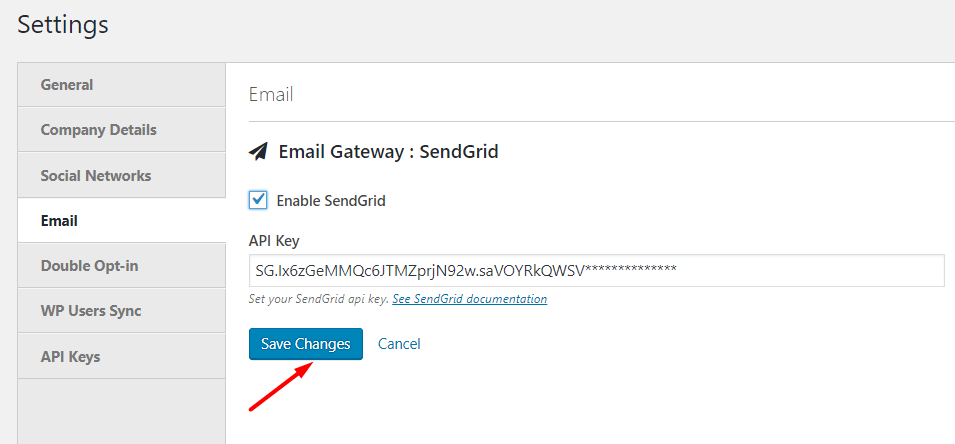
- Now go to weMail→Settings→Email.
Enable SendGrid. Paste the API key and hit Save Changes. You are good to go.
Congratulations! You’re done with the SendGrid configuration.
Domain Verification
You need to set up Domain verification in order to start sending emails using the SendGrid email gateway.
You must submit the DNS records provided by SendGrid to your DNS or hosting provider
To authenticate your domain, you need to follow the below steps,
- Login to your SendGrid account and navigate to Settings-> Sender Authentication
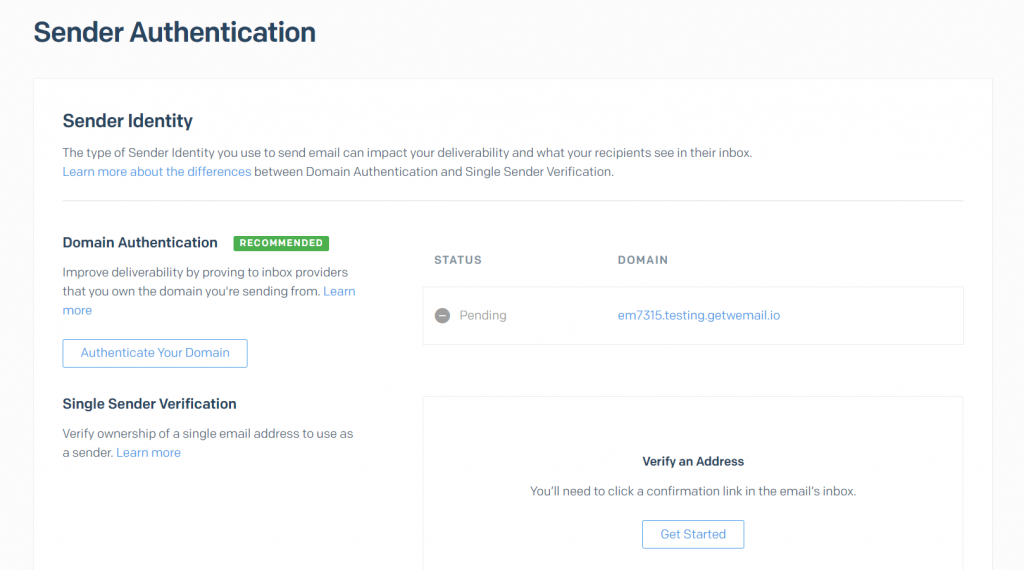
- In the domain authentication section, click Authenticate Your Domain
- Now, you need to add the information about your DNS host
- You need to add the Domain name that you are using to send emails from. Make sure you only enter the root of the Domain. Like, instead of [email protected], write weMail.com
- Next, you need to add all of the CNAME records on this screen to your DNS host. This process varies depending on your DNS host
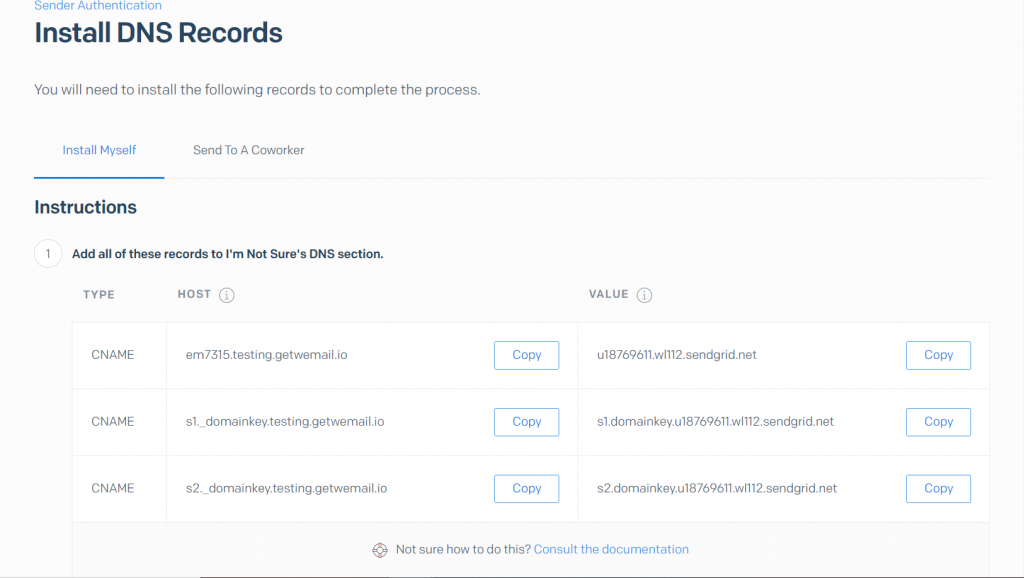
- Once you add the CNAME records to your DNS host, return to the Sender authentication page and click Verify.
It can take up to 48 hours for the records to verify after you upload them into your DNS host, so you will likely have to come back later to verify.
If you want to know more about SendGrid Domain verification, you can refer to this documentation.
