You have already downloaded and activated weMail on your WordPress website. Now it’s time to create your weMail account and connect it with your site.
So, let’s get started!
Step 1: Install & Activate weMail
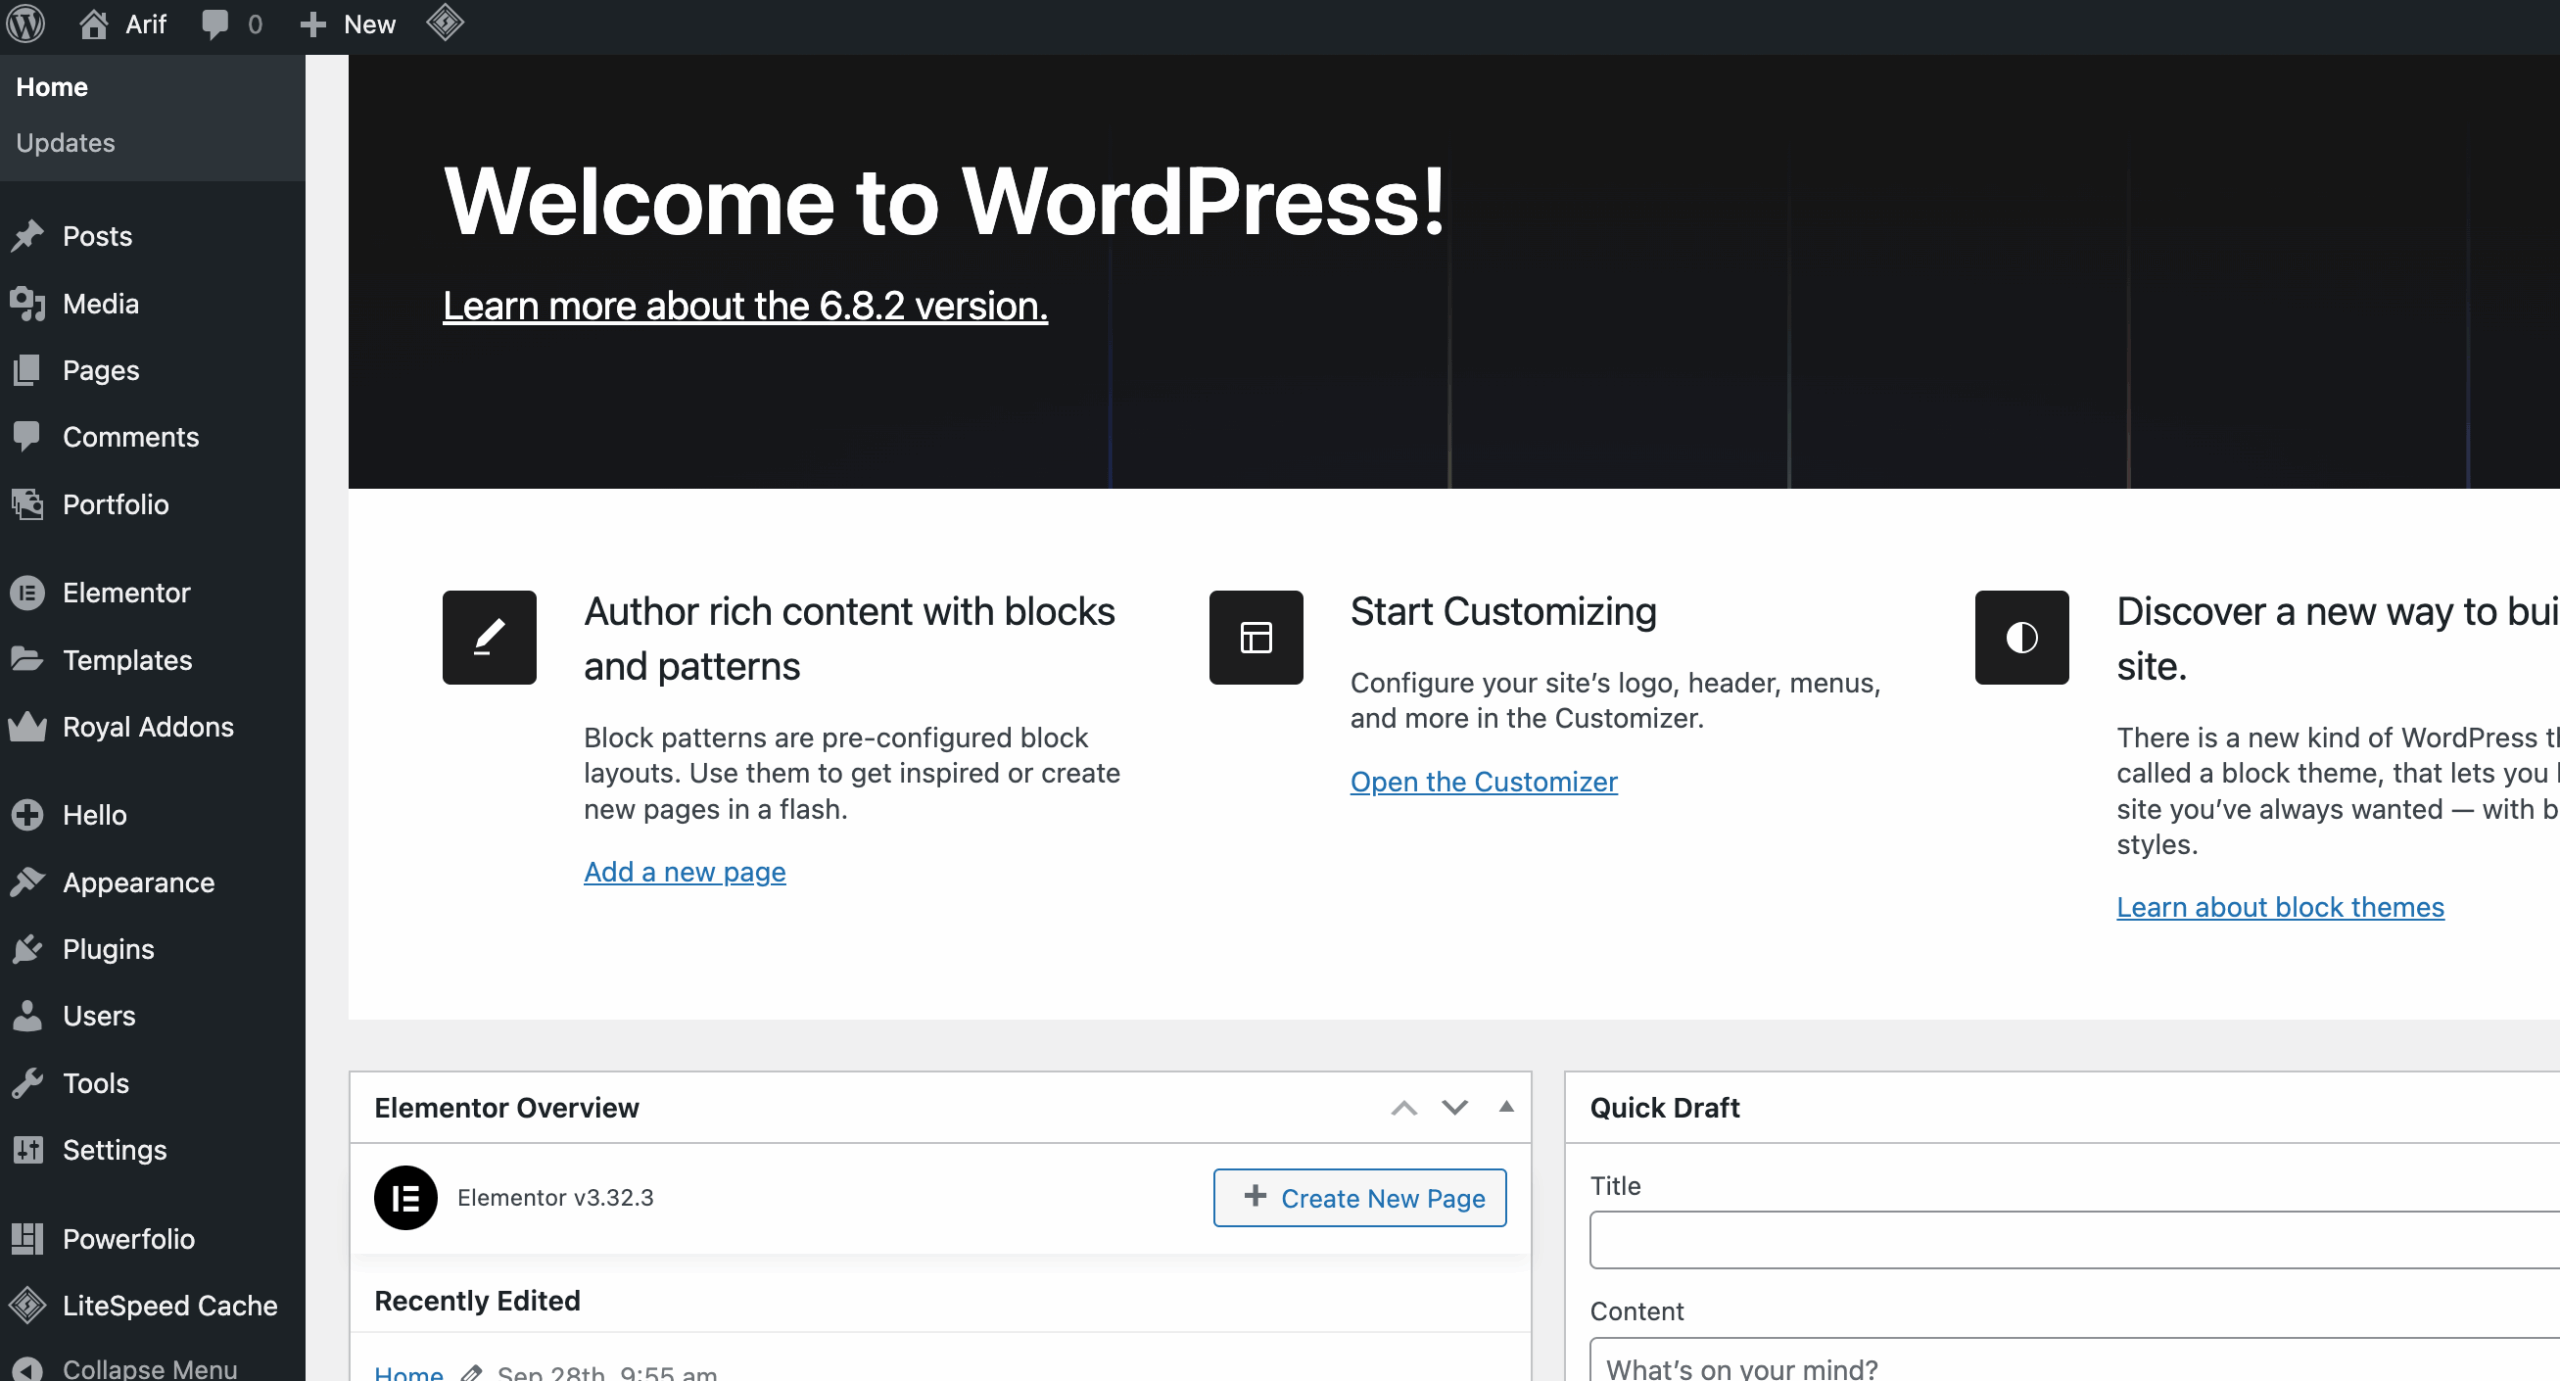
Step 1.1: Log in to your WordPress Admin Dashboard.
- Step 1.2: Go to Plugins – Add New and search for “weMail”

Step 1.3: Click Install. Now on the weMail card.
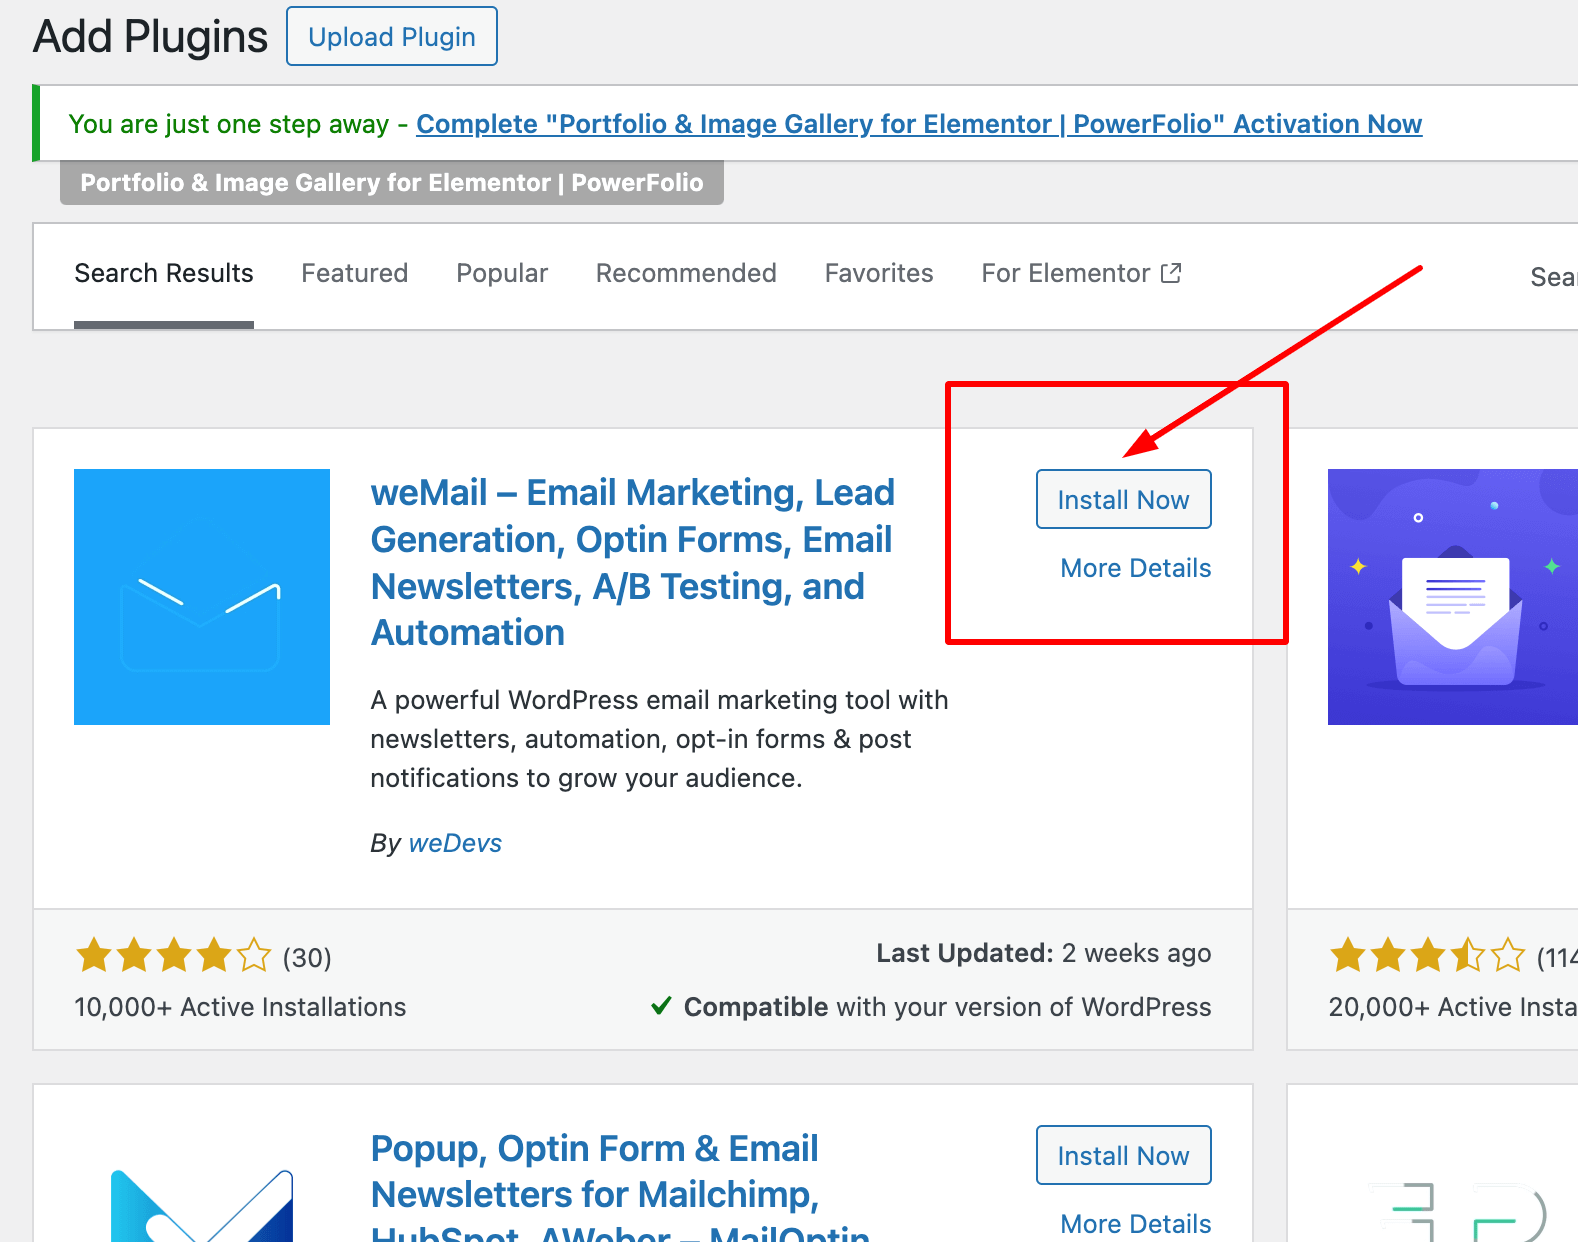
Step 1.4: After installation, click Activate.
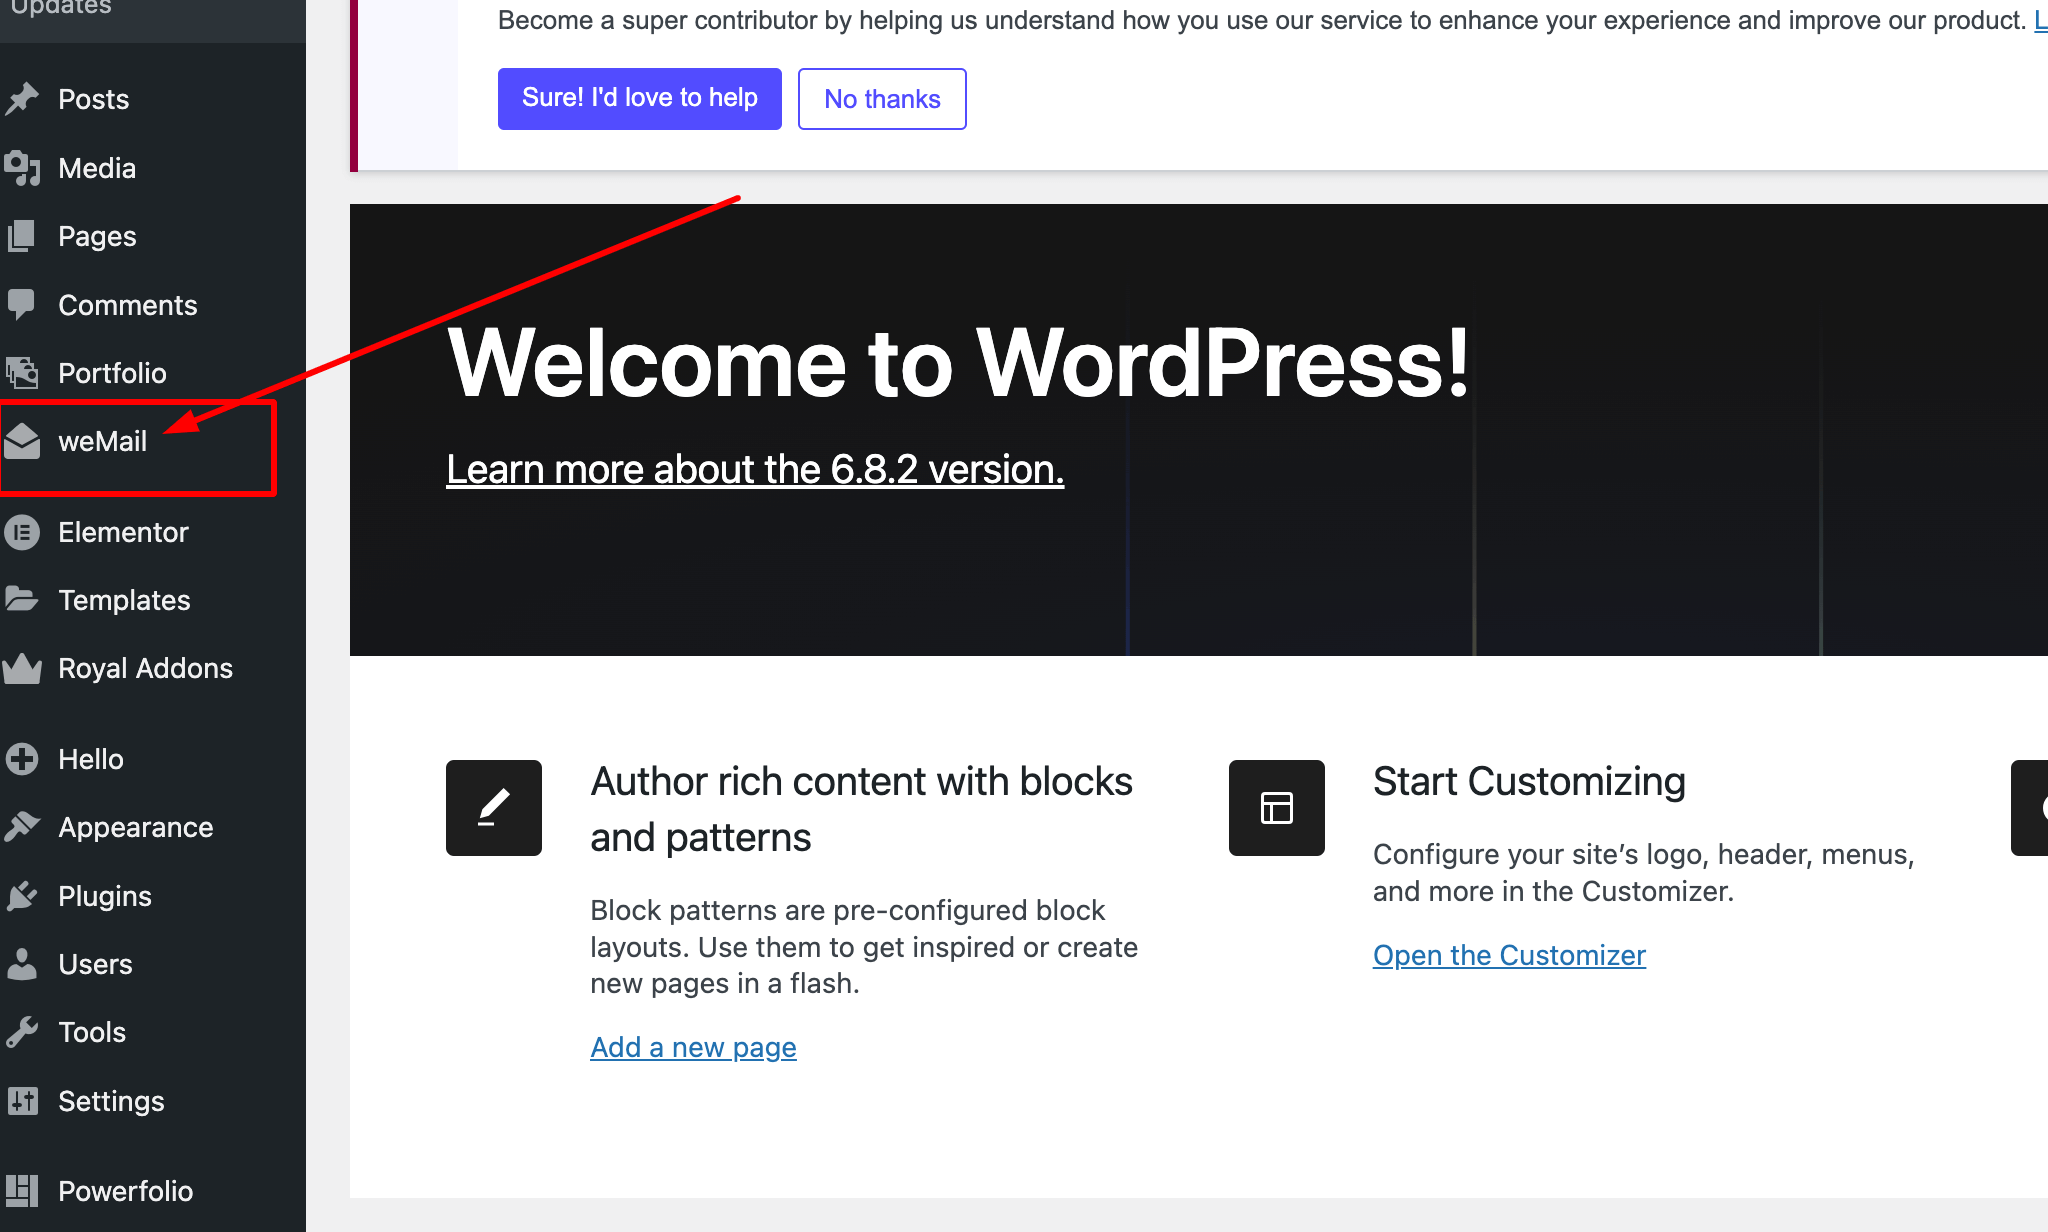
Once activated, proceed based on whether you’re a new or existing weMail user.
For New Users
If you don’t have a weMail account yet, follow the steps below to create one and connect:
Step 2.1: From your WordPress admin menu, go to weMail – Settings.
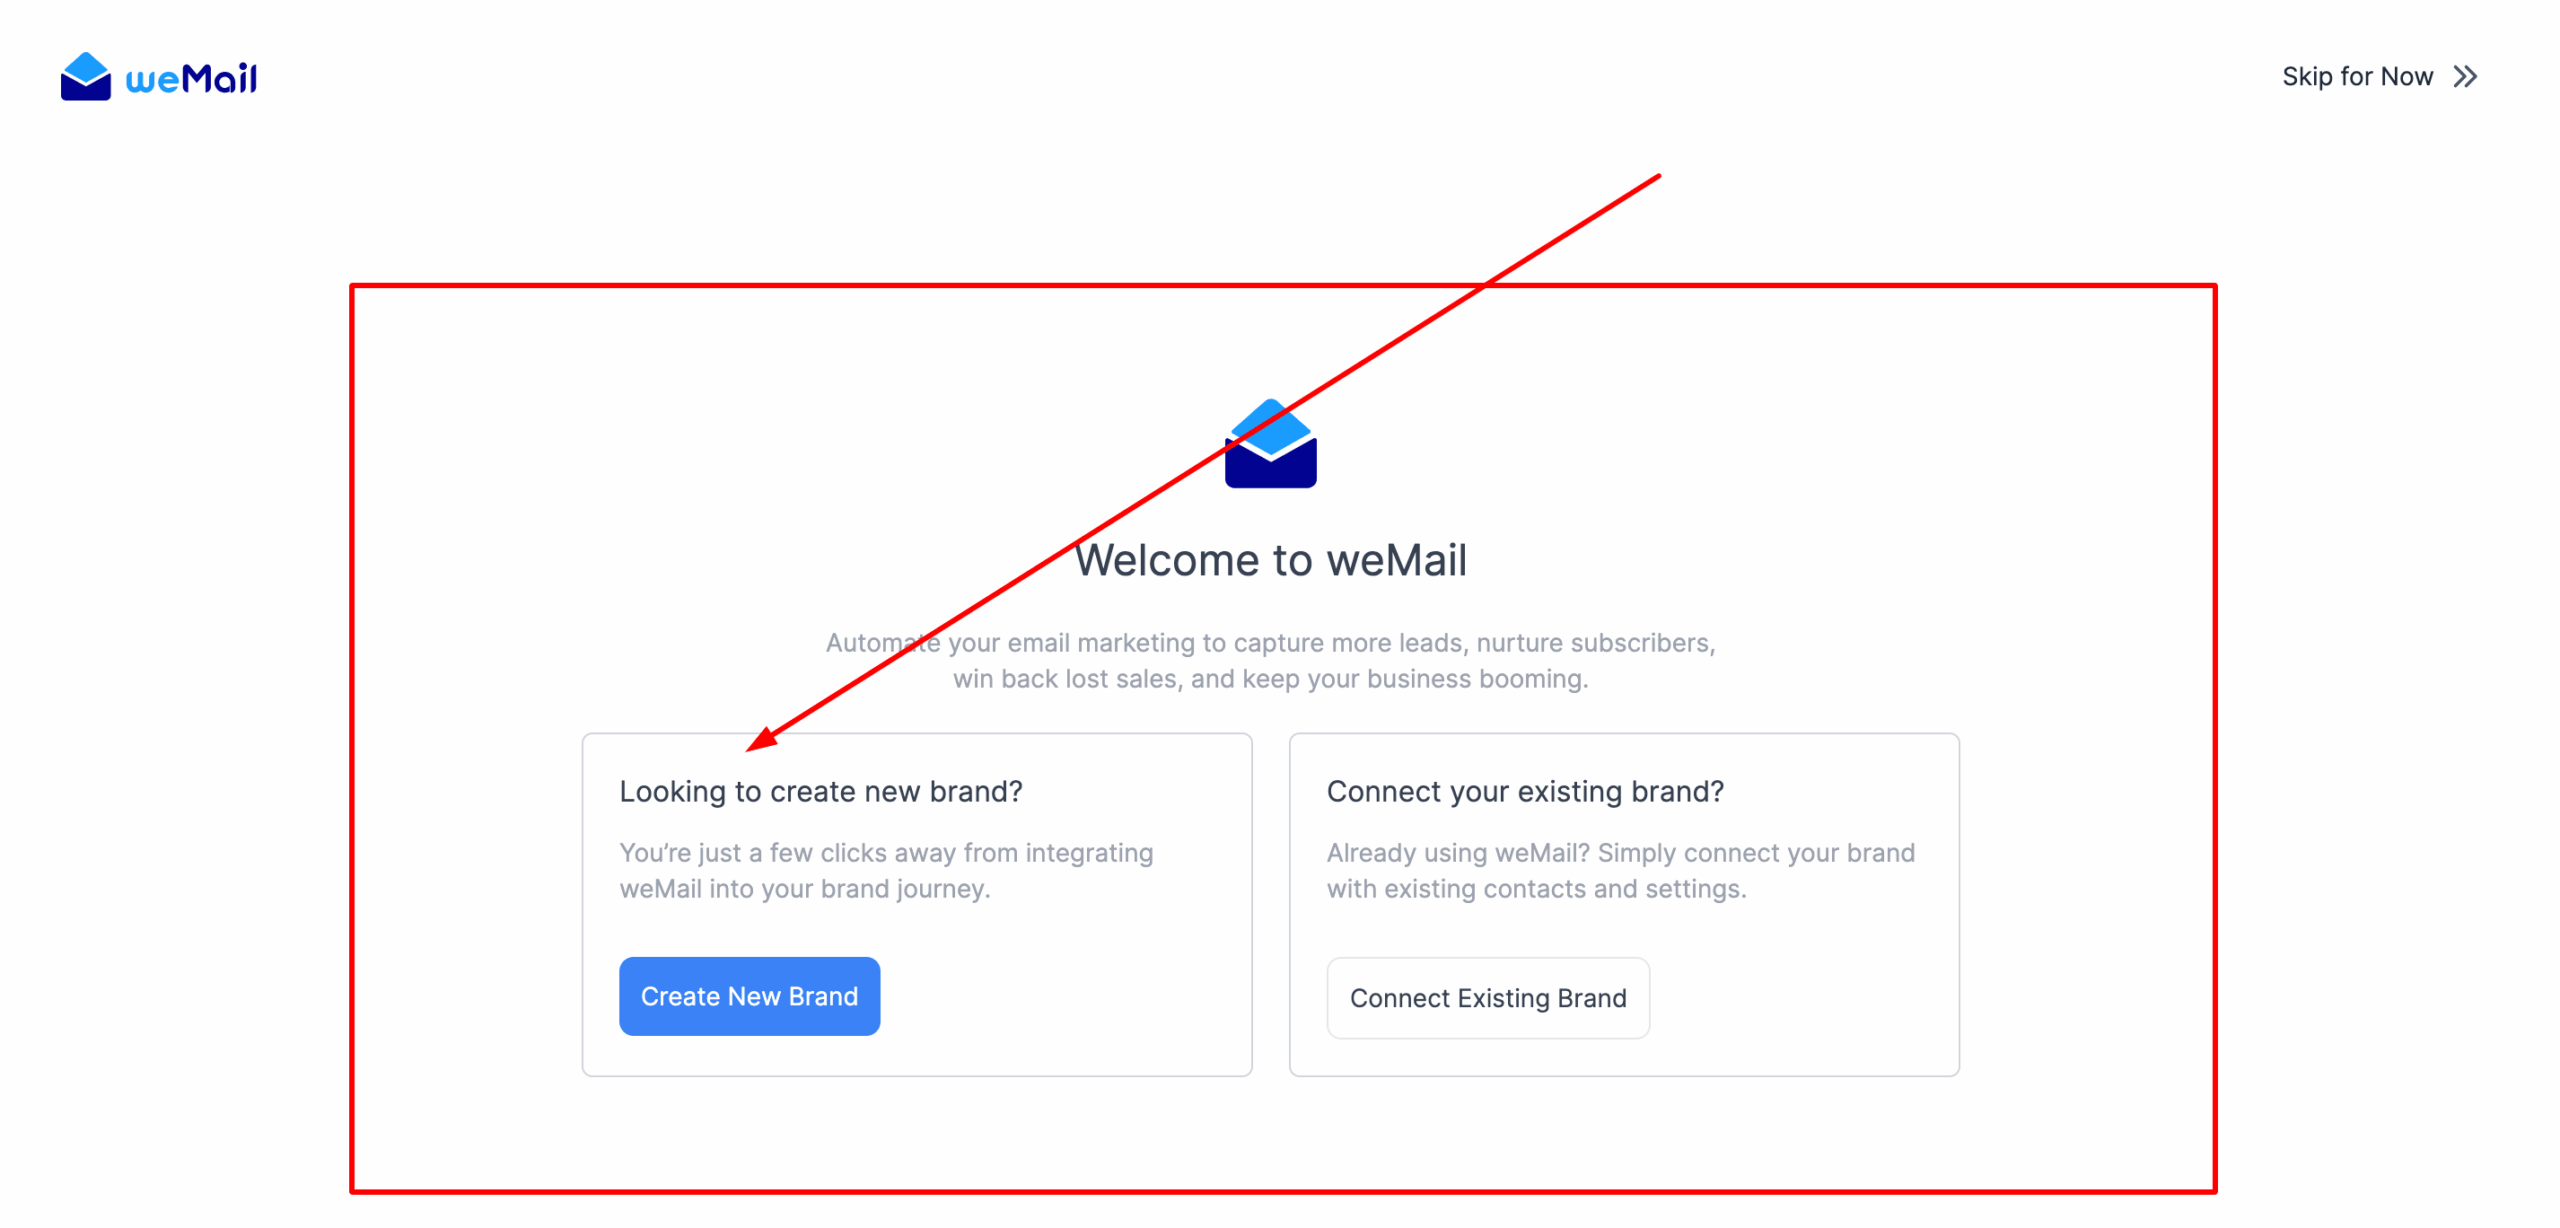
Step 2.2: Click Create a New Account.

Step 2.3: Fill in the signup form (email, password, organization/site name), then submit.
Step 2.4: If prompted, verify your email to complete the signup.
That’s it!
Your new weMail account is now connected to this site.
For Existing Users
If you already have a weMail account, connect your site with your existing API key:
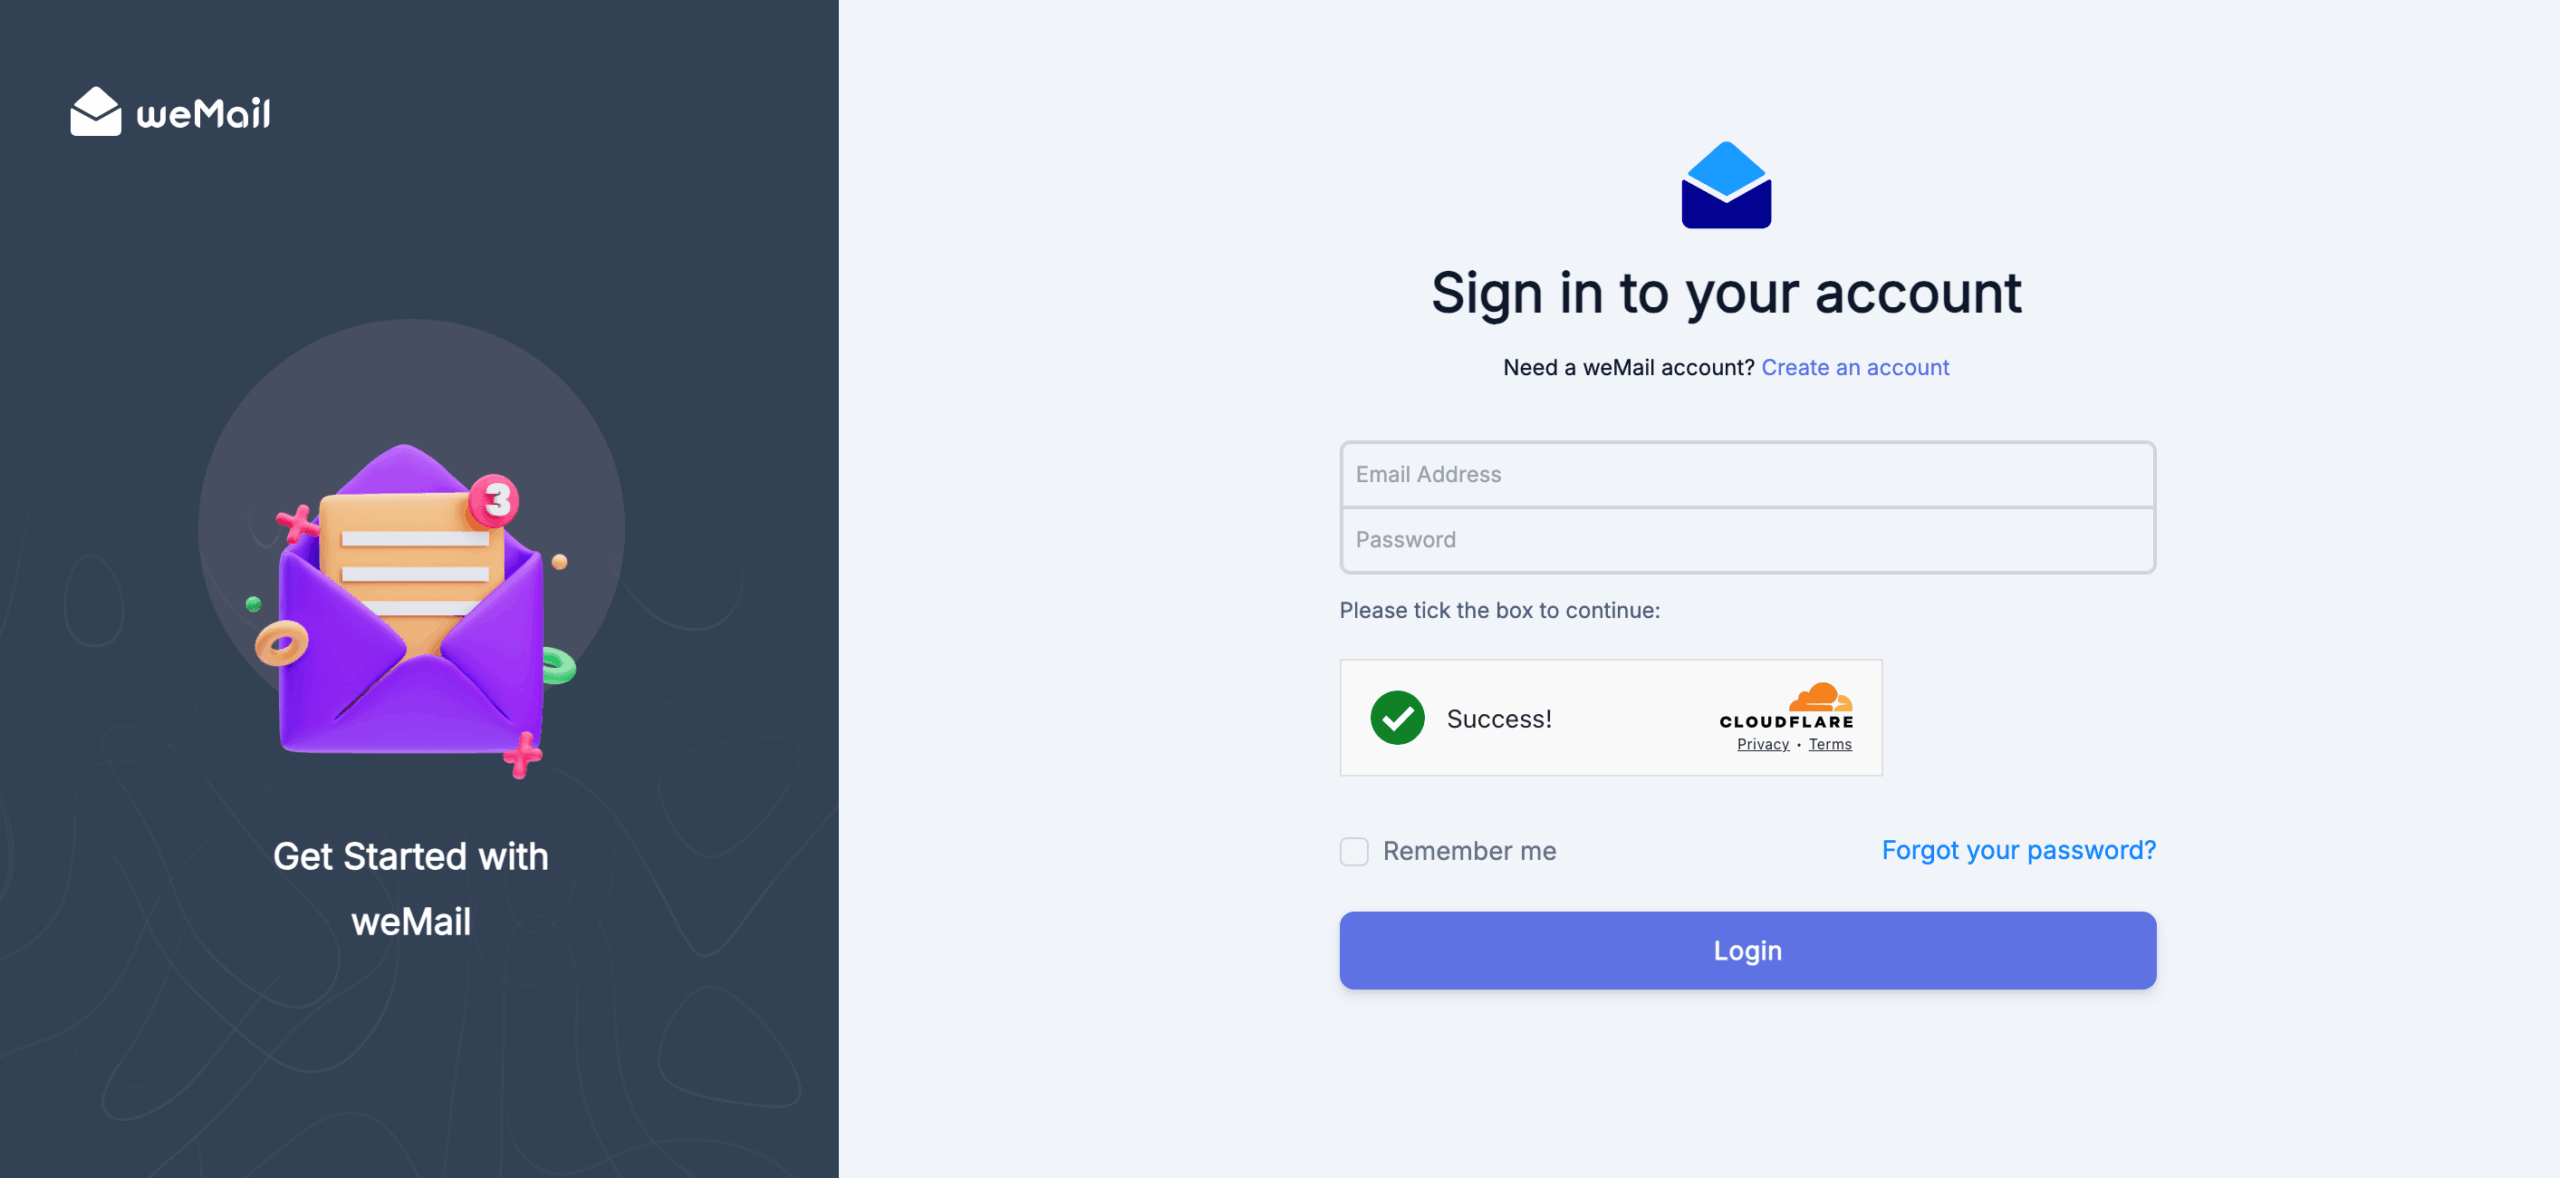
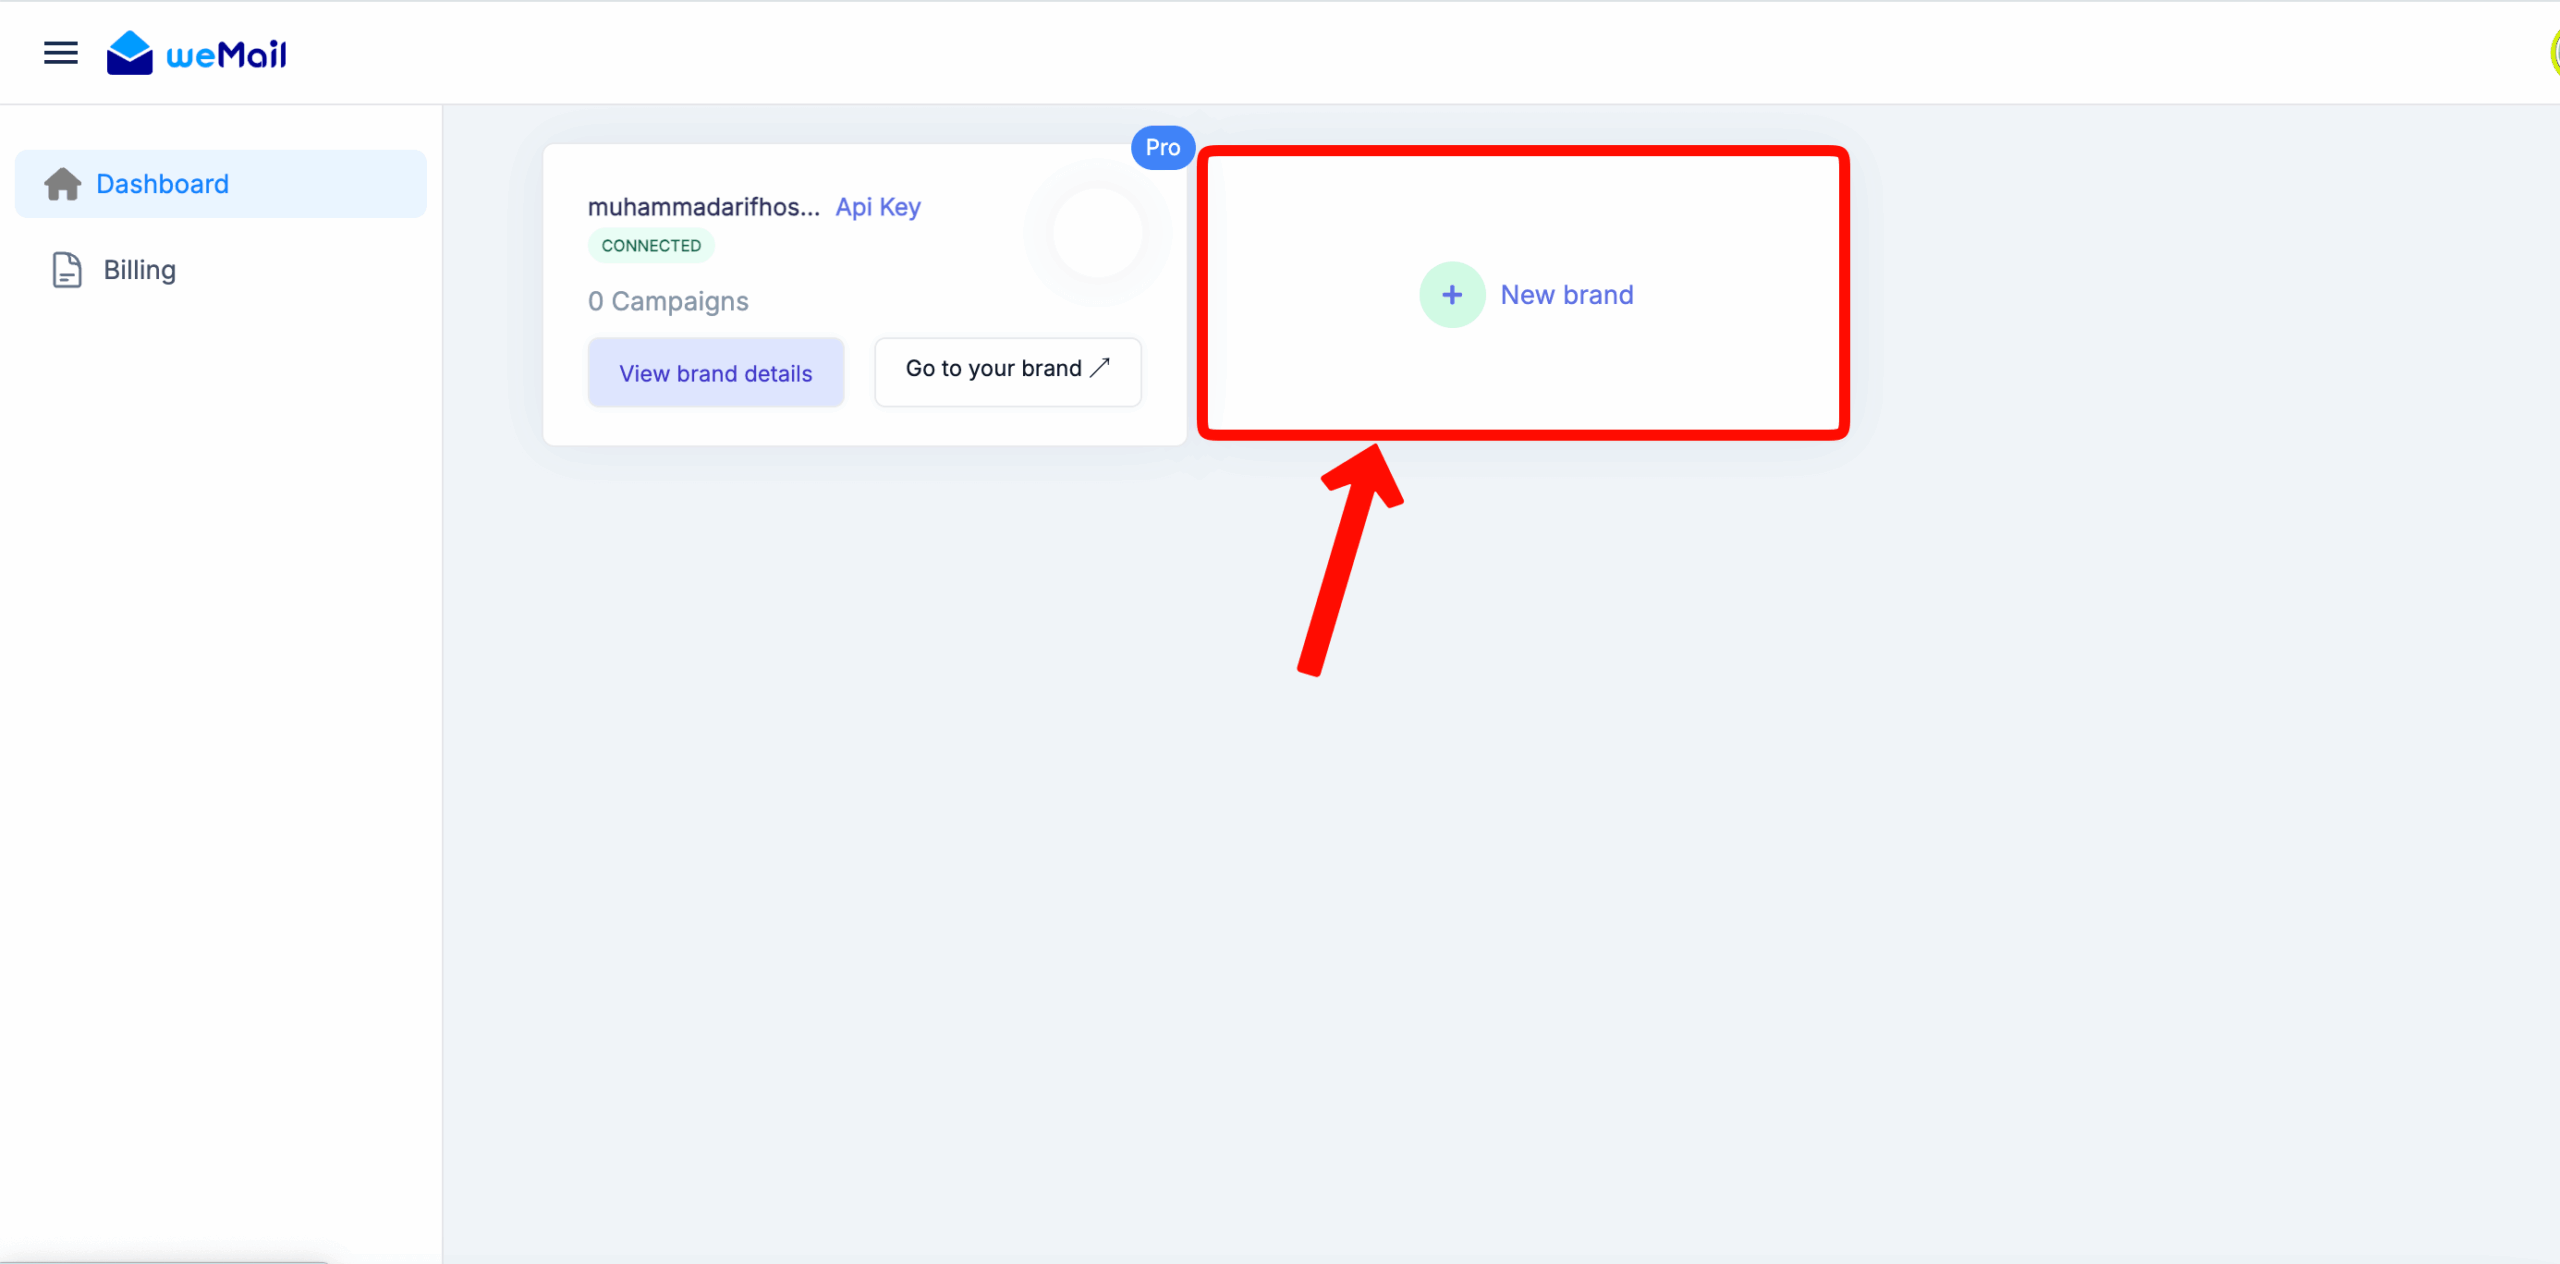
Step 3.1: Log in to your weMail Web Dashboard and open Sites.
Step 3.2: Click Add a New to generate an API Key for this site.
Step 3.3: Copy the API Key.
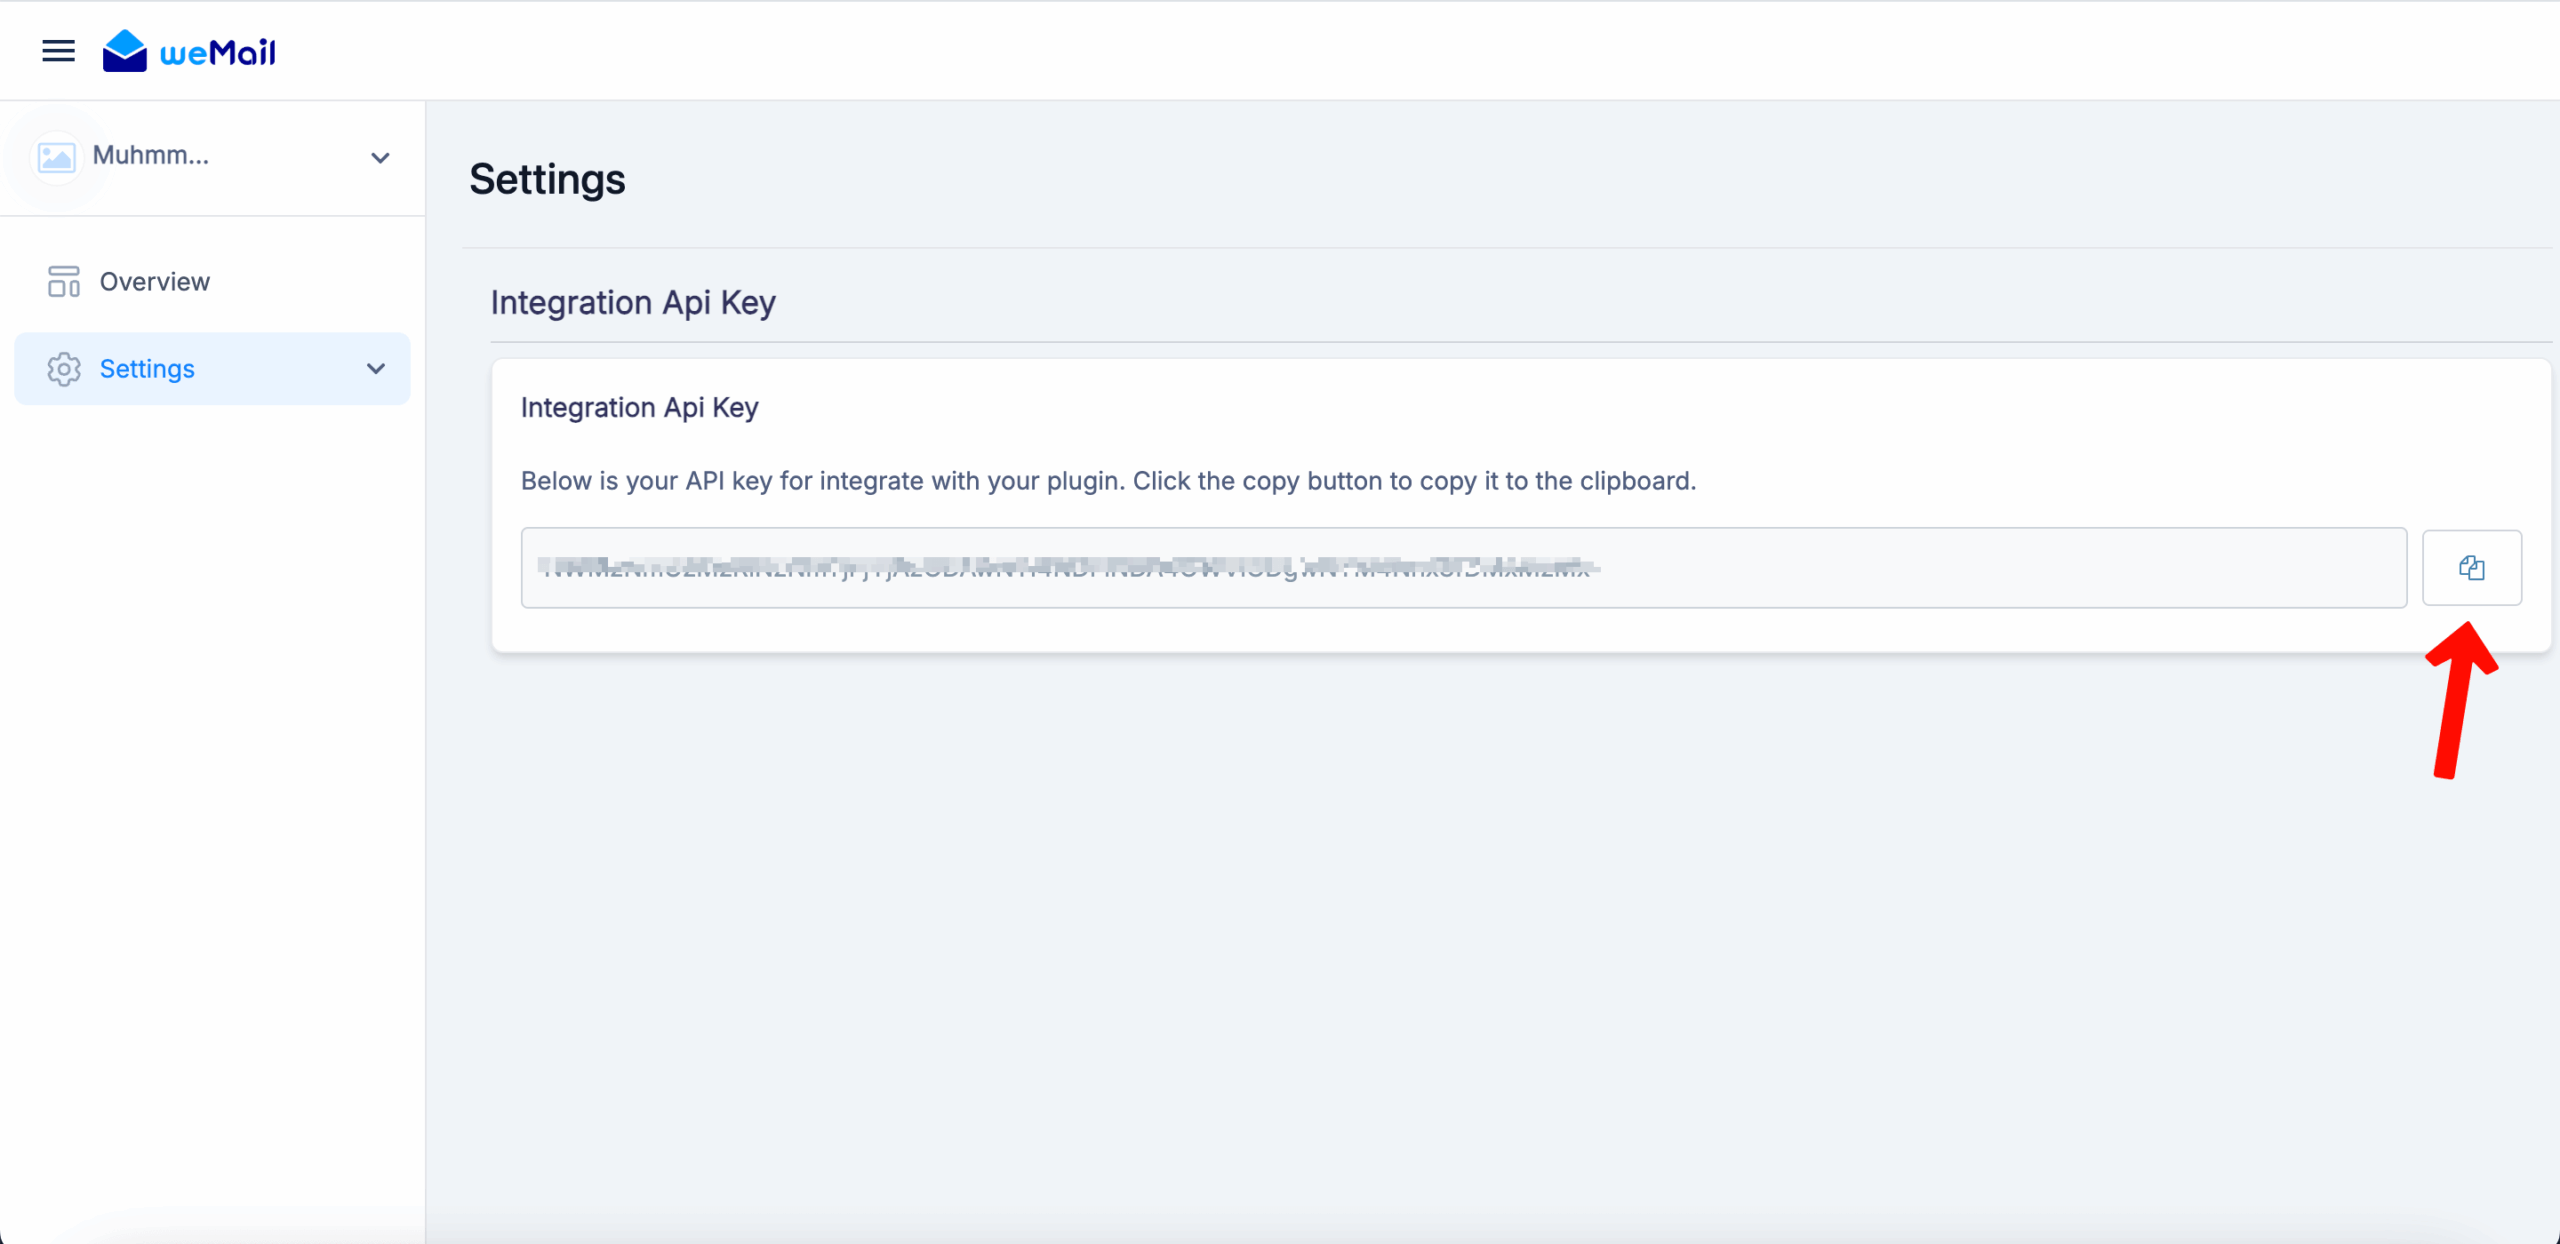
Step 3.4: Return to your WordPress weMail – Settings, paste the key, and click Connect.
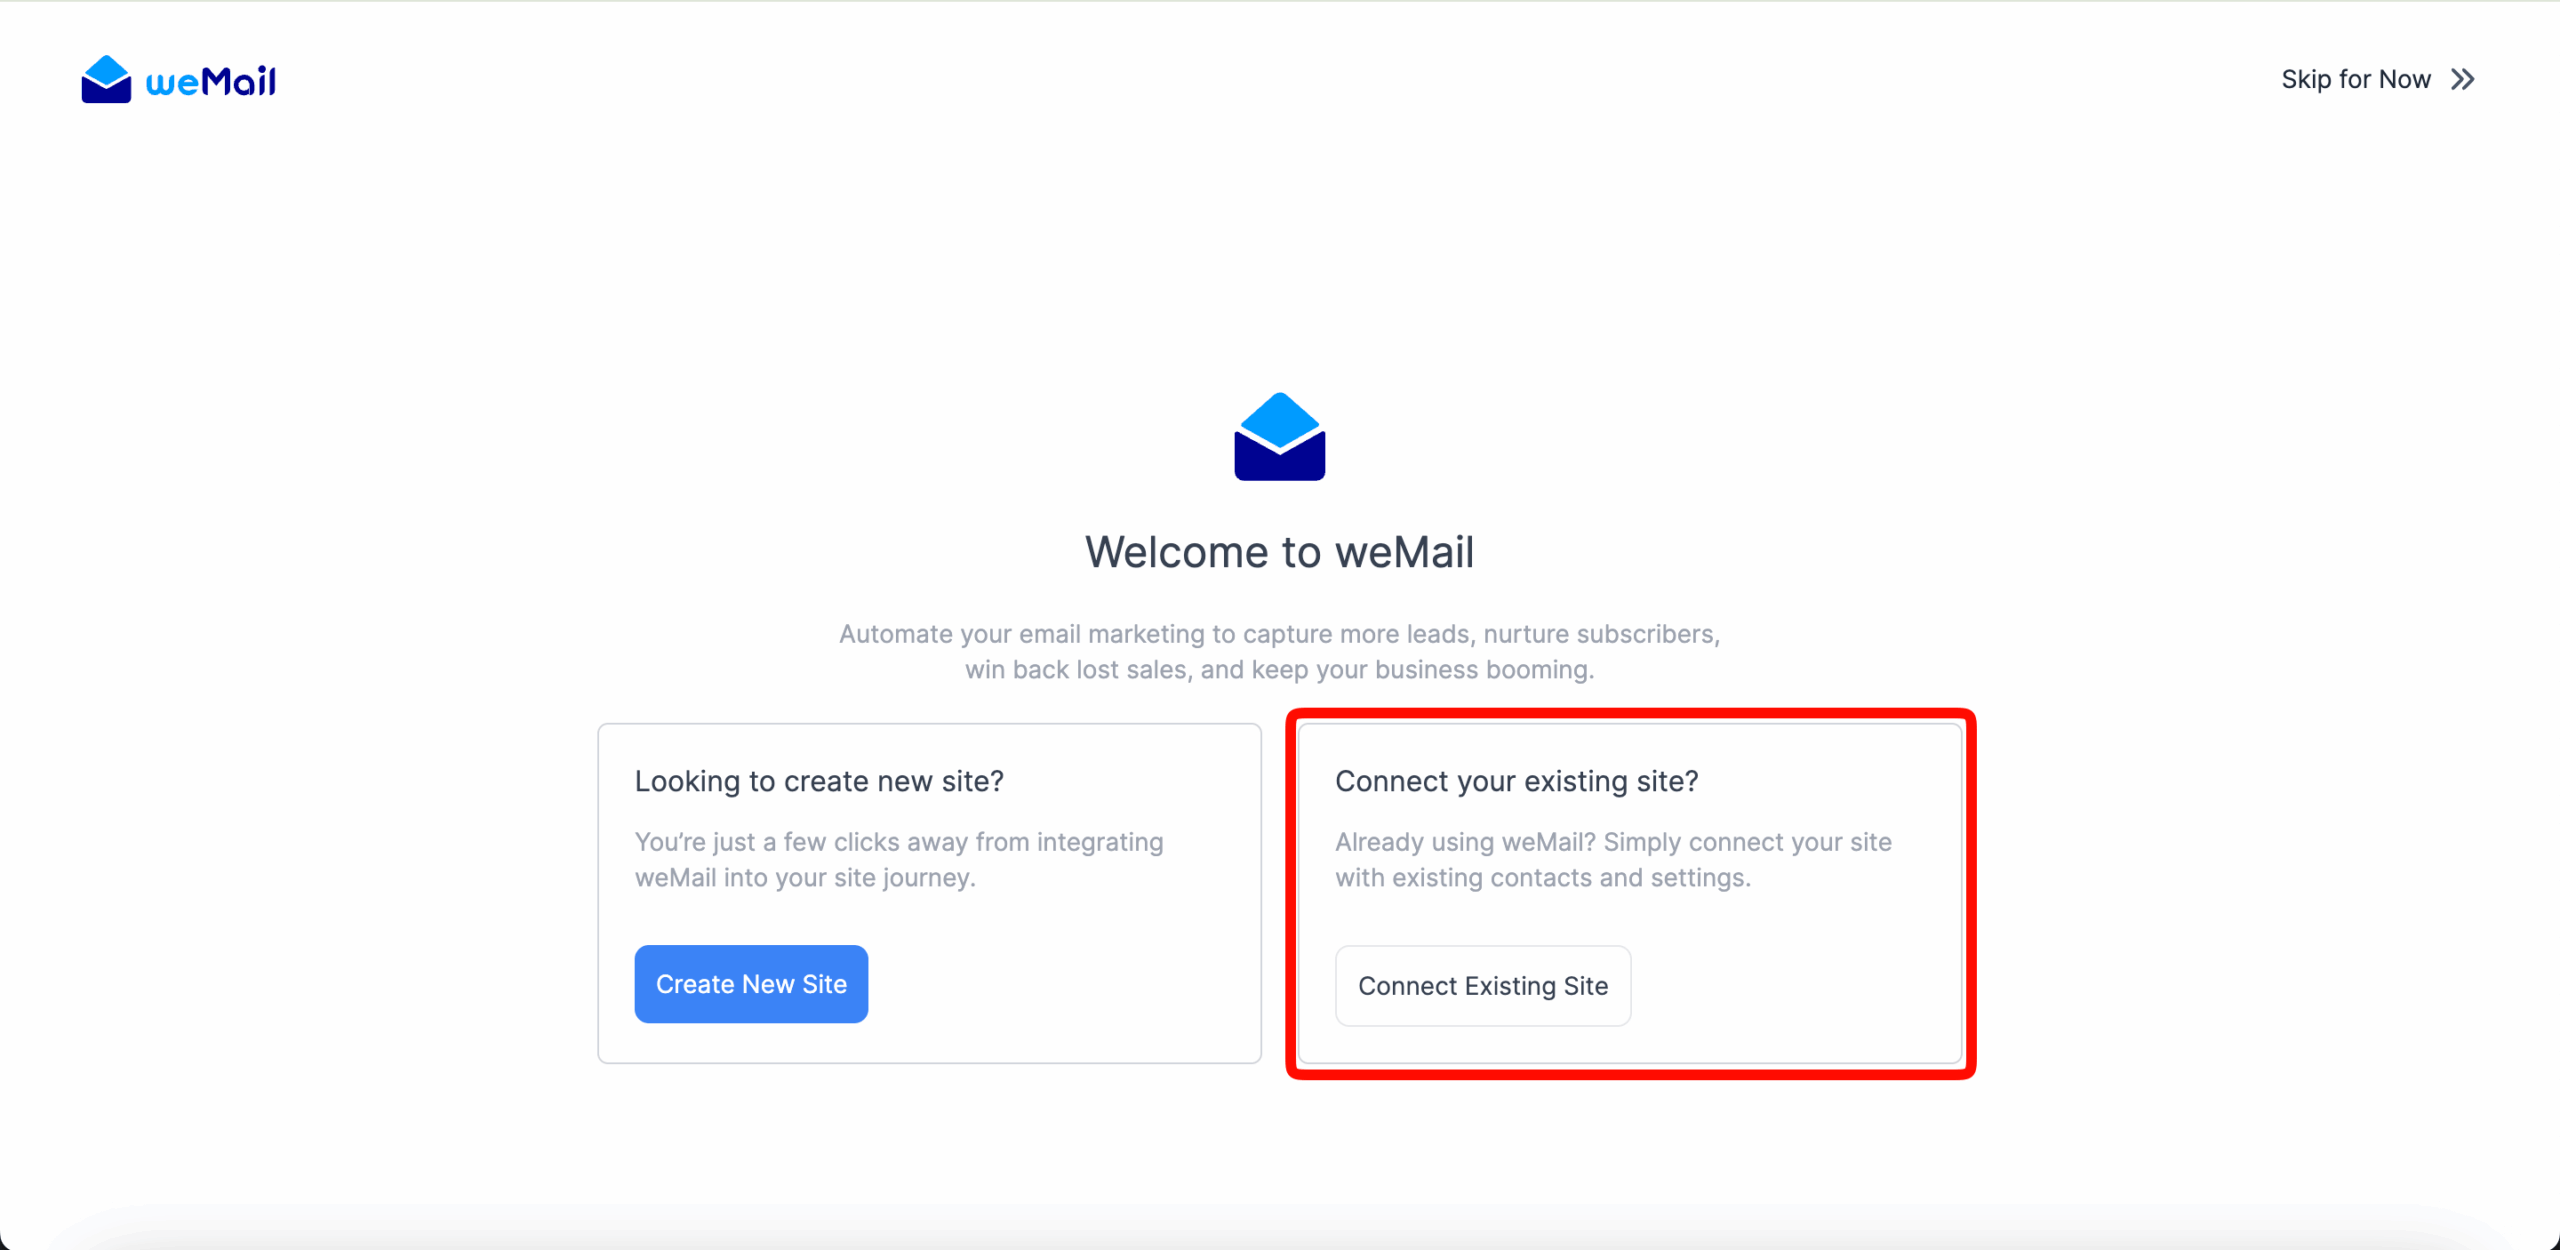

That’s it! Your WordPress site is now connected to your existing weMail account.
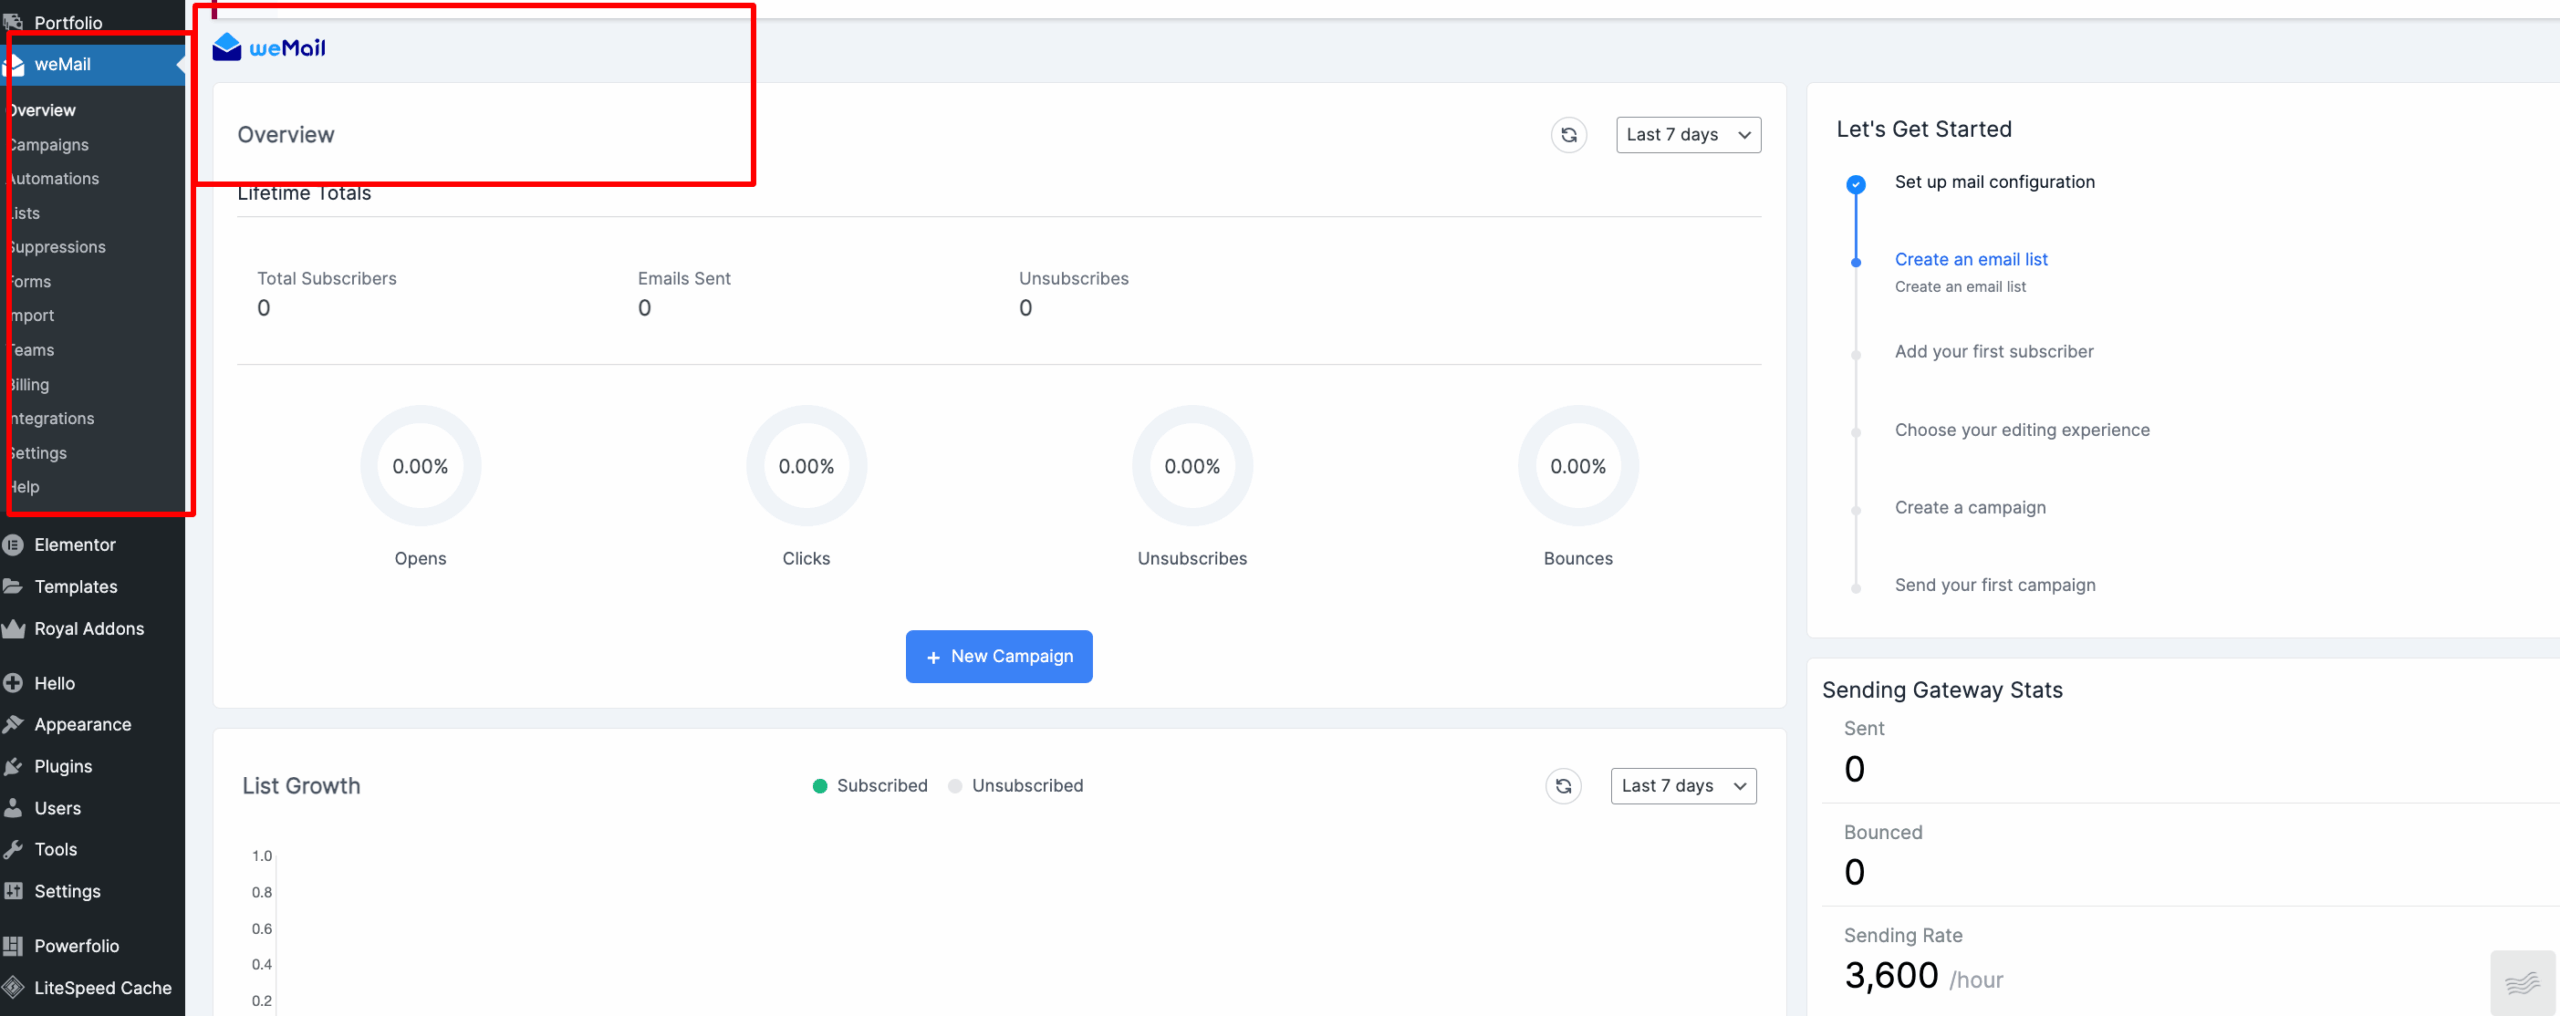
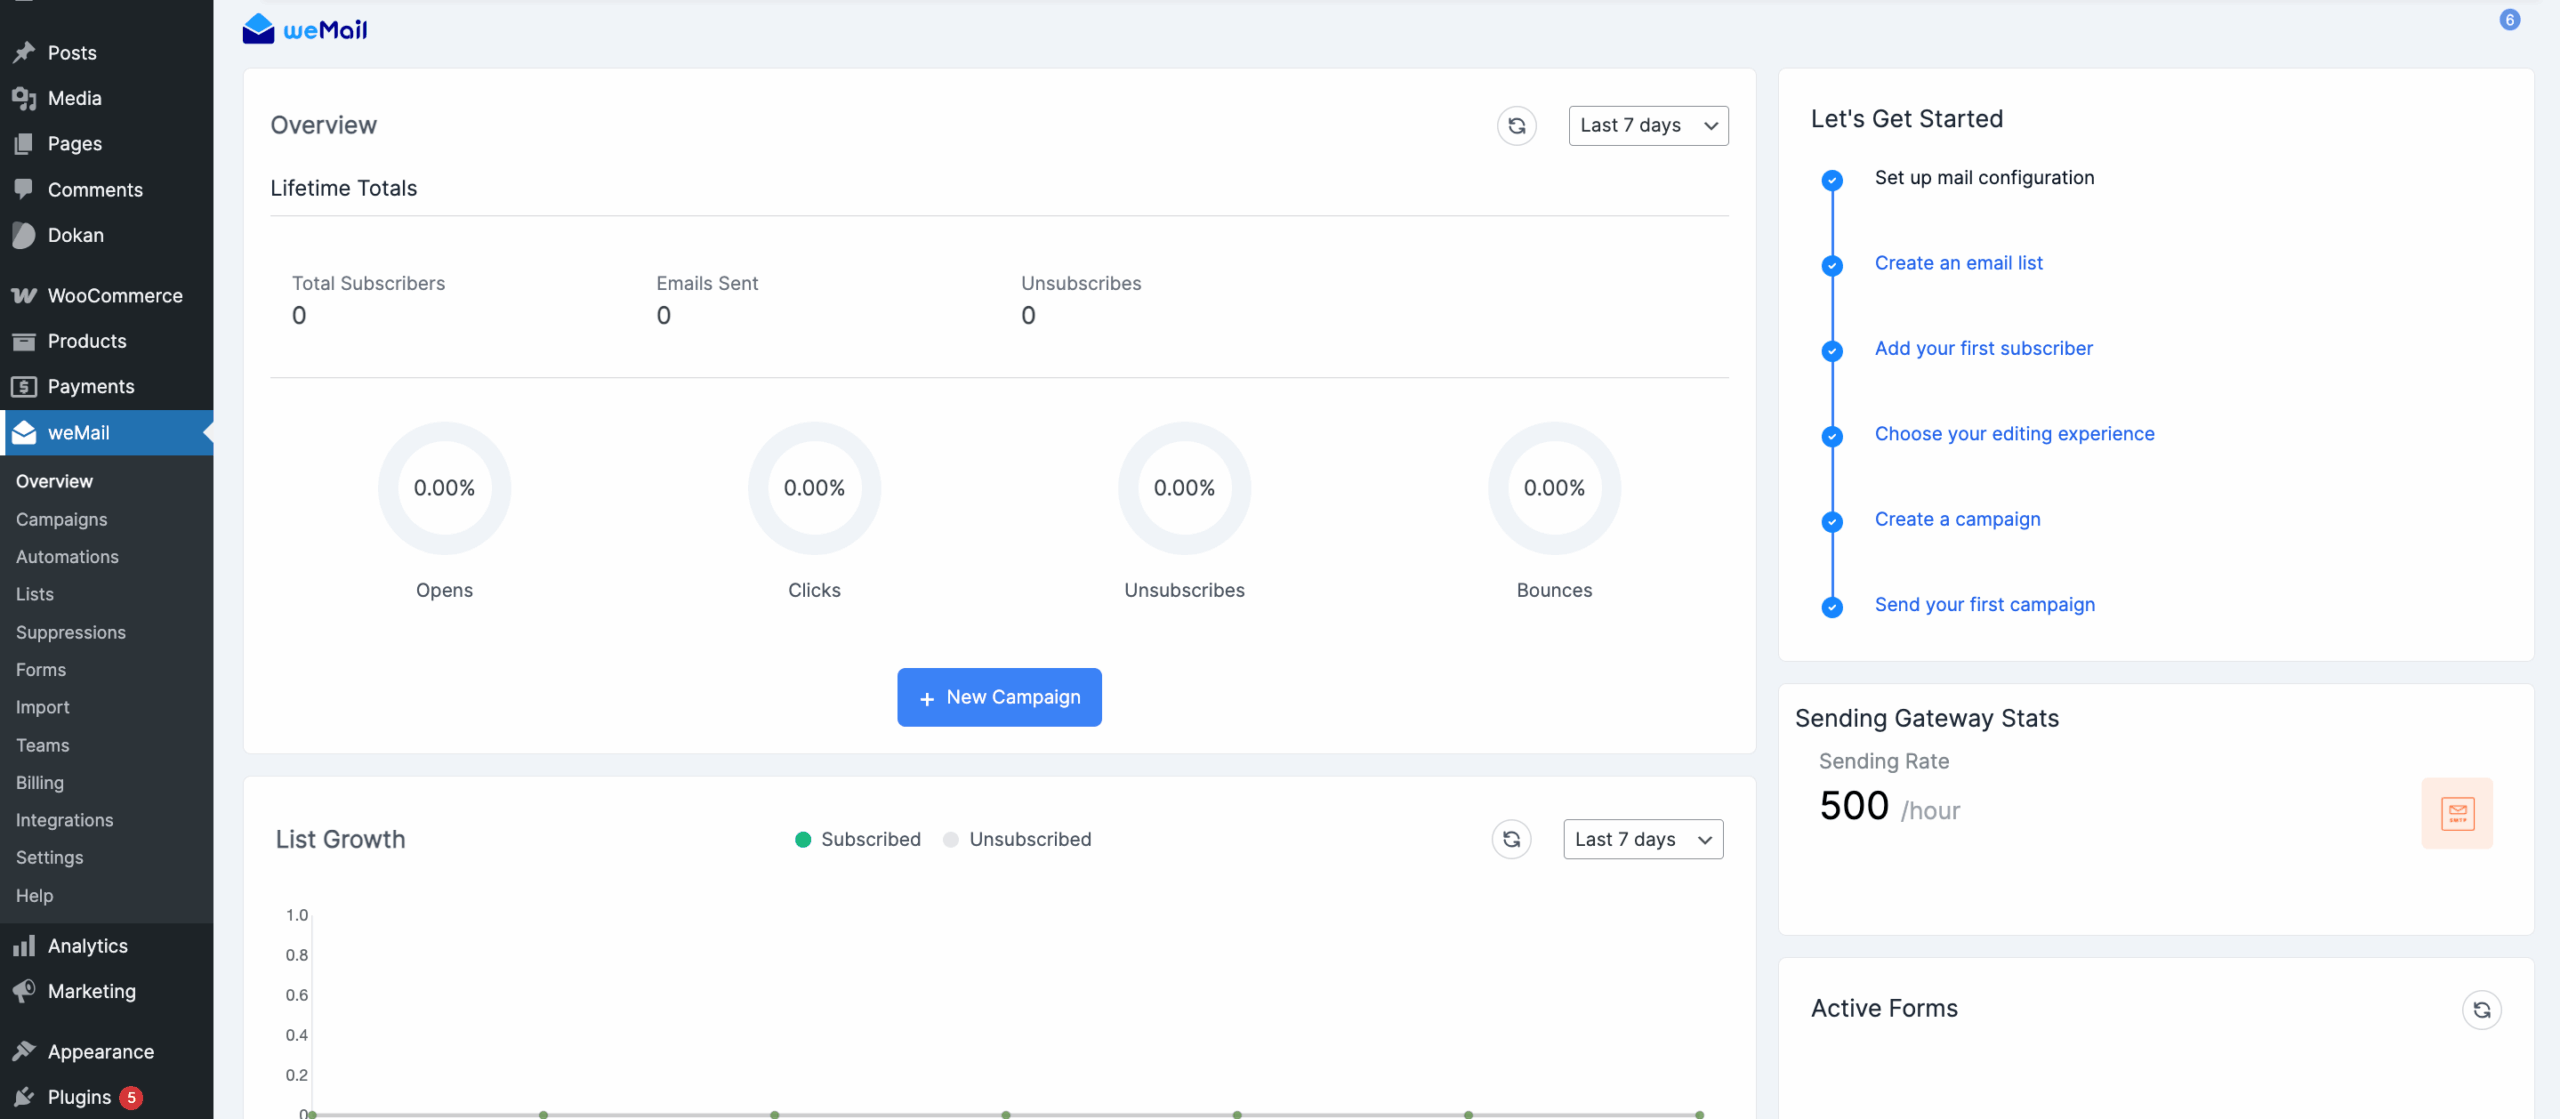
Installation Complete
After connection, you’ll see the weMail Dashboard inside WordPress. You can now create campaigns, manage subscribers, and explore features.
Next Steps
- ← Requirements
- Upgrade to weMail Premium Plan →
