With the WooCommerce integration feature of weMail, you can easily connect WooCommerce with weMail to track purchase activity, increase sales, utilize custom segments & automation. In fact, it can directly help you create campaigns depending on the customer’s preferences & attributes.
Okay, let’s see how to easily you can create email campaigns using the customers insight of your eCommerce site.
Pre-requisites to integrate WooCommerce with weMail:-
Do make sure that you have successfully installed & activated weMail & WooCommerce.
Connecting & Activating WooCommerce
To connect WooCommerce with weMail, navigate to the WP Dashboard>weMail>Settings>WooCommerce>Click on the Connect with WooCommerce.
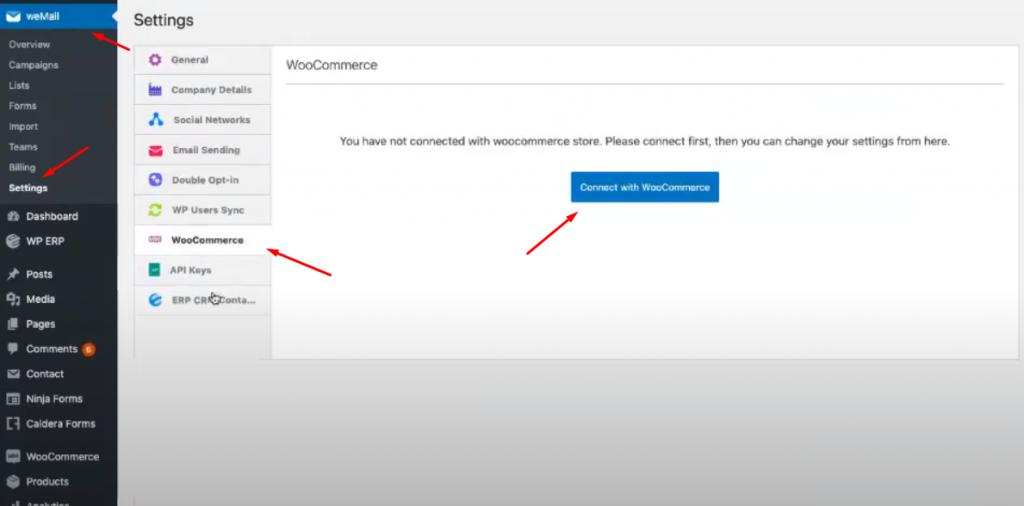
After clicking on the Connect with the WooCommerce button, you’ll be redirected to the integration page.
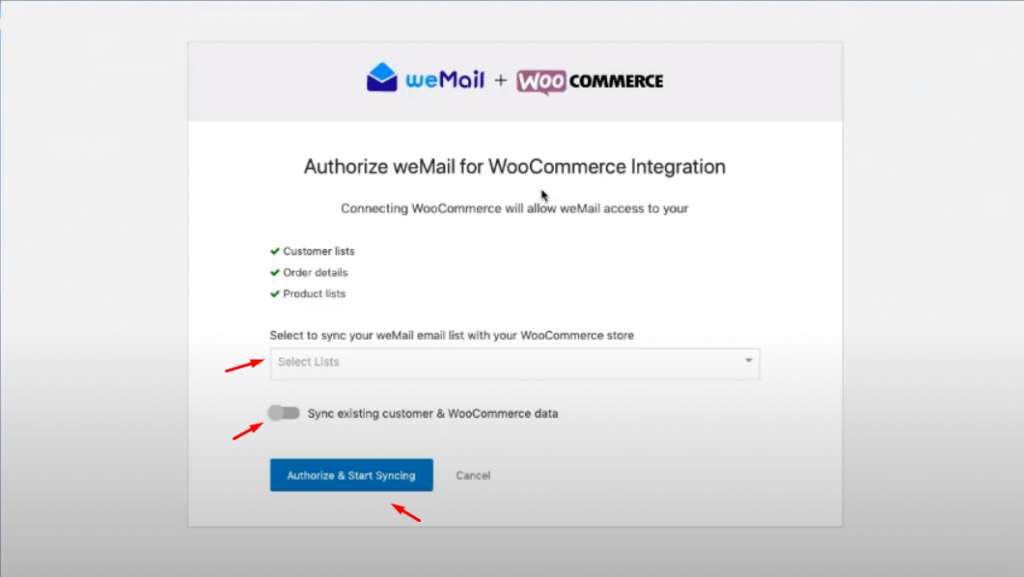
So here you need to understand a few things:-
- After the integration, you’ll be able to track customer lists, order details, and product lists
- Select the list you want to sync with your WooCoomerce store
- If you want you can enable syncing existing WooCommerce data to a list
- Finally, click on the Authorise & Start syncing
After that your sync process will start.
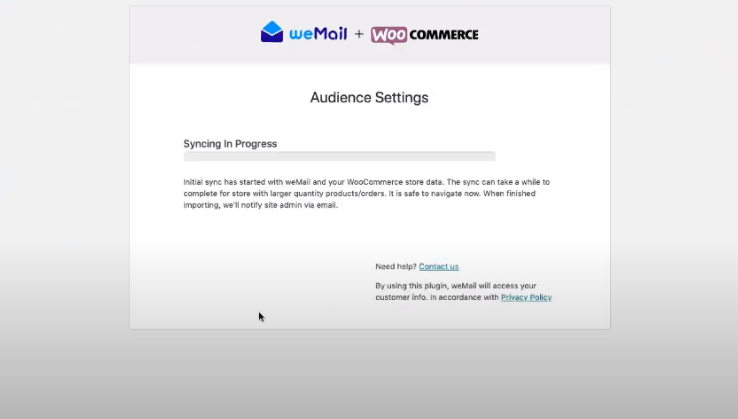
And finally you have successfully synced WooCommerce with weMail.

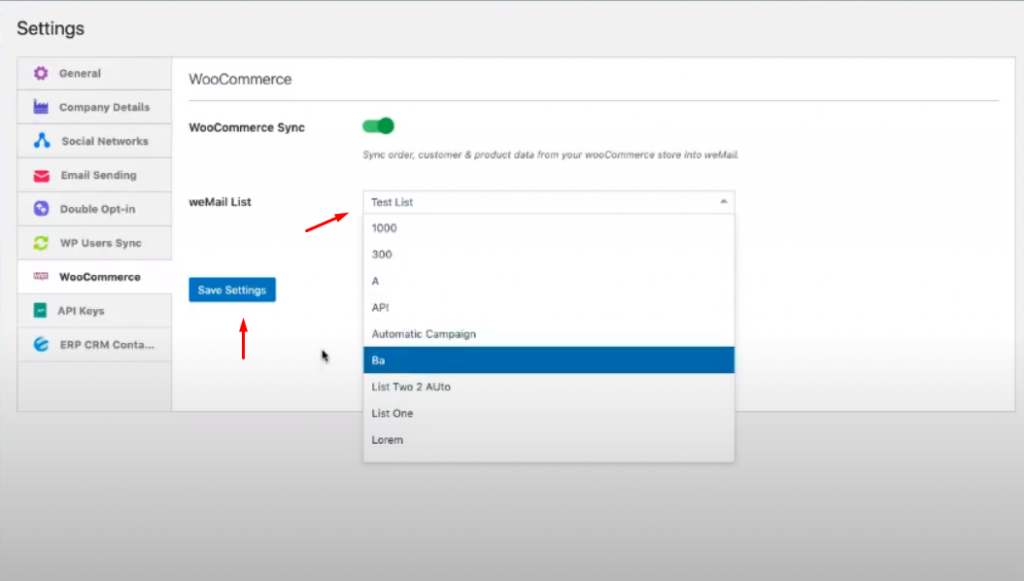
After you have successfully integrated with WooCommerce, when you navigate to the WP Dashboard>weMail>Settings>WooCommerce again, you will be able to disable the integration and also change the weMail list.
List Segmentation
List segmentation is an exciting feature of weMail. To get this feature, you need to purchase the pro version.
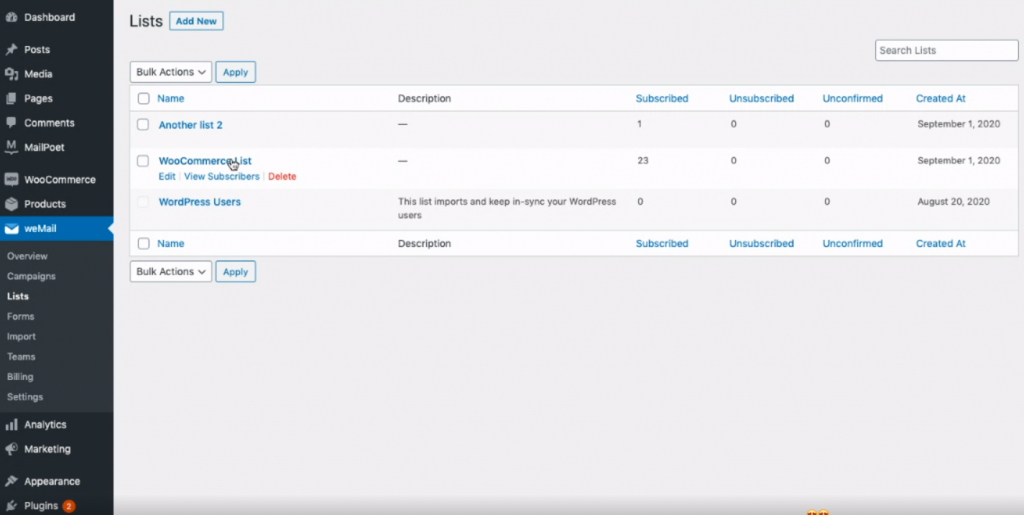
To segment email list, navigate to weMail>List.
If you don’t know how to create an email list, check out the guide below.
👉How to create an email list with weMail👈
Next, select the list that you want to segment for your next campaign. Do make sure to select the updated list.
The following customer email list is generated from the WooCommerce.
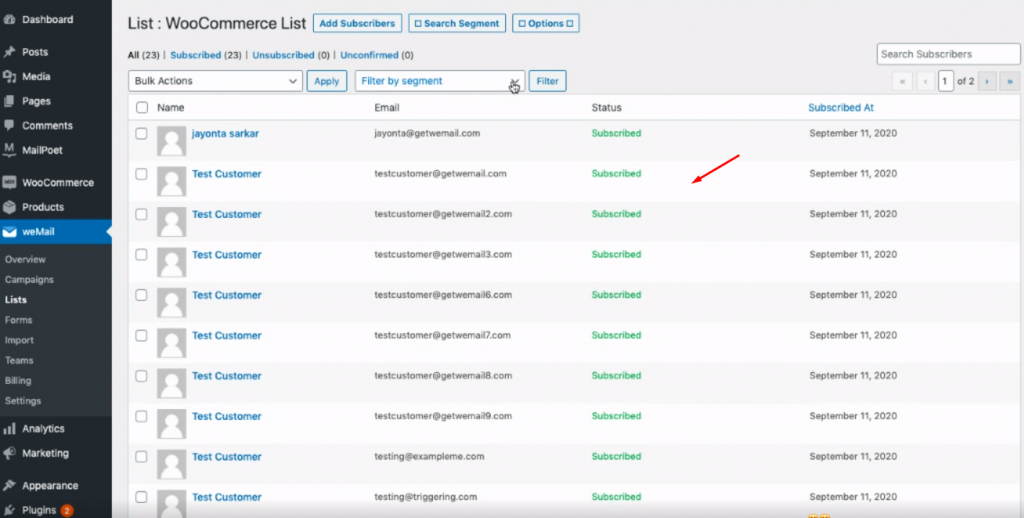
Next, click on the Search Segment option, then immediately the related options will show up here.
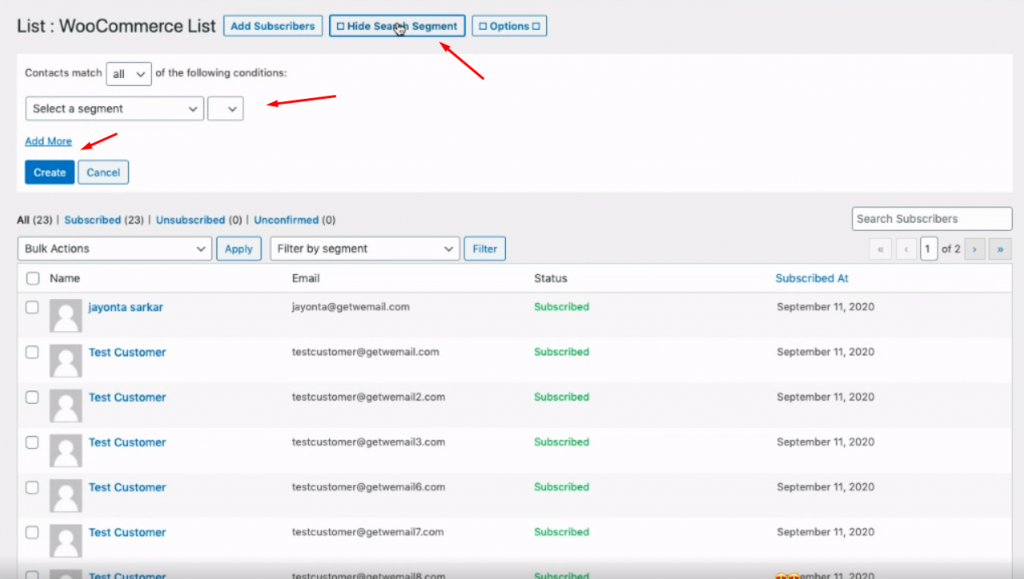
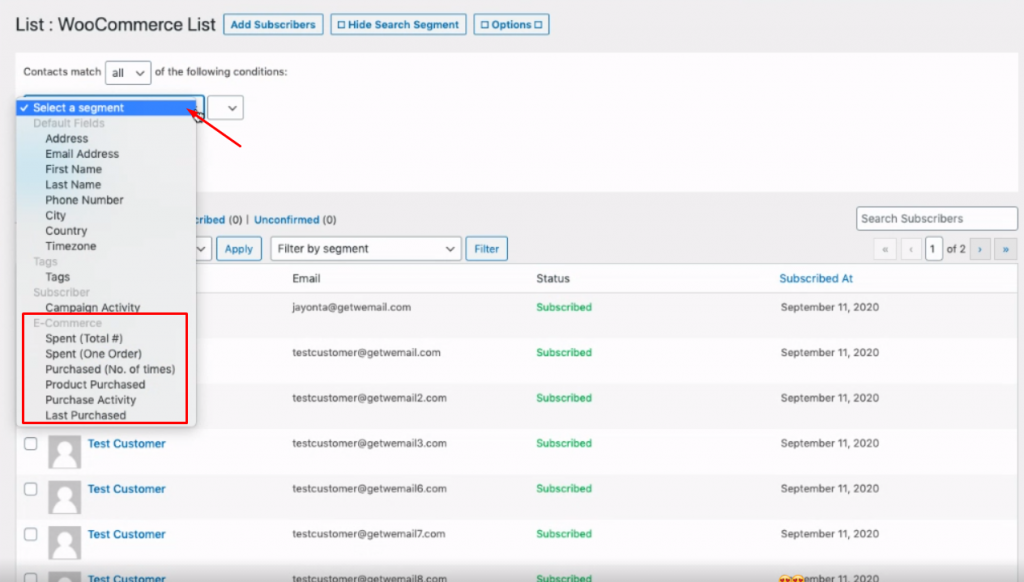
After you click on the segment, the available options will appear. As we’re segmenting eCommerce customers, so we’ll talk about the below 5 options.
- You can segment on (total cost)
- Segment the list who has purchased for one time
- How many times a customer has purchased (one or two times)
- Based on the purchased products
- Purchase activity
- Last purchased items or products (time period)
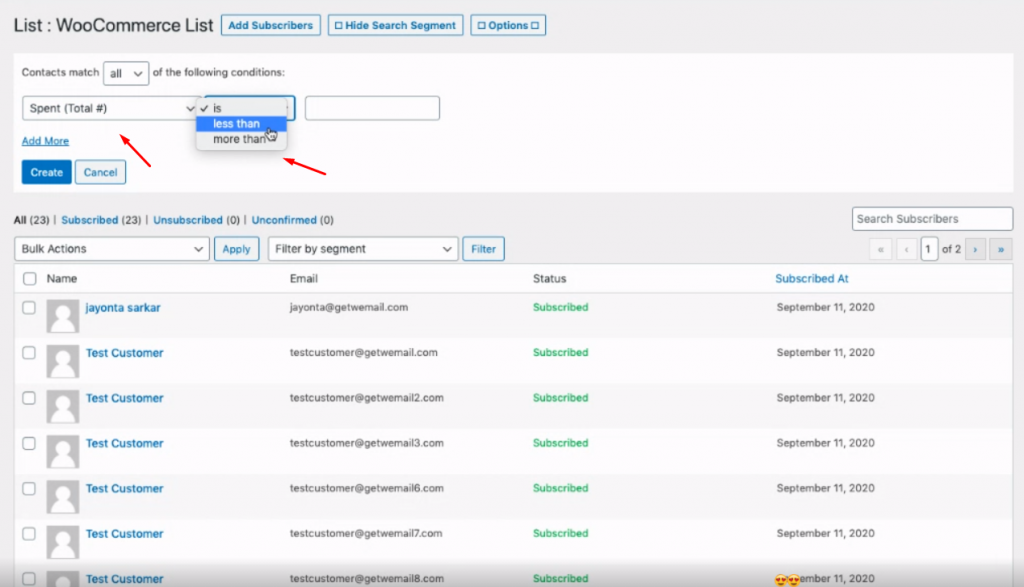
Let’s say you want to segment those customers who have purchased less than $500. So select the segment option and the amount.
Note: Less then means under the amount and more than means above the current amount
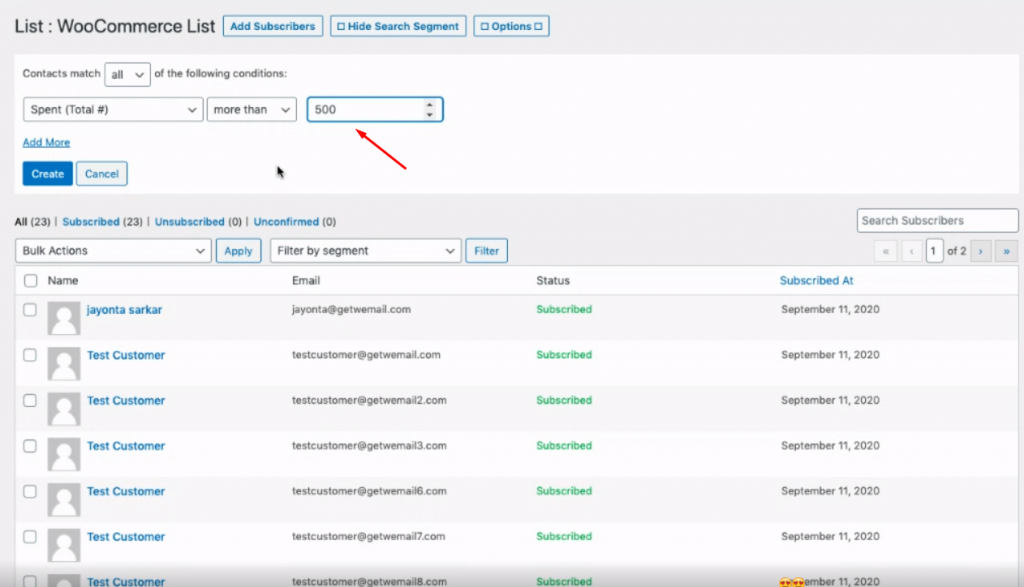
So put the value. And then click on the ‘Create‘ button to prepare a list based on ‘Spent (Total #) more than $500‘ from your online shop.
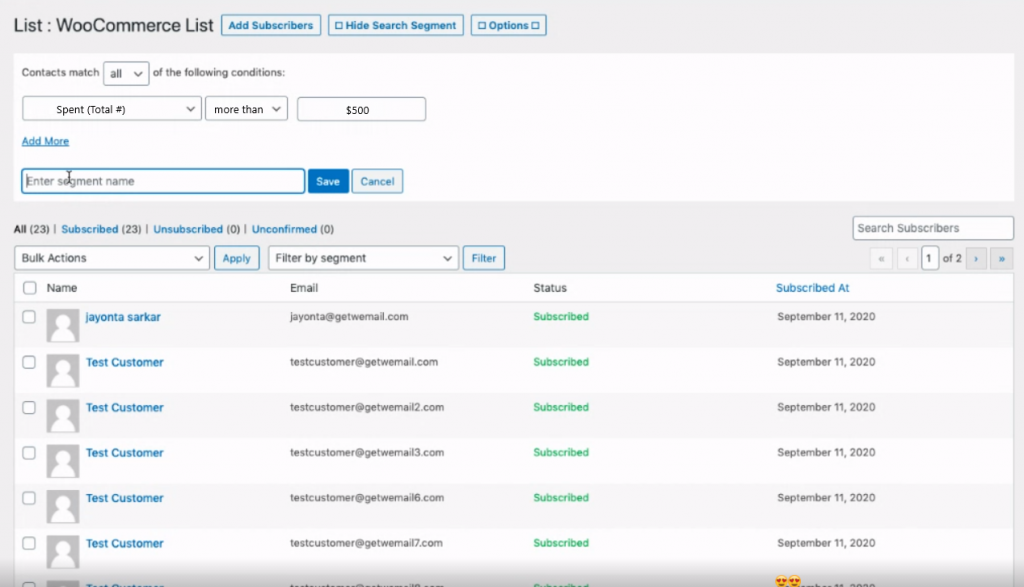
Now give your segment title. And then hit on the ‘Save‘ button.
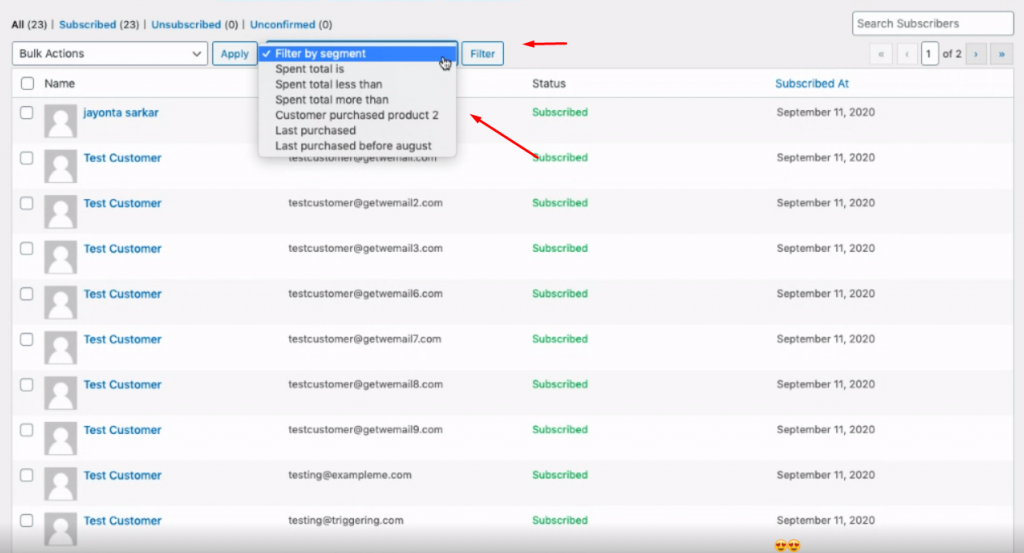
Now your segment is ready to filter. To do that just click on the filter option and select the option that you created earlier. That’s it!
Create a Campaign with the Segmented List
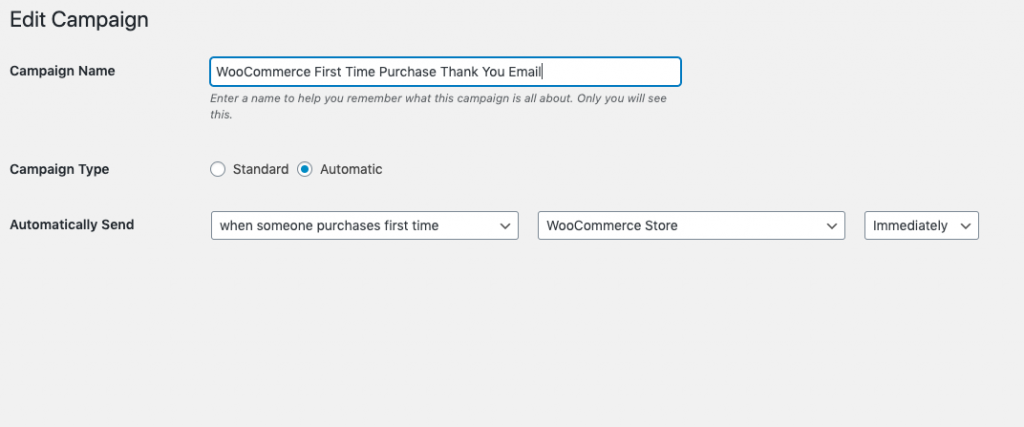
We have added a new Automatic campaign option “When someone purchases for the first time” for WooCommerce integration.
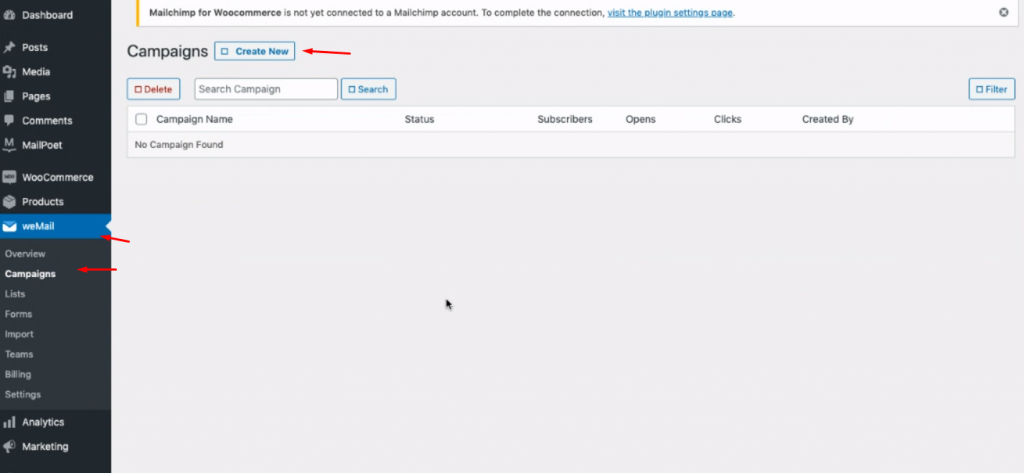
To create a campaign with your segmented list, click on weMail>Campaign>Create a campaign.
Read Here!👉 Learn how to create an email campaign with weMail.
After that give a title to your campaign and select ‘Automatic‘. And then select who will get the email and the email list.
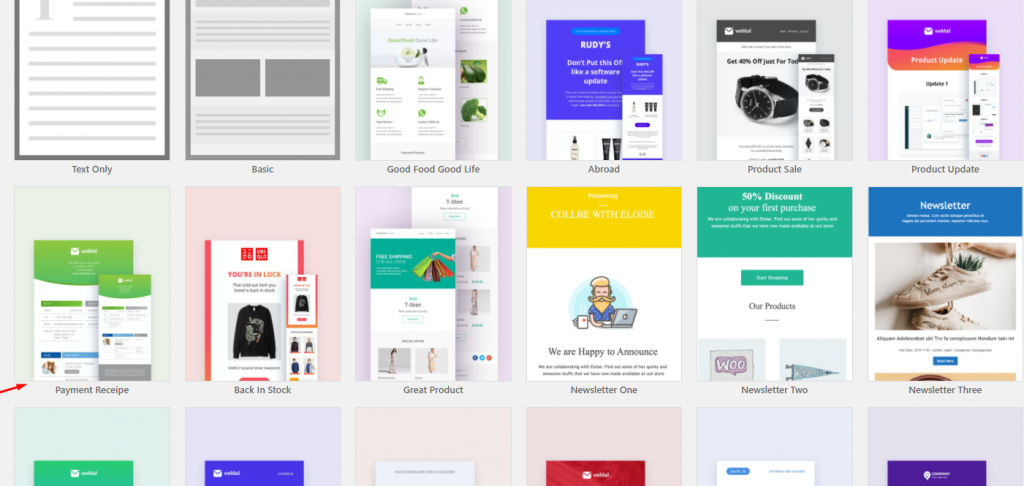
After that choose the email template and click on the ‘Next‘ button.
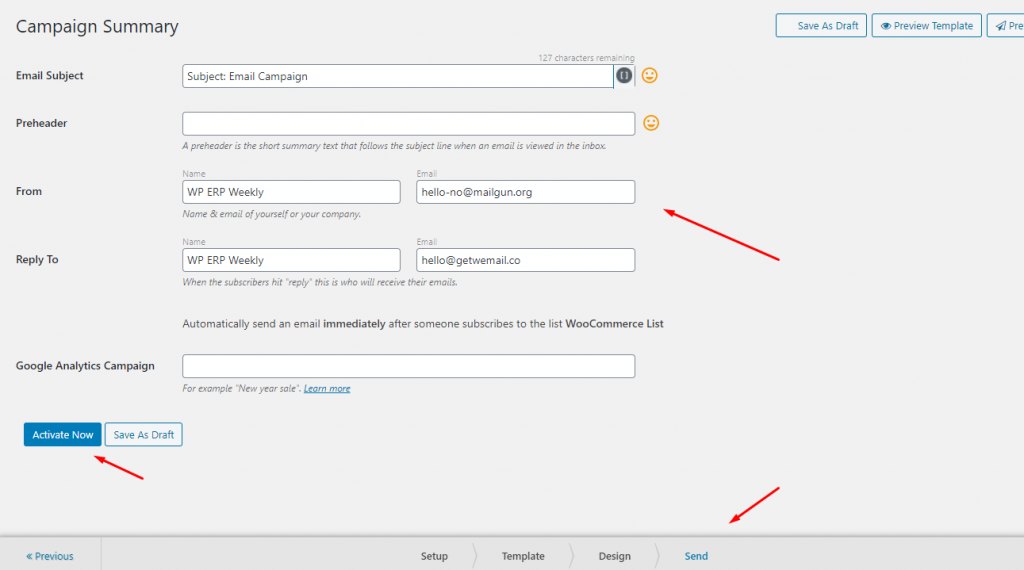
In the third & final step, you can customize the template and complete the formalities by giving the information.
Then click on the ‘Activate now’. And your campaign will be activated & deliver the emails to the perspective subscribers.
So here is how your subscribers will get the email from you.
That’s it!
